DMC-FX10, DMC-FX12 specifications
The Panasonic DMC-FX12 and DMC-FX10 are part of Panasonic’s compact digital camera series, known for their blend of size, performance, and ease of use. Launched in the mid-2000s, these cameras offered a solid choice for casual photographers seeking quality without the bulk of larger DSLR systems.At the core of both models is a 1/2.5-inch CCD sensor. The DMC-FX12 features a resolution of 7.2 megapixels, while the DMC-FX10 has a 6.0-megapixel sensor. This resolution enables users to capture detailed images suitable for prints and online sharing. The cameras are equipped with a Leica DC Vario-Elmar lens, characterized by a 35mm equivalent focal length of 28-100mm, providing a versatile zoom range that is ideal for various shooting scenarios from landscapes to portraits.
One of the standout features of both the DMC-FX12 and DMC-FX10 is the incorporation of Panasonic's MEGA O.I.S. (Optical Image Stabilization) technology. This innovation helps to minimize the effects of camera shake, particularly in low-light conditions or when using telephoto settings, resulting in sharper images and enhanced overall quality.
Both models also offer a variety of shooting modes, including intelligent auto mode, which automatically adjusts settings based on the scene being captured. This allows even novice photographers to achieve satisfactory results without needing extensive technical knowledge. Additionally, the cameras come equipped with a 2.5-inch LCD screen, providing a clear view for composing and reviewing images.
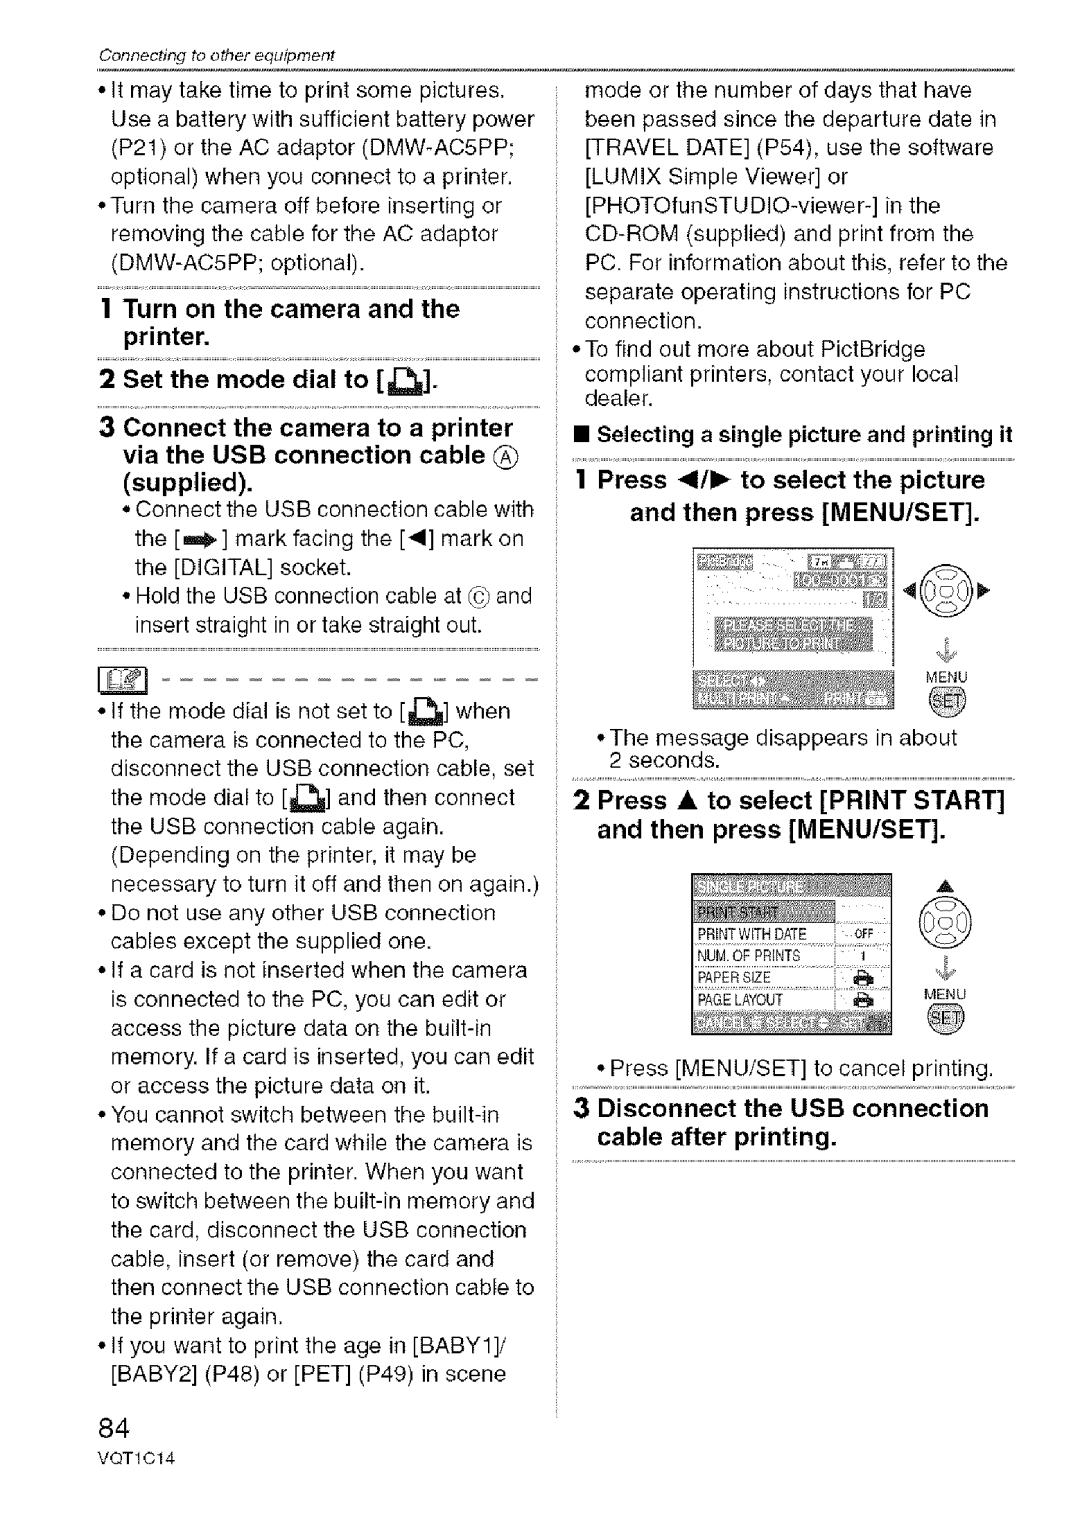
In terms of connectivity, the DMC-FX12 and DMC-FX10 provide USB and AV outputs, making it easy to transfer images to computers or display them on televisions. They also support SD/SDHC memory cards, allowing for expandable storage that accommodates numerous photos and videos.
The build quality of these cameras is robust yet lightweight, making them ideal for travel. Compact dimensions mean they can easily fit into pockets or small bags, ensuring they are always ready for action. The user-friendly interface further enhances their appeal, allowing quick access to essential functions and settings.
In summary, the Panasonic DMC-FX12 and DMC-FX10 represent a solid entry in the realm of compact cameras with their impressive combination of resolution, lens quality, optical stabilization, and user-friendly features, appealing to both novice photographers and those looking for a reliable secondary camera.

