Preparation
Setting Date/Time (Clock Set)
∫Initial setting
The clock is not set when the camera is shipped. When you turn the camera on, the following screen appears.
PLEASE SET THE CLOCK
![]() CLOCK SET MENU
CLOCK SET MENU
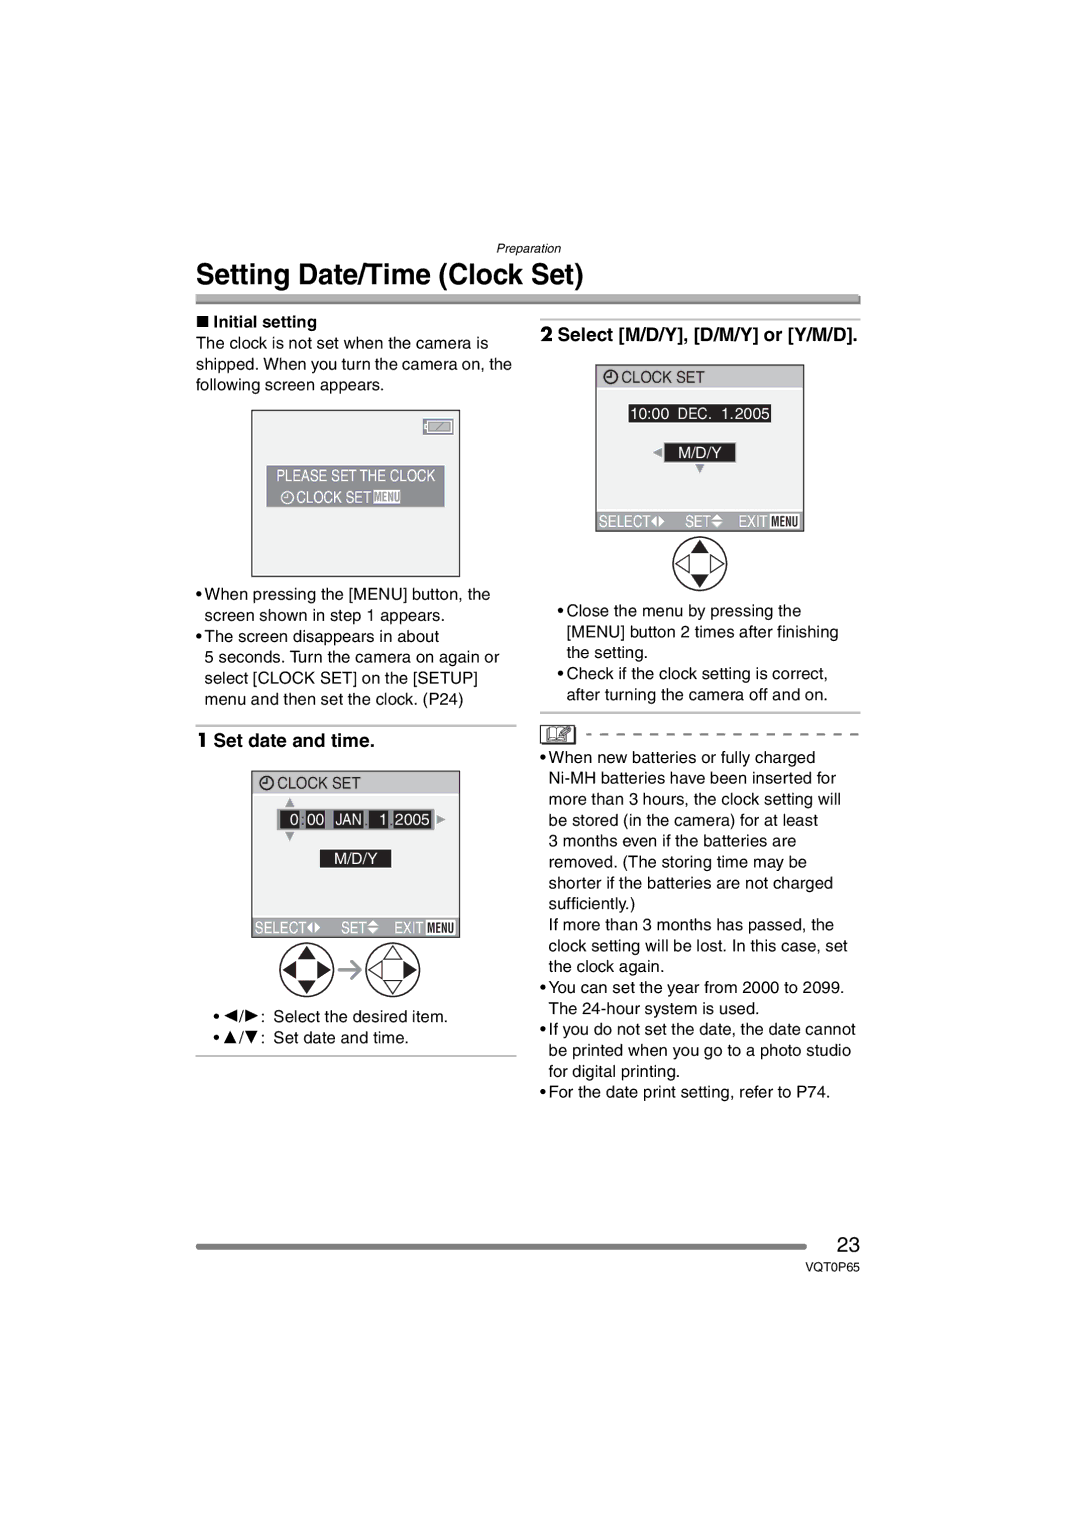
2 Select [M/D/Y], [D/M/Y] or [Y/M/D].
![]() CLOCK SET
CLOCK SET
10:001DEC.11.2005
M/D/Y
SELECT![]() SET
SET![]() EXIT MENU
EXIT MENU
•When pressing the [MENU] button, the screen shown in step 1 appears.
•The screen disappears in about
5 seconds. Turn the camera on again or select [CLOCK SET] on the [SETUP] menu and then set the clock. (P24)
•Close the menu by pressing the [MENU] button 2 times after finishing the setting.
•Check if the clock setting is correct, after turning the camera off and on.
1 Set date and time.
![]() CLOCK SET
CLOCK SET
00 : 00 JAN .11 . 2005 ![]()
M/D/Y
SELECT![]() SET
SET![]() EXIT MENU
EXIT MENU
•2/1: Select the desired item.
•3/4: Set date and time.
•When new batteries or fully charged
3 months even if the batteries are removed. (The storing time may be shorter if the batteries are not charged sufficiently.)
If more than 3 months has passed, the clock setting will be lost. In this case, set the clock again.
•You can set the year from 2000 to 2099. The
•If you do not set the date, the date cannot be printed when you go to a photo studio for digital printing.
•For the date print setting, refer to P74.
23
VQT0P65