Playback (advanced)
Displaying pictures in a ![]() direction at the time of recording [ROTATE DISP.]
direction at the time of recording [ROTATE DISP.]
This mode allows you to display pictures recorded by holding the camera vertically or pictures rotated in [ROTATE] function in the rotated direction.
1 Select [ON] to set it.
![]()
![]()
![]()
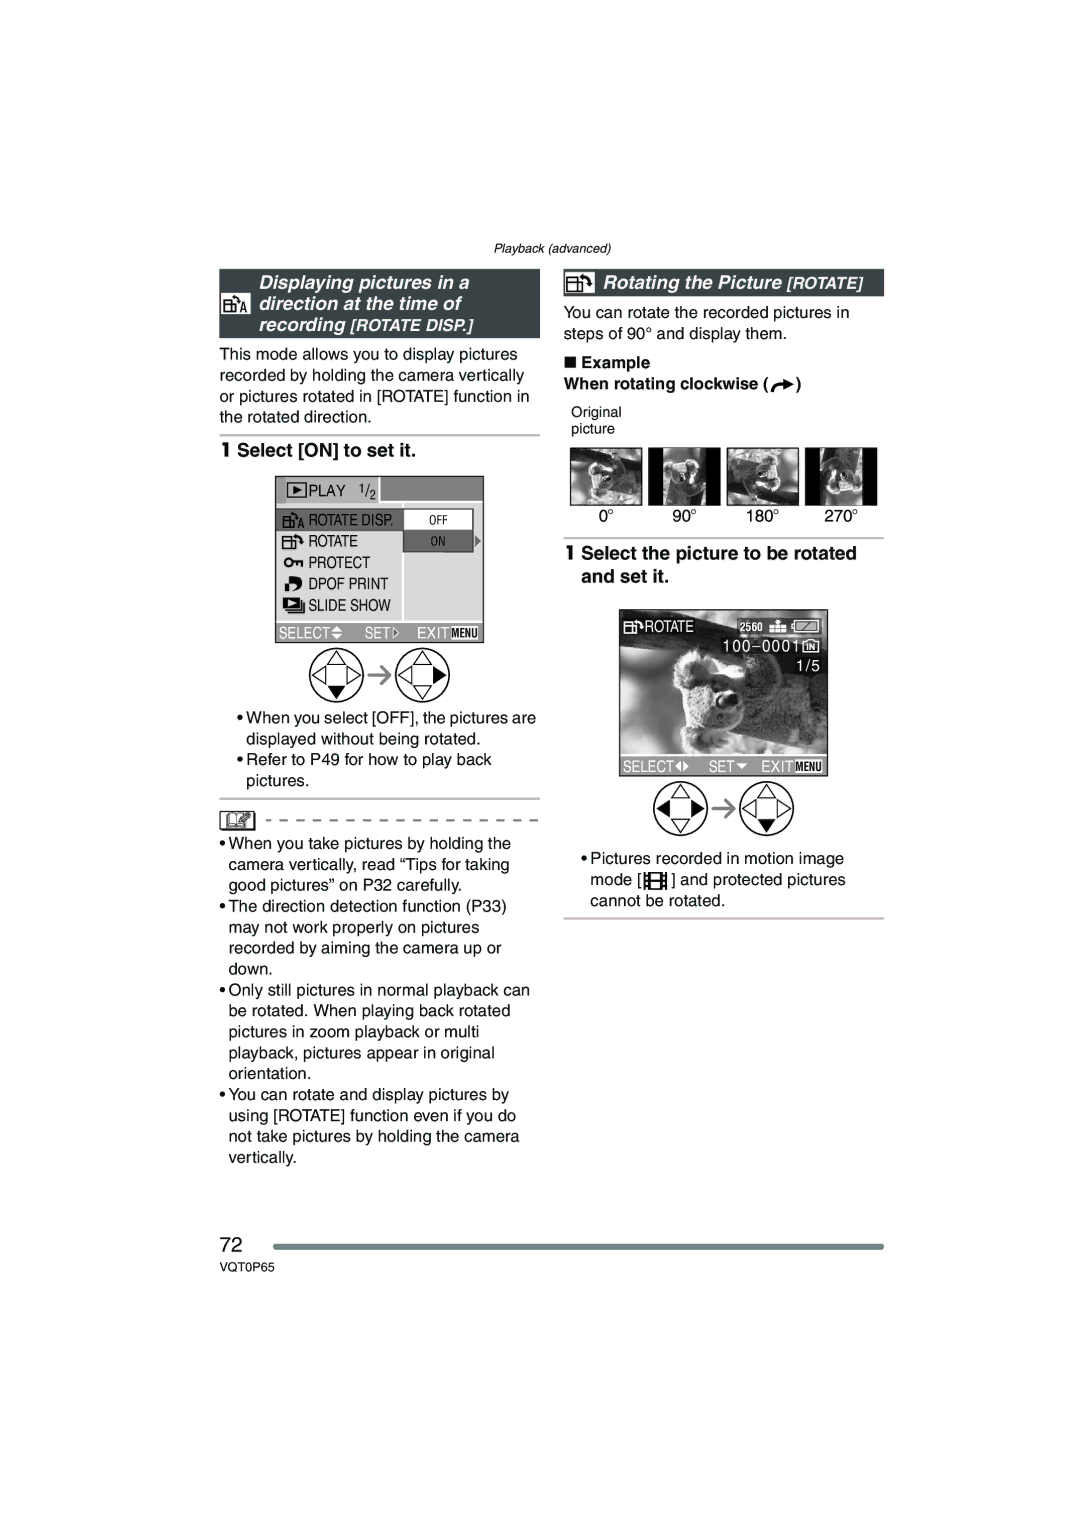
![]() PLAY 1/2
PLAY 1/2 ![]()
ROTATE DISP. | OFF |
ROTATE | ON |
PROTECT |
|
DPOF PRINT |
|
SLIDE SHOW |
|
SELECT![]() SET
SET ![]() EXIT MENU
EXIT MENU
•When you select [OFF], the pictures are displayed without being rotated.
•Refer to P49 for how to play back pictures.
 Rotating the Picture [ROTATE]
You can rotate the recorded pictures in steps of 90° and display them.
∫Example
When rotating clockwise (  )
)
Original picture
1 Select the picture to be rotated and set it.
ROTATE | 2560 |
100_0001![]() 1/5
1/5
SELECT![]()
![]() SET
SET![]() EXIT MENU
EXIT MENU
•When you take pictures by holding the camera vertically, read “Tips for taking good pictures” on P32 carefully.
•The direction detection function (P33) may not work properly on pictures recorded by aiming the camera up or down.
•Only still pictures in normal playback can be rotated. When playing back rotated pictures in zoom playback or multi playback, pictures appear in original orientation.
•You can rotate and display pictures by using [ROTATE] function even if you do not take pictures by holding the camera vertically.
•Pictures recorded in motion image
mode [![]() ] and protected pictures cannot be rotated.
] and protected pictures cannot be rotated.
72
VQT0P65