Other Applications (Changing the Initial Settings) (cont.)
Wireless user connections
If the projector and computer could not be connected by following the steps on page 16, connect them by performing the steps below.
■Projector operations
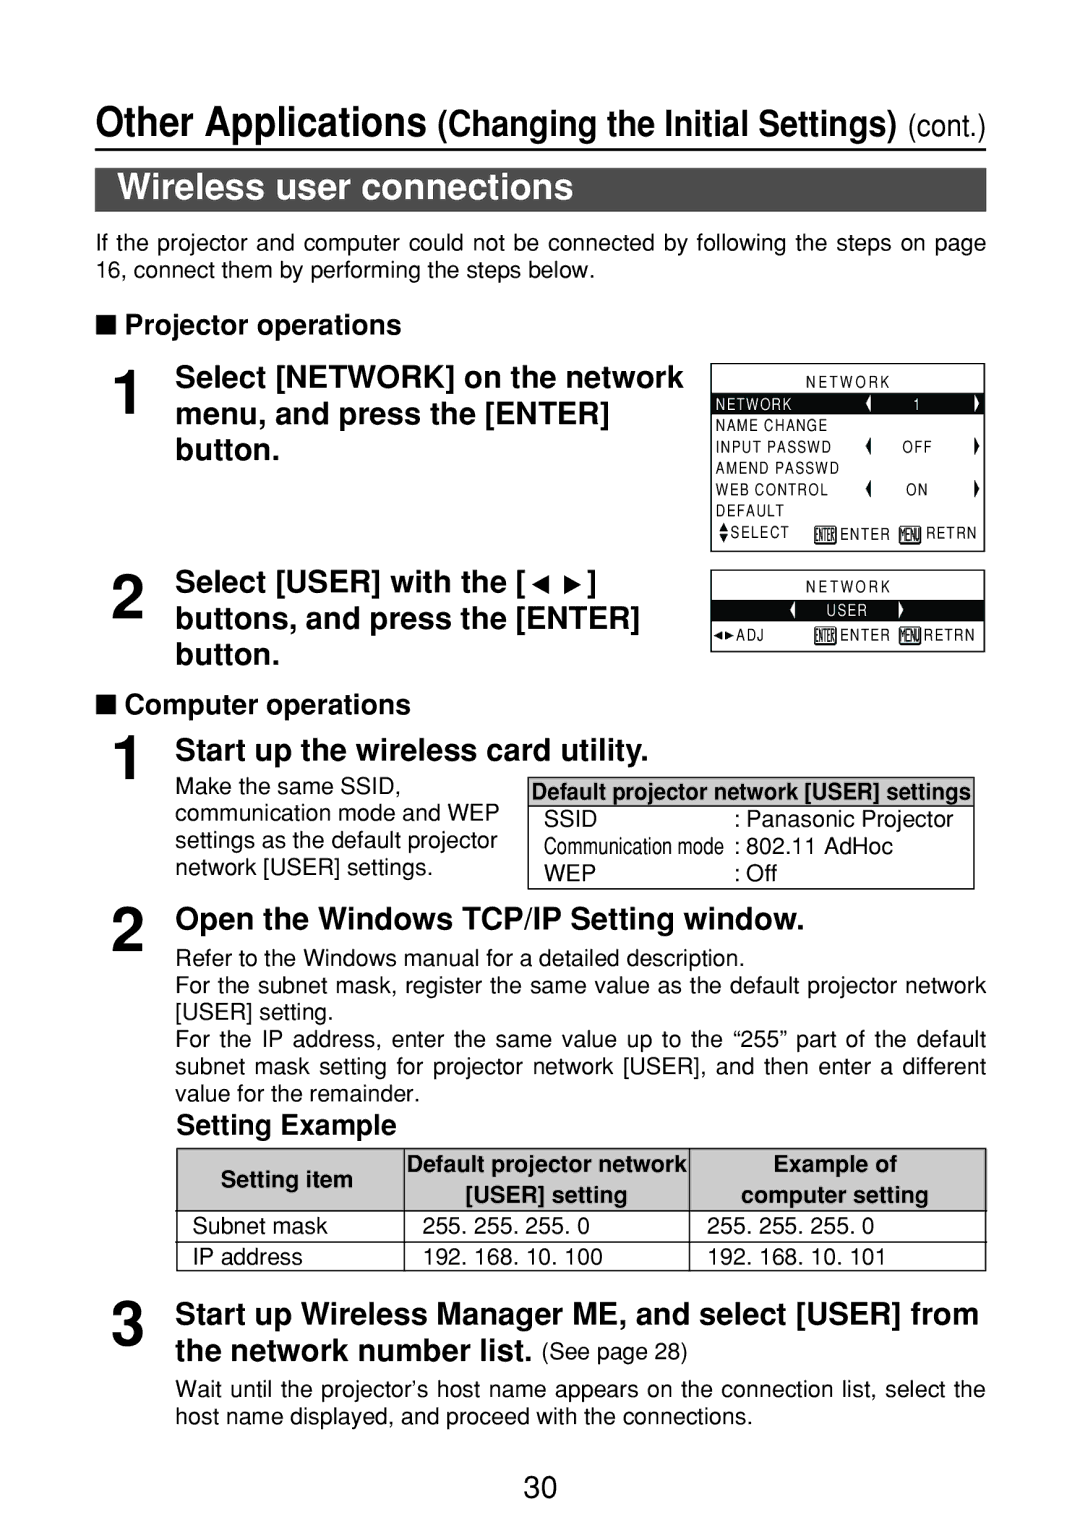
1 | Select [NETWORK] on the network |
menu, and press the [ENTER] |
button.
2 | Select [USER] with the [ | ] |
buttons, and press the [ENTER] | ||
button.
■Computer operations
N E T W O R K |
| |
NETWORK |
| 1 |
NAME CHANGE |
|
|
INPUT PASSWD |
| OFF |
AMEND PASSWD |
|
|
WEB CONTROL |
| ON |
DEFAULT |
|
|
SELECT | ENTER | RETRN |
N E T W O R K |
| |
USER |
| |
ADJ | ENTER | RETRN |
1 | Start up the wireless card utility. |
| |
| Make the same SSID, | Default projector network [USER] settings | |
| communication mode and WEP | SSID | : Panasonic Projector |
| settings as the default projector | Communication mode : 802.11 AdHoc | |
| network [USER] settings. | WEP | : Off |
2
3
Open the Windows TCP/IP Setting window.
Refer to the Windows manual for a detailed description.
For the subnet mask, register the same value as the default projector network [USER] setting.
For the IP address, enter the same value up to the “255” part of the default subnet mask setting for projector network [USER], and then enter a different value for the remainder.
Setting Example
Setting item | Default projector network |
| Example of | |||
[USER] setting | computer setting | |||||
| ||||||
Subnet mask | 255. 255. | 255. 0 | 255. | 255. | 255. 0 | |
IP address | 192. 168. | 10. 100 | 192. | 168. | 10. 101 | |
Start up Wireless Manager ME, and select [USER] from the network number list.
Wait until the projector’s host name appears on the connection list, select the host name displayed, and proceed with the connections.
30