Contents
Model No. KX-T2378JXW
Before Initial Use
Accessories included
For your future reference
Serial No Date of purchase
Contents
Volume
Indicator p , 17
Location of Controls
Buttons p MIC Microphone p , 17 Mute Button p Hold Button p
Pause Button p Redial Button p Flash Button p
One-Touch Auto Dial Buttons p Tone Button p Display p
Button p
Display
Installing the Batteries
Settings
Connecting the Handset
Press down in the direction Arrow and open the cover
To connect a two-line telephone jack
Connecting the Telephone Line Cord
To connect two single-line telephone jacks
Connect the telephone line cords to the unit as follows
If you use the unit only as a single-line telephone
Connecting a Communication Device
Programming Summary of Preparations
Press Program to store the setting
Make sure that a call is not put on hold
Press Mute
To select Pulse, press2 To select Tone, press1
Selecting the Dialing Mode
You can select AM/PM or 24-hour clock by programming
Time Adjustment
Selecting the Ringer Volume
Setting the LCD Contrast
Press
Press 1 to
Locks, so the tab holds the handset
Wall Mounting
Wall Template
Making Calls
Using the handset
Using the speakerphone
To put a call on hold
To redial the last number dialed
To release the hold
Automatic Redial
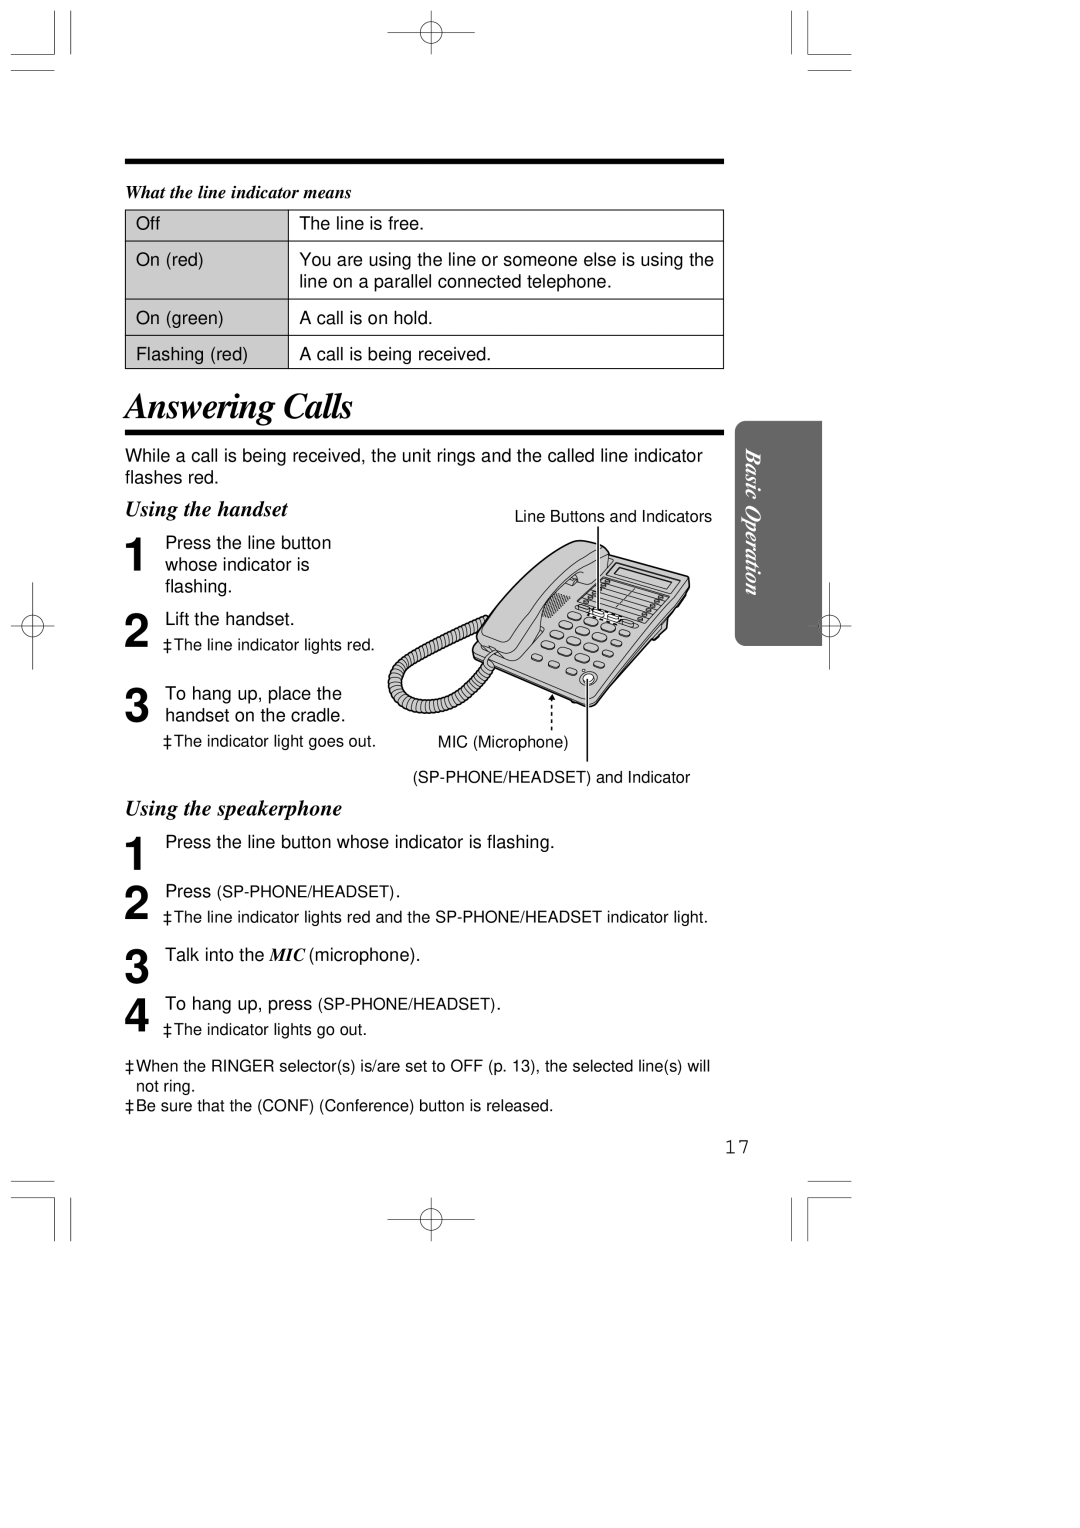
Answering Calls
What the line indicator means
Ex If you are using LINE1
Using the Other Line During a Conversation
During a conference call
Ex If you are using Line
Conference Call
Storing Phone Numbers in Memory
Speed Dialer
Enter a phone number, up to 22 digits
Press a memory station number 0 to
To erase a stored number
Dialing a Stored Number
Press one of the one-touch auto dial buttons
One-Touch Dialer
To store in an Upper memory location
Memory location, press the one-touch
To store in a Lower memory location
If the phone number is in an Upper
Memory card
From an Upper memory location
From a Lower memory location
For Call Waiting Service Users
Special Features
How to Use the Pause Button
Temporary Tone Dialing
Flash Button
Muting Your Conversation
Selecting the flash time
Press Mute while talking
Enter a new PIN code using a 4-digit
Setting the PIN Code
Enter the current PIN code
Ex is entered
Dial Lock
To cancel the dial lock
To set the dial lock
Enter the PIN code p
Enter the PIN code p Ex. Your PIN code is
Call Restriction
To set the call restriction
Connecting the Optional Headset to the Unit
Using the Optional Headset
To cancel the call restriction
Making/Answering Calls
Make sure to install the batteries
To adjust the headset receiver volume 4 levels
Battery Precautions
Battery Replacement
Before Requesting Help
Problem Remedy
Before Requesting Help
ProblemRemedy
Installations Environment
Safety Instructions
PQQX13204YA F1001-1111D
62, 4-chome, Minoshima, Hakata-ku, Fukuoka 812-8531, Japan

