Connecting and Setting Up the IR Blaster
If your satellite receiver has a serial connector, use the serial connector instead of the IR blaster. The IR blaster acts as a remote control for your other device. Before attaching the IR blaster, you must find the infrared detector on the device the Hard Disk Recorder will control.
Locating the Infrared Detector On the Other Device
The emitter on the end of the IR blaster must be placed directly over the infrared detector on the other device. The infrared detector is the area that receives the signals from the remote control. Some infrared detectors are labeled. If the detector on your other device is not labeled, it is usually behind a dark, nearly opaque plastic area on the front of the device.
If the infrared detector on the other device is labeled, see “Connecting and Affixing the IR Blaster” below.
If the infrared detector on the other device is not labeled, follow these steps.
Refer to the owner’s manual of your cable box or satellite receiver. It may be shown there.
1. Look for an area of dark, nearly opaque plastic on the front of the other device. If you find this area, look closely into it. You may be able to see the infrared detector behind it. If it’s visible, you should see a small square frame with a reddish area in the center.
This is the infrared detector. If you see the detector, skip to “Connecting and Affixing the IR Blaster” below.
2. Turn on and start the other device.
3. Shine a flashlight through the dark plastic area on the front of the device. If you see the infrared detector, skip to “Connecting and Affixing the IR Blaster” below.
4. Using the remote control for your cable box or satellite receiver, turn the power on and off. Don’t use the Hard Disk Recorder remote control.
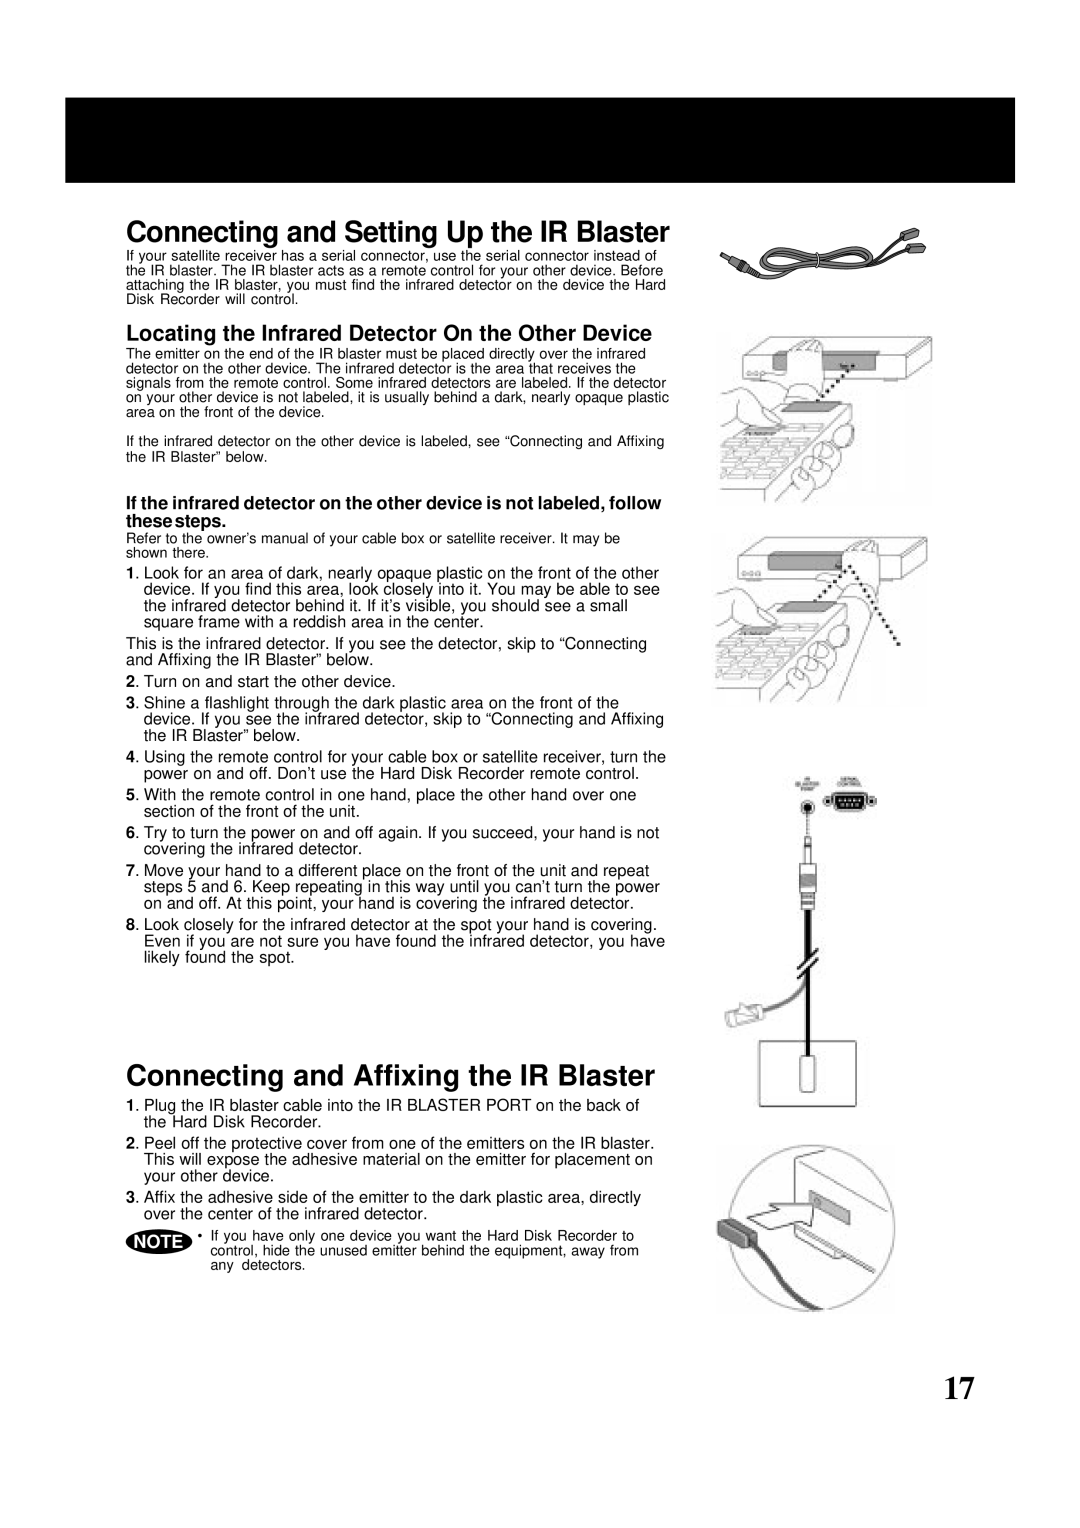
5. With the remote control in one hand, place the other hand over one section of the front of the unit.
6. Try to turn the power on and off again. If you succeed, your hand is not covering the infrared detector.
7. Move your hand to a different place on the front of the unit and repeat steps 5 and 6. Keep repeating in this way until you can’t turn the power on and off. At this point, your hand is covering the infrared detector.
8. Look closely for the infrared detector at the spot your hand is covering. Even if you are not sure you have found the infrared detector, you have likely found the spot.
Connecting and Affixing the IR Blaster
1. Plug the IR blaster cable into the IR BLASTER PORT on the back of the Hard Disk Recorder.
2. Peel off the protective cover from one of the emitters on the IR blaster. This will expose the adhesive material on the emitter for placement on your other device.
3. Affix the adhesive side of the emitter to the dark plastic area, directly over the center of the infrared detector.
NOTE | • If you have only one device you want the Hard Disk Recorder to |
| control, hide the unused emitter behind the equipment, away from |
| any detectors. |
17