Using MENU Mode
Before you begin...
•Connect Camcorder to power source.
•Set POWER to CAMERA or VCR.
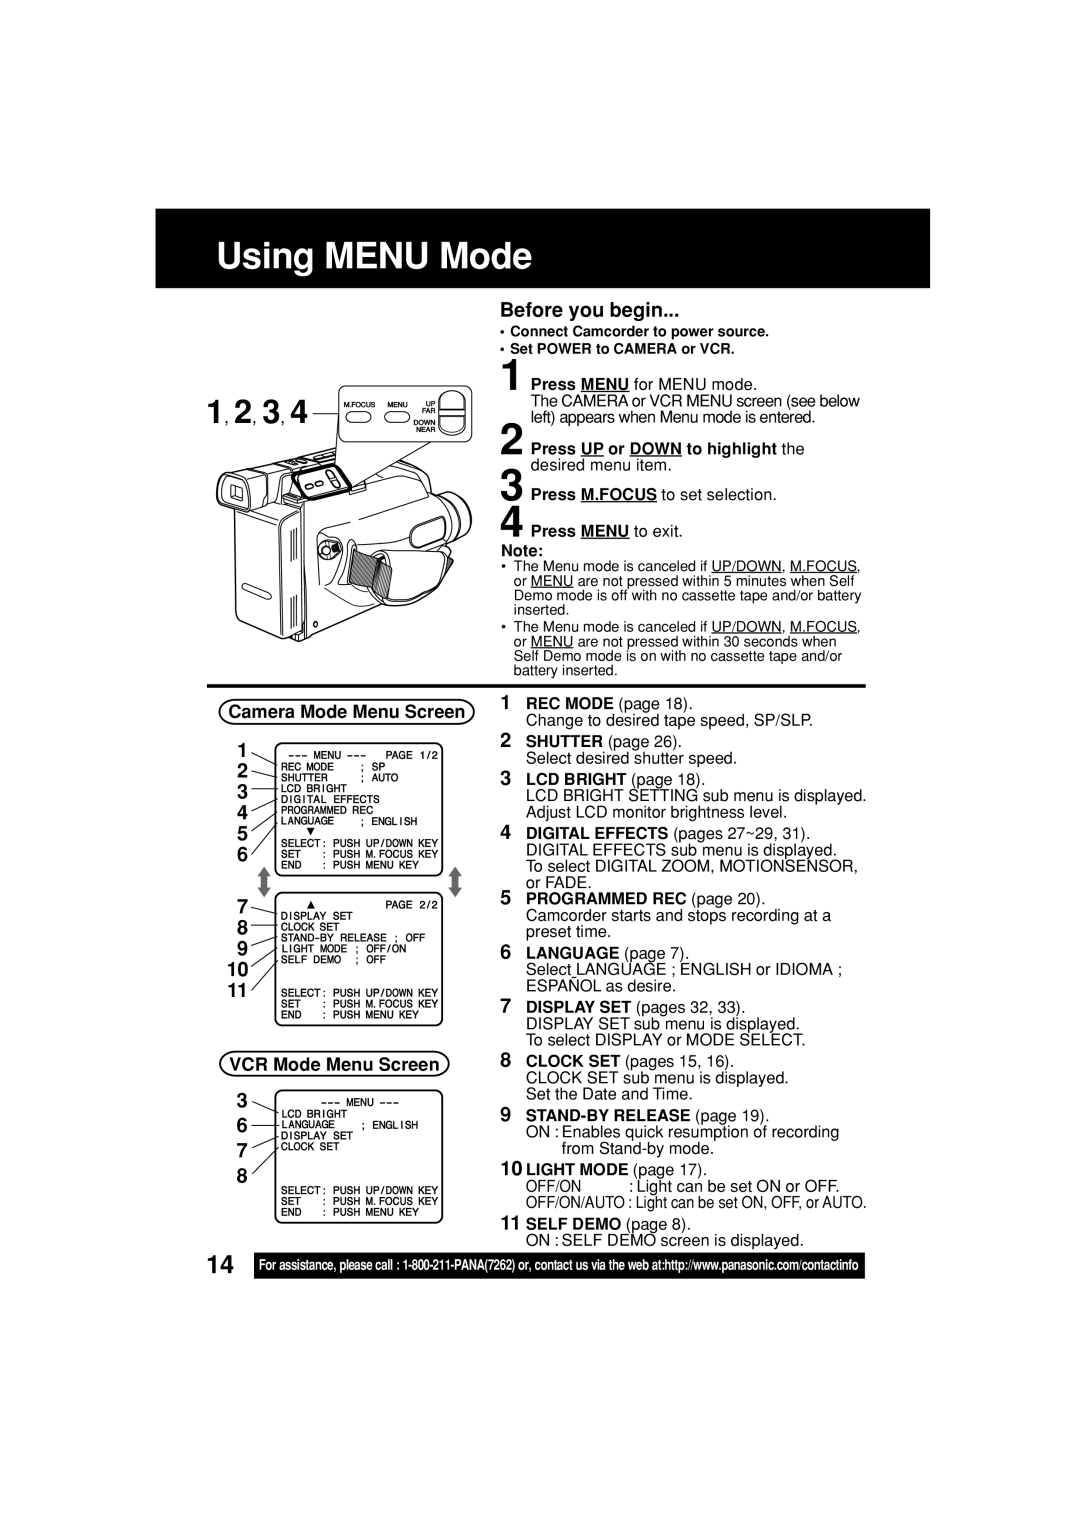
| 1 Press MENU for MENU mode. |
1, 2, 3, 4 | The CAMERA or VCR MENU screen (see below |
left) appears when Menu mode is entered. |
2 Press UP or DOWN to highlight the desired menu item.
3 Press M.FOCUS to set selection.
4 Press MENU to exit.
Note:
•The Menu mode is canceled if UP/DOWN, M.FOCUS, or MENU are not pressed within 5 minutes when Self Demo mode is off with no cassette tape and/or battery inserted.
• The Menu mode is canceled if UP/DOWN, M.FOCUS, or MENU are not pressed within 30 seconds when Self Demo mode is on with no cassette tape and/or battery inserted.
Camera Mode Menu Screen
1
2
3
4
5
6
7
8
9
10
11
VCR Mode Menu Screen
3
6
7
8
1REC MODE (page 18).
Change to desired tape speed, SP/SLP.
2SHUTTER (page 26).
Select desired shutter speed.
3LCD BRIGHT (page 18).
LCD BRIGHT SETTING sub menu is displayed. Adjust LCD monitor brightness level.
4DIGITAL EFFECTS (pages 27~29, 31). DIGITAL EFFECTS sub menu is displayed. To select DIGITAL ZOOM, MOTIONSENSOR, or FADE.
5PROGRAMMED REC (page 20). Camcorder starts and stops recording at a preset time.
6LANGUAGE (page 7).
Select LANGUAGE ; ENGLISH or IDIOMA ; ESPAÑOL as desire.
7DISPLAY SET (pages 32, 33). DISPLAY SET sub menu is displayed. To select DISPLAY or MODE SELECT.
8CLOCK SET (pages 15, 16). CLOCK SET sub menu is displayed. Set the Date and Time.
9
ON : Enables quick resumption of recording from
10LIGHT MODE (page 17).
OFF/ON : Light can be set ON or OFF.
OFF/ON/AUTO : Light can be set ON, OFF, or AUTO.
11 SELF DEMO (page 8).
ON : SELF DEMO screen is displayed.
14
For assistance, please call :