Transferring Your Images (Macintosh)
Disconnection
1
2
3
End all applications and close all windows. (i.e. QuickTime, PhotoDeluxe, etc.)
Eject the Disk Media from the Digital Camera. (See page 17.)
Disconnect the USB Cable (supplied) from your PC and change the POWER Switch on the Digital Camera setting from PC mode to another selection. Make sure that all of the applications and all of the windows are closed. Then press the SHTR button.
Note
•If the USB Cable (Supplied) is connected before the AC Adaptor is connected, or, if the AC Adaptor is disconnected before the USB Cable is disconnected, it is possible that Macintosh will abort the operation.
•The USB Cable (supplied) must be disconnected as described in the above steps.
Removing the Disk Media
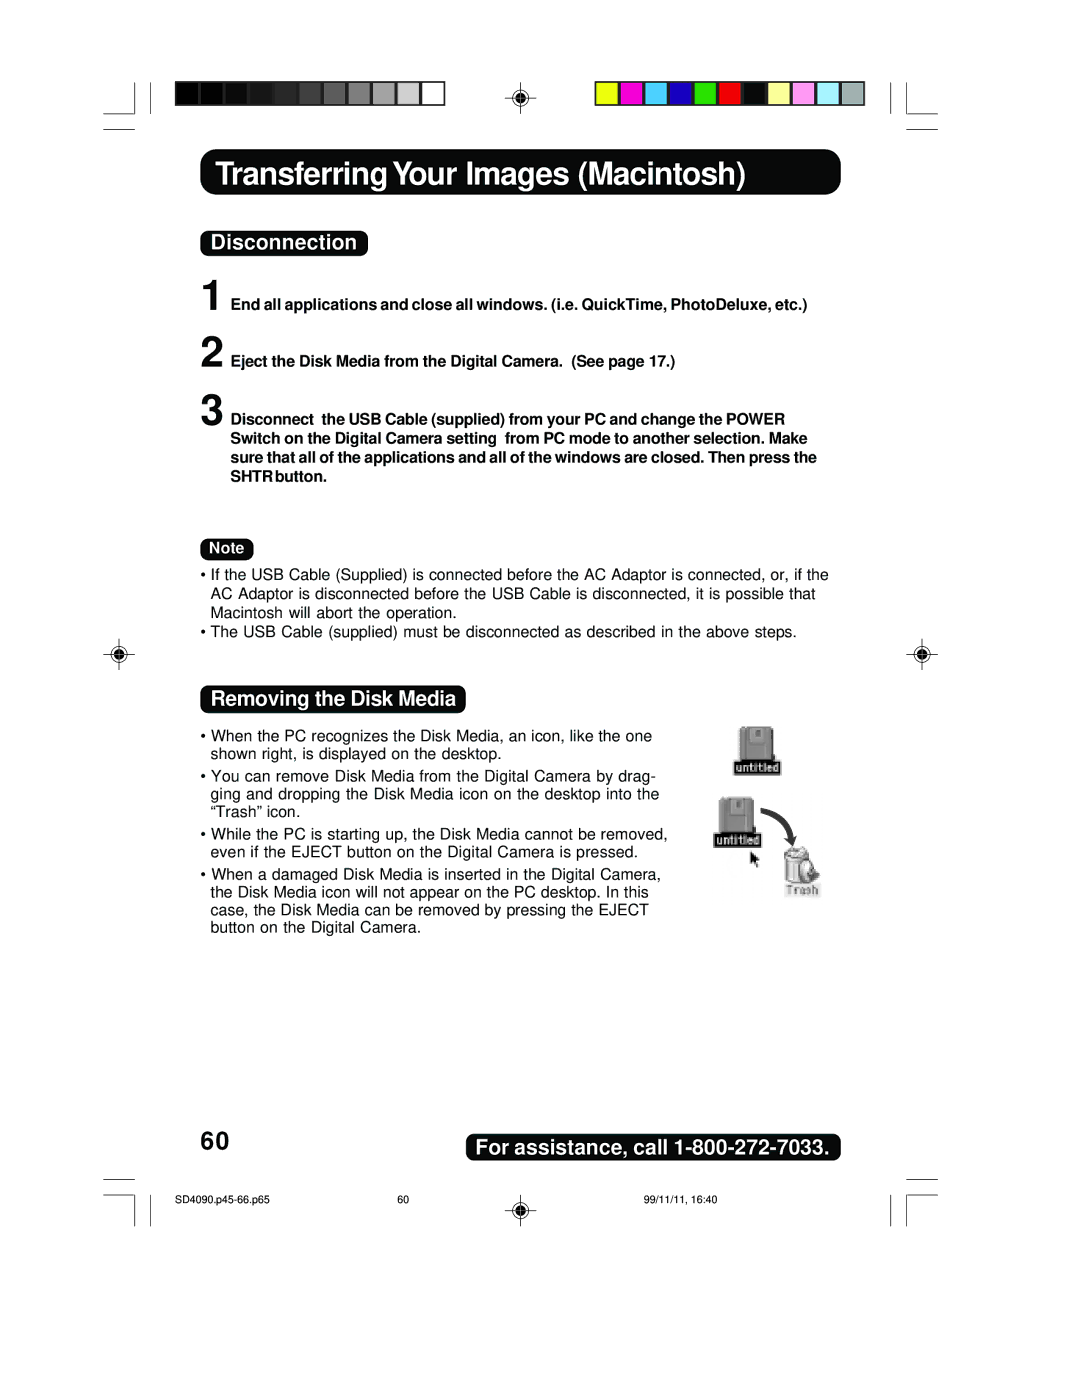
•When the PC recognizes the Disk Media, an icon, like the one shown right, is displayed on the desktop.
•You can remove Disk Media from the Digital Camera by drag- ging and dropping the Disk Media icon on the desktop into the “Trash” icon.
•While the PC is starting up, the Disk Media cannot be removed, even if the EJECT button on the Digital Camera is pressed.
•When a damaged Disk Media is inserted in the Digital Camera, the Disk Media icon will not appear on the PC desktop. In this case, the Disk Media can be removed by pressing the EJECT button on the Digital Camera.
60 | For assistance, call |
60 | 99/11/11, 16:40 |