
SC-BTX70 specifications
The Panasonic SA-BTX70 and SC-BTX70 are sophisticated audio systems designed to enhance your home entertainment experience. These models integrate advanced audio technologies, delivering high-quality sound and user-friendly features, making them a valuable addition to any audio setup.One of the standout features of the SA-BTX70 and SC-BTX70 is their powerful audio output. With a robust amplifier and high-efficiency speakers, these systems can produce an impressive soundstage which is immersive and engaging. Whether you're listening to music, watching movies, or gaming, the clarity and depth of the audio will enhance your overall experience.
The systems come equipped with Bluetooth connectivity, allowing users to easily stream music from their smartphones, tablets, or computers. This wireless connectivity ensures that you can enjoy your favorite tracks without the hassle of cables. Additionally, the Bluetooth feature supports a wide range of audio codecs, providing excellent sound quality during streaming.
Another notable technology integrated into the SA-BTX70 and SC-BTX70 is the Digital Sound Control. This function allows users to adjust the sound settings according to their preferences and the acoustics of their environment. Whether you prefer a bass-heavy profile for music genres like hip-hop or a more balanced sound for classical music, the Digital Sound Control will accommodate your needs.
The system's compact design is also a significant characteristic. Both models are designed to fit seamlessly into any home decor, making them suitable for various spaces without taking up too much room. Despite their size, they offer an impressive performance that belies their compact form factor.
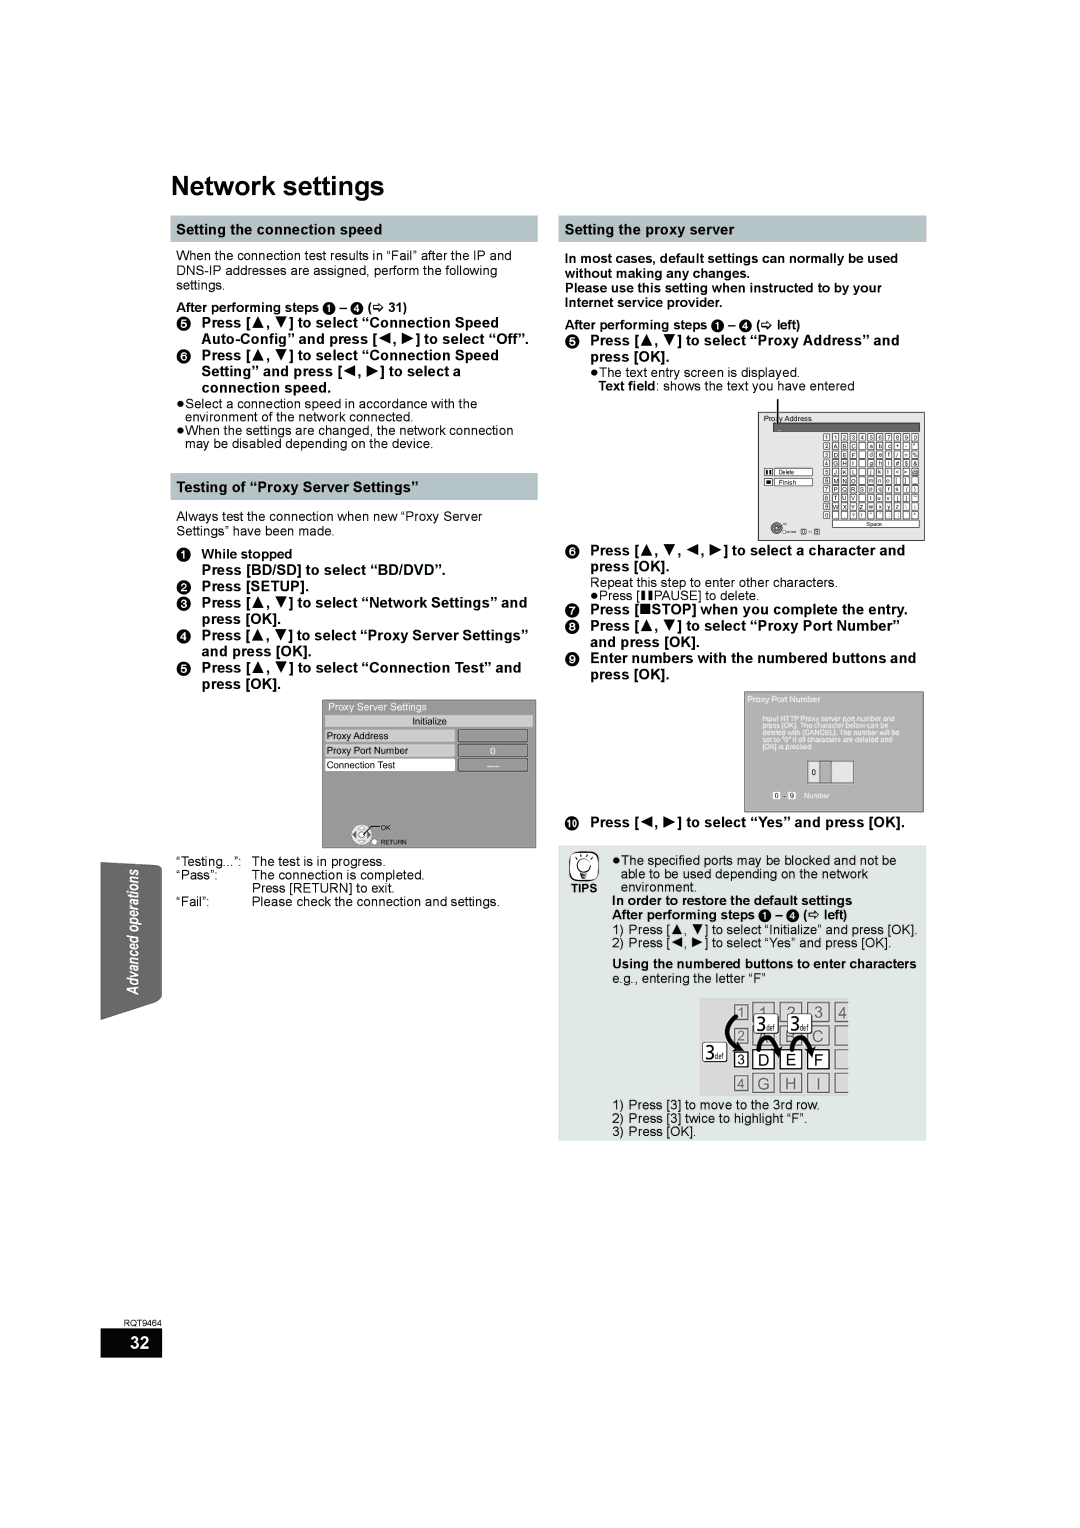
The SA-BTX70 and SC-BTX70 also support multiple audio input options, allowing for versatile connectivity with various devices. Whether you want to connect a turntable, TV, or other media devices, these systems provide the flexibility needed for a complete audio setup.
In conclusion, the Panasonic SA-BTX70 and SC-BTX70 audio systems stand out as powerful, versatile, and stylish solutions for home entertainment. With their impressive audio performance, advanced technologies, and user-friendly features, these systems cater to audiophiles and casual listeners alike, creating a rich and fulfilling audio experience in the comfort of your own home.