(Basic) | 3 | Recording still pictures |
Recording |
|
|
|
|
|
|
|
|
[HDD] [SD]
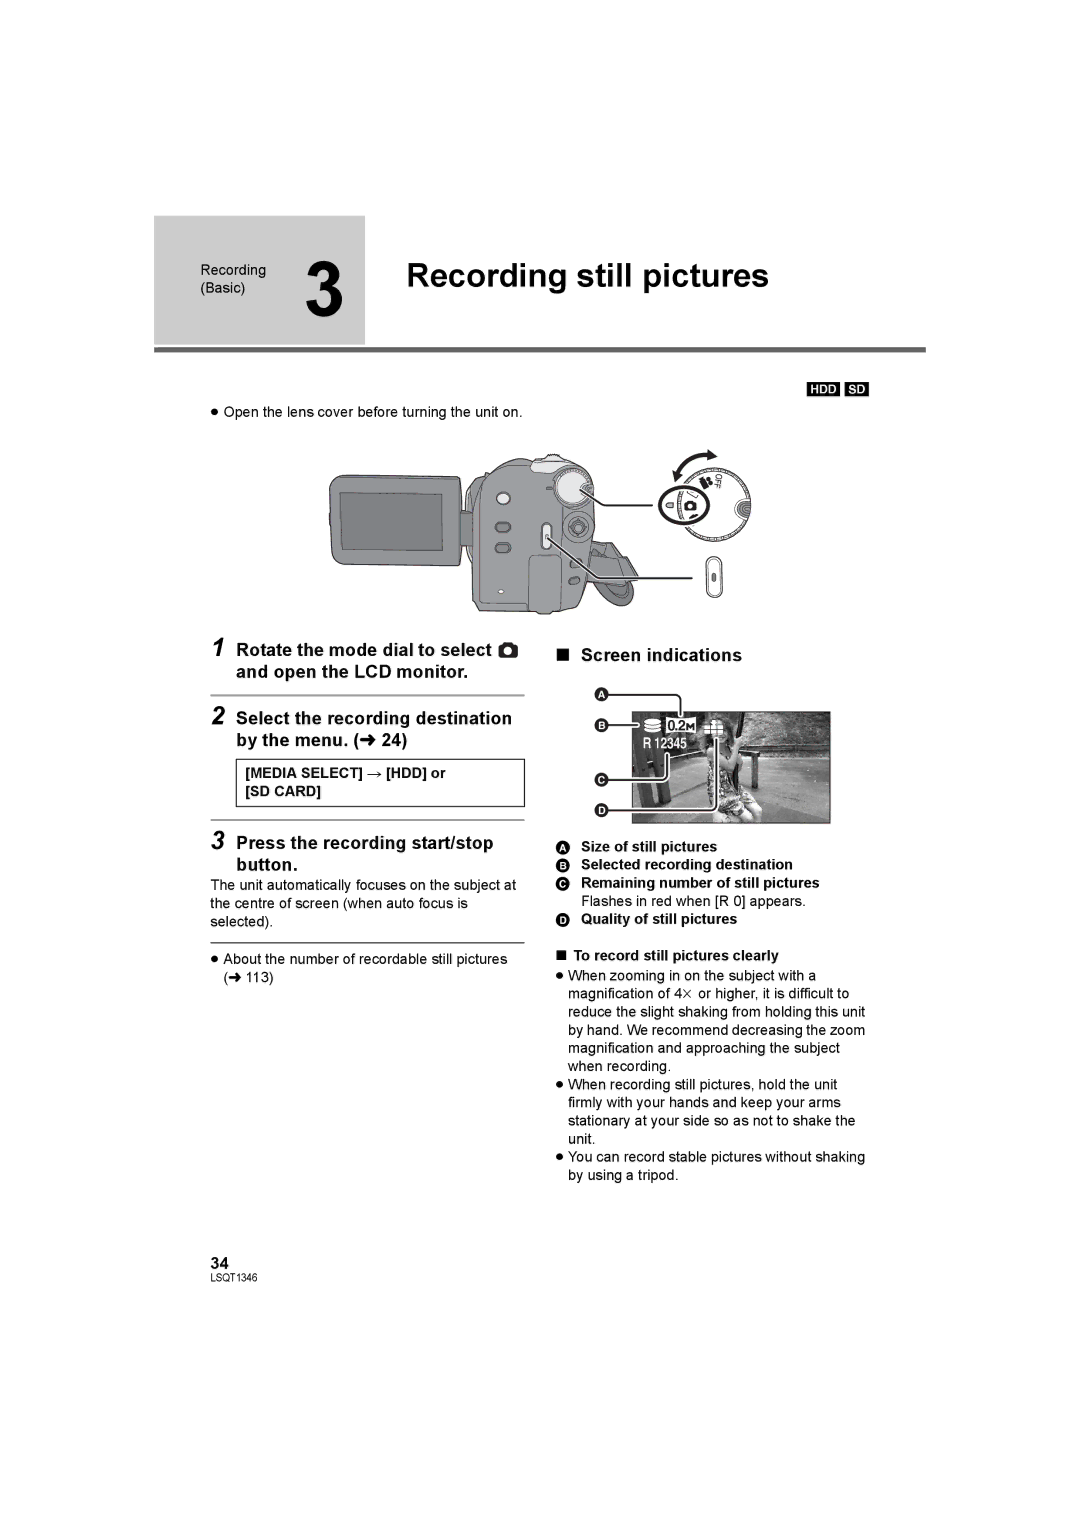
≥Open the lens cover before turning the unit on.
1 Rotate the mode dial to select ![]() and open the LCD monitor.
and open the LCD monitor.
2 Select the recording destination by the menu. (l24)
[MEDIA SELECT] # [HDD] or [SD CARD]
3 Press the recording start/stop button.
The unit automatically focuses on the subject at the centre of screen (when auto focus is selected).
≥About the number of recordable still pictures (l 113)
∫Screen indications
A
B![]()
![]() 0.2
0.2![]()
R 12345
C
D
ASize of still pictures
BSelected recording destination
C Remaining number of still pictures Flashes in red when [R 0] appears.
D Quality of still pictures
∫To record still pictures clearly
≥When zooming in on the subject with a magnification of 4k or higher, it is difficult to reduce the slight shaking from holding this unit by hand. We recommend decreasing the zoom magnification and approaching the subject when recording.
≥When recording still pictures, hold the unit firmly with your hands and keep your arms stationary at your side so as not to shake the unit.
≥You can record stable pictures without shaking by using a tripod.
34
LSQT1346