Before using 1 | What you can do with a PC |
|
|
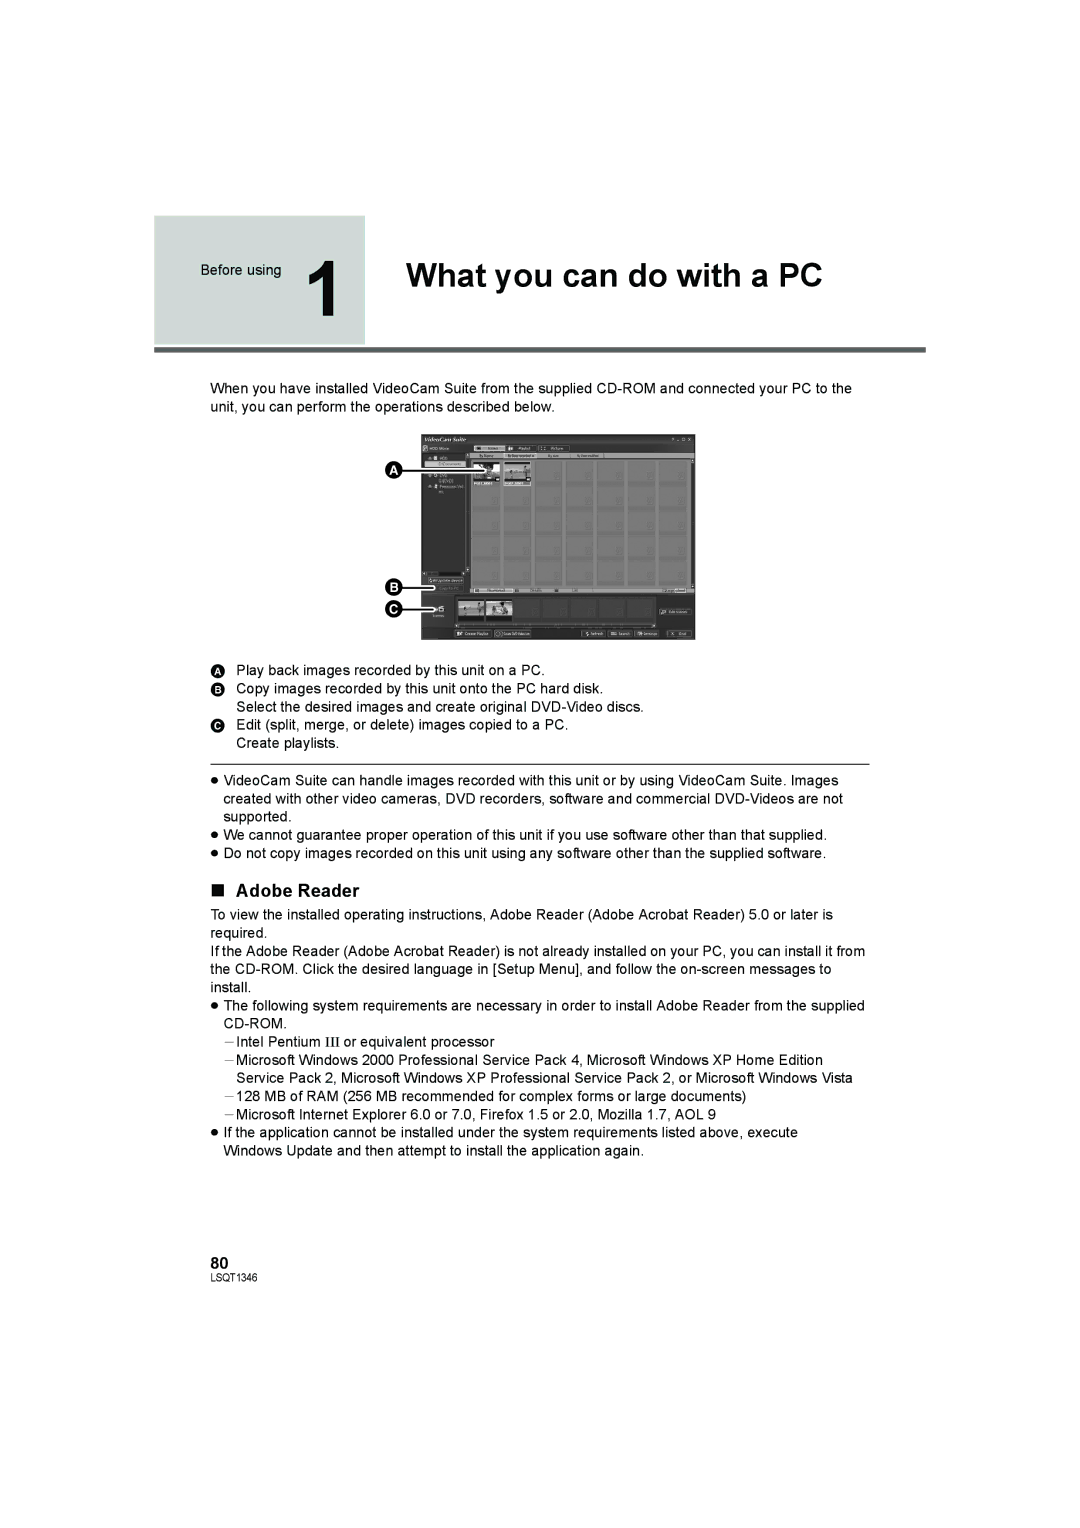
When you have installed VideoCam Suite from the supplied
A
B![]()
C![]()
APlay back images recorded by this unit on a PC.
BCopy images recorded by this unit onto the PC hard disk.
Select the desired images and create original
CEdit (split, merge, or delete) images copied to a PC. Create playlists.
≥VideoCam Suite can handle images recorded with this unit or by using VideoCam Suite. Images created with other video cameras, DVD recorders, software and commercial
≥We cannot guarantee proper operation of this unit if you use software other than that supplied.
≥Do not copy images recorded on this unit using any software other than the supplied software.
∫Adobe Reader
To view the installed operating instructions, Adobe Reader (Adobe Acrobat Reader) 5.0 or later is required.
If the Adobe Reader (Adobe Acrobat Reader) is not already installed on your PC, you can install it from the
≥The following system requirements are necessary in order to install Adobe Reader from the supplied
jIntel Pentium III or equivalent processor
jMicrosoft Windows 2000 Professional Service Pack 4, Microsoft Windows XP Home Edition Service Pack 2, Microsoft Windows XP Professional Service Pack 2, or Microsoft Windows Vista
j128 MB of RAM (256 MB recommended for complex forms or large documents) jMicrosoft Internet Explorer 6.0 or 7.0, Firefox 1.5 or 2.0, Mozilla 1.7, AOL 9
≥If the application cannot be installed under the system requirements listed above, execute Windows Update and then attempt to install the application again.
80
LSQT1346