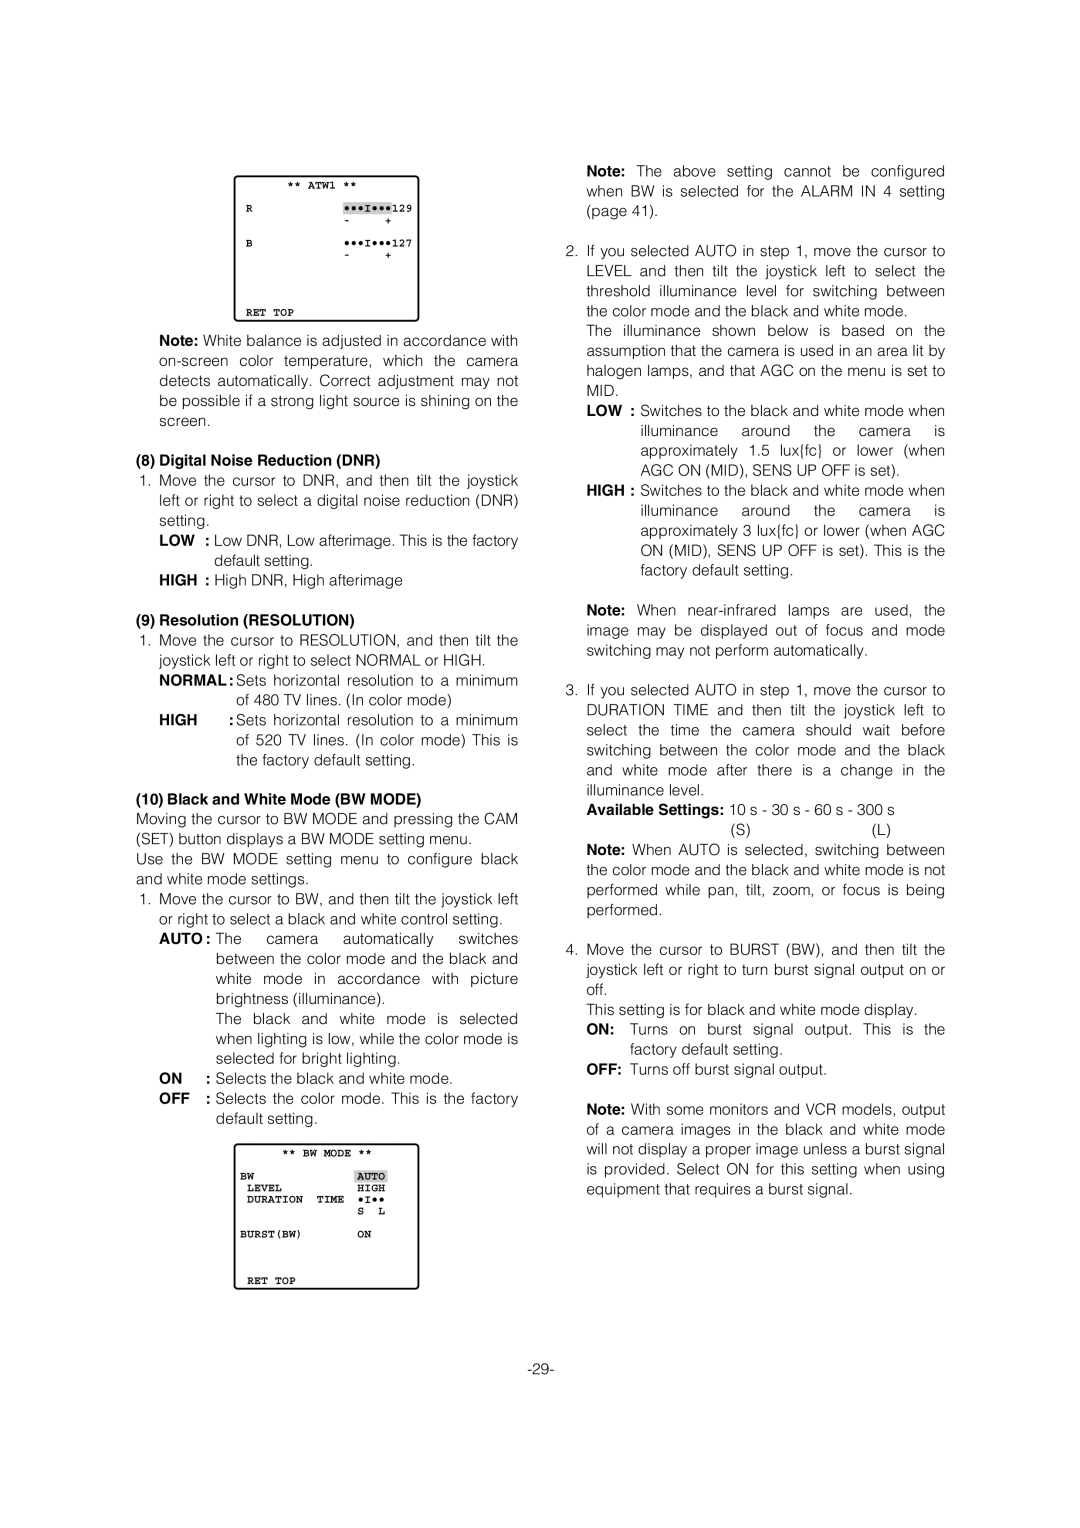
** ATW1 **
R•••I•••129
- +
B•••I•••127
- +
RET TOP
Note: White balance is adjusted in accordance with
(8) Digital Noise Reduction (DNR)
1.Move the cursor to DNR, and then tilt the joystick left or right to select a digital noise reduction (DNR) setting.
LOW : Low DNR, Low afterimage. This is the factory default setting.
HIGH : High DNR, High afterimage
(9) Resolution (RESOLUTION)
1.Move the cursor to RESOLUTION, and then tilt the joystick left or right to select NORMAL or HIGH. NORMAL: Sets horizontal resolution to a minimum
of 480 TV lines. (In color mode)
HIGH : Sets horizontal resolution to a minimum of 520 TV lines. (In color mode) This is the factory default setting.
(10) Black and White Mode (BW MODE)
Moving the cursor to BW MODE and pressing the CAM (SET) button displays a BW MODE setting menu.
Use the BW MODE setting menu to configure black and white mode settings.
1.Move the cursor to BW, and then tilt the joystick left or right to select a black and white control setting. AUTO : The camera automatically switches
between the color mode and the black and
white mode in accordance with picture brightness (illuminance).
The black and white mode is selected when lighting is low, while the color mode is selected for bright lighting.
ON : Selects the black and white mode.
OFF : Selects the color mode. This is the factory default setting.
** BW MODE **
BW | AUTO |
LEVEL | HIGH |
DURATION | TIME •I•• |
| S L |
BURST(BW) | ON |
RET TOP |
|
Note: The above setting cannot be configured when BW is selected for the ALARM IN 4 setting (page 41).
2.If you selected AUTO in step 1, move the cursor to LEVEL and then tilt the joystick left to select the threshold illuminance level for switching between the color mode and the black and white mode.
The illuminance shown below is based on the assumption that the camera is used in an area lit by halogen lamps, and that AGC on the menu is set to MID.
LOW : Switches to the black and white mode when illuminance around the camera is approximately 1.5 lux{fc} or lower (when AGC ON (MID), SENS UP OFF is set).
HIGH : Switches to the black and white mode when illuminance around the camera is approximately 3 lux{fc} or lower (when AGC ON (MID), SENS UP OFF is set). This is the factory default setting.
Note: When
3.If you selected AUTO in step 1, move the cursor to DURATION TIME and then tilt the joystick left to select the time the camera should wait before switching between the color mode and the black and white mode after there is a change in the illuminance level.
Available Settings: 10 s - 30 s - 60 s - 300 s
(S)(L)
Note: When AUTO is selected, switching between the color mode and the black and white mode is not performed while pan, tilt, zoom, or focus is being performed.
4.Move the cursor to BURST (BW), and then tilt the joystick left or right to turn burst signal output on or off.
This setting is for black and white mode display. ON: Turns on burst signal output. This is the
factory default setting.
OFF: Turns off burst signal output.
Note: With some monitors and VCR models, output of a camera images in the black and white mode will not display a proper image unless a burst signal is provided. Select ON for this setting when using equipment that requires a burst signal.