Specifying Management Settings
13
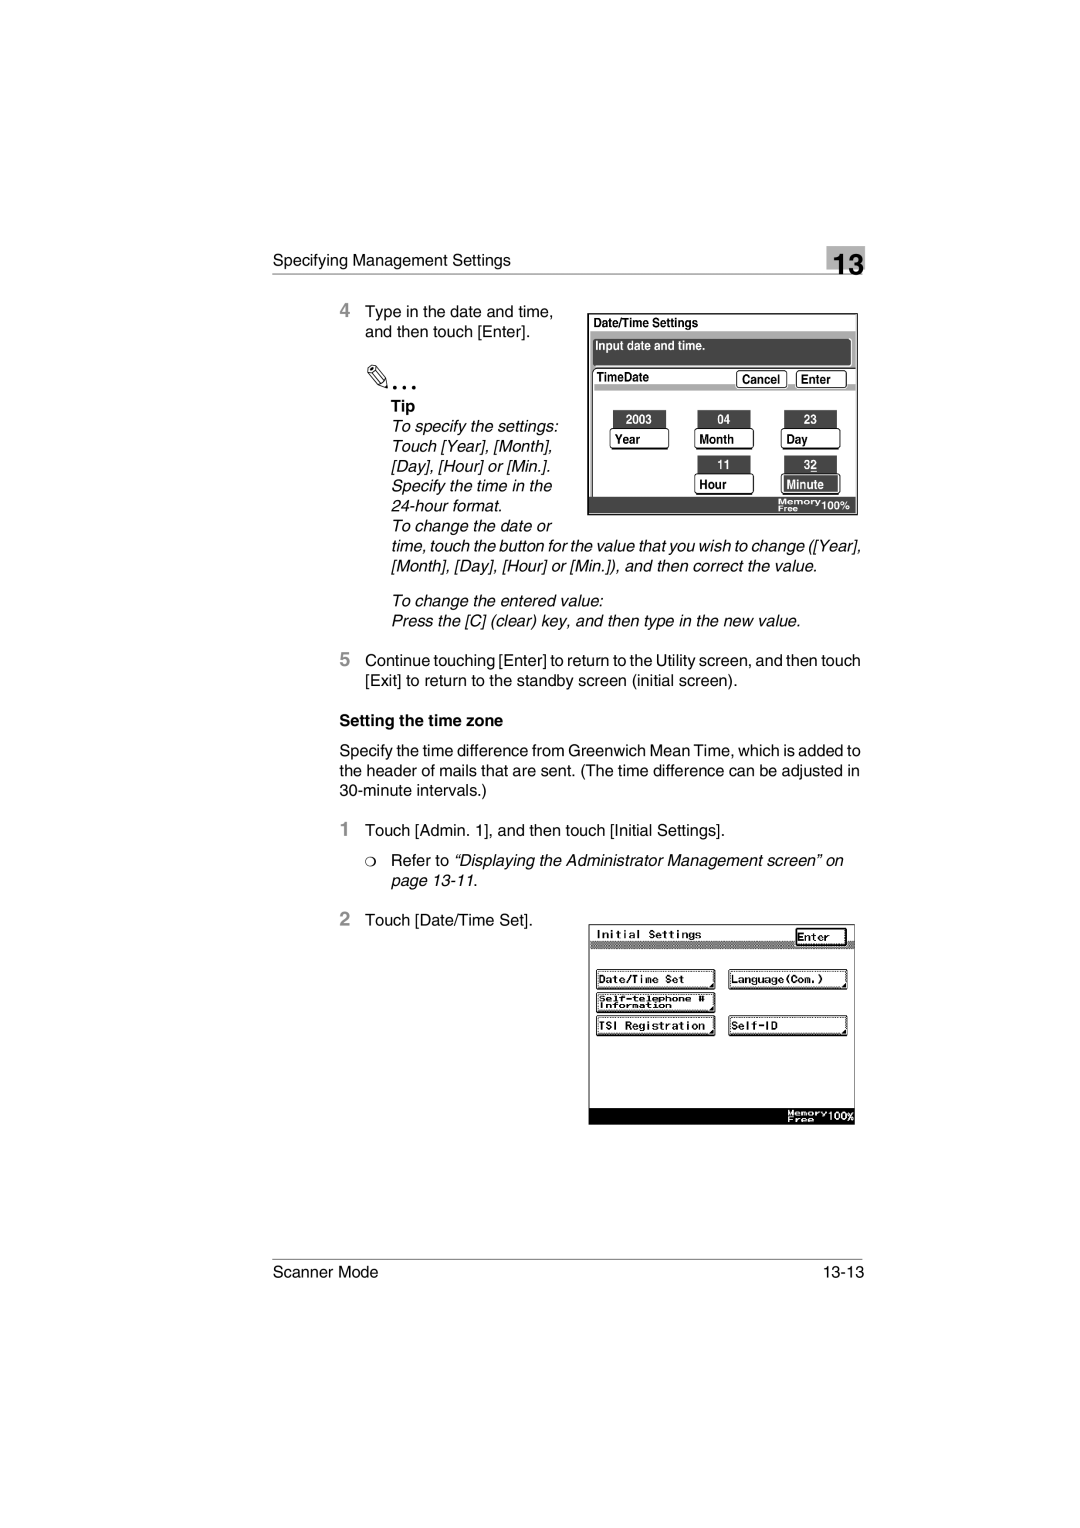
4Type in the date and time, and then touch [Enter].
Tip
To specify the settings: Touch [Year], [Month], [Day], [Hour] or [Min.]. Specify the time in the
To change the date or
time, touch the button for the value that you wish to change ([Year], [Month], [Day], [Hour] or [Min.]), and then correct the value.
To change the entered value:
Press the [C] (clear) key, and then type in the new value.
5Continue touching [Enter] to return to the Utility screen, and then touch [Exit] to return to the standby screen (initial screen).
Setting the time zone
Specify the time difference from Greenwich Mean Time, which is added to the header of mails that are sent. (The time difference can be adjusted in
1Touch [Admin. 1], and then touch [Initial Settings].
❍Refer to “Displaying the Administrator Management screen” on page 13-11.
2Touch [Date/Time Set].
Scanner Mode |
|