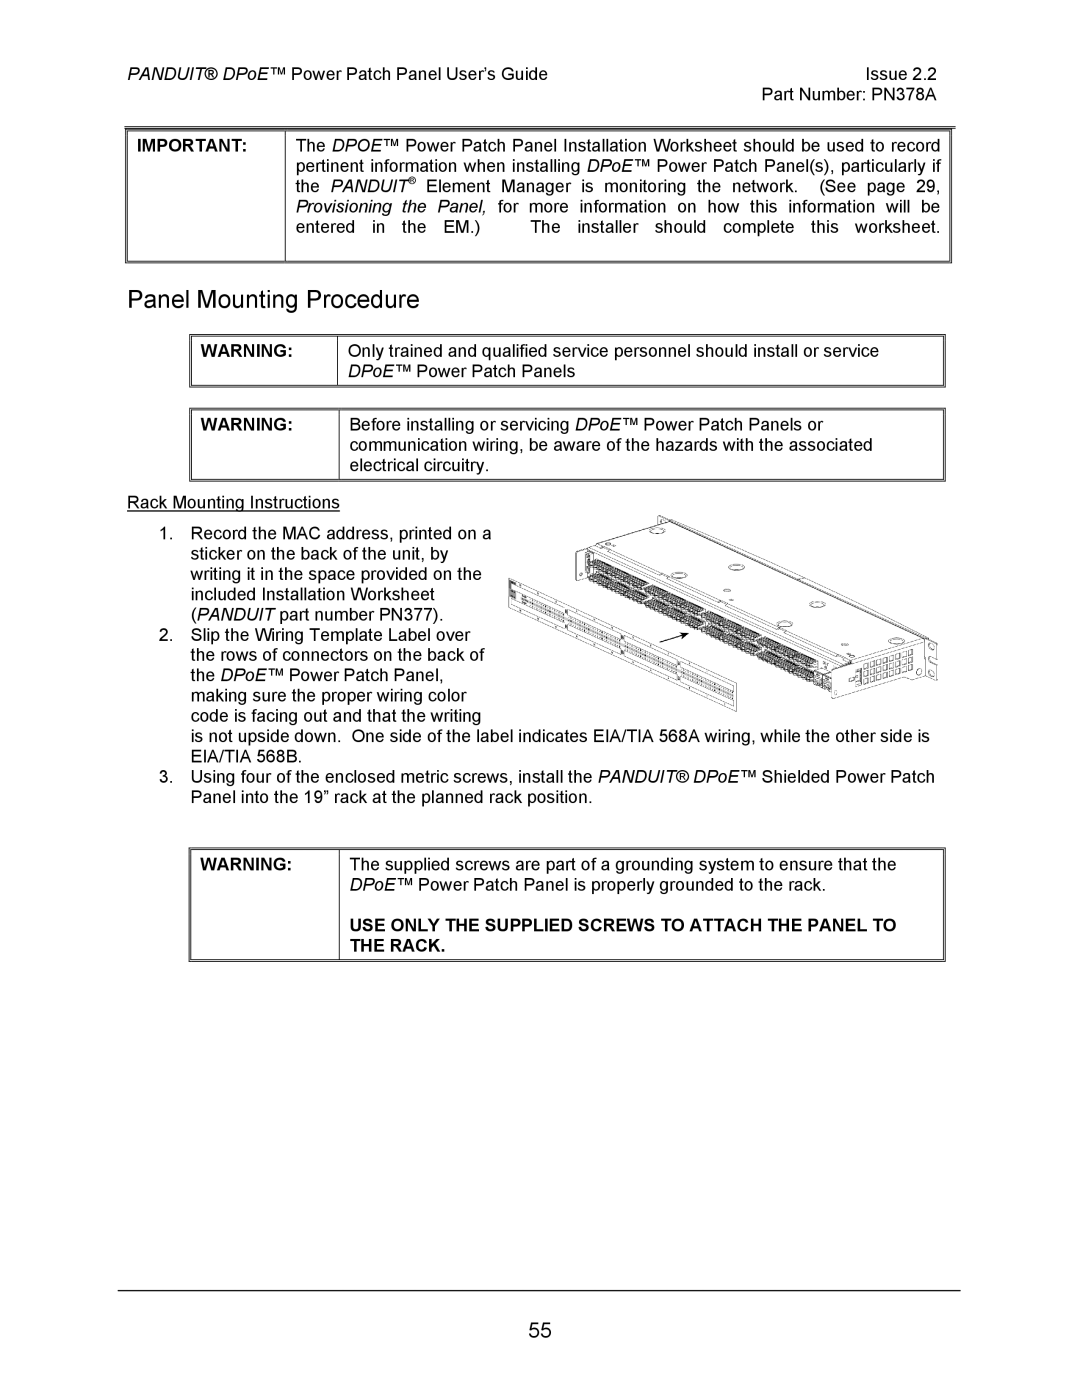
DPOE12U1X, DPOE24S1X, DPOE24U1XY, DPOE12U1XY, DPOE24S1XY specifications
Panduit, a leading provider of infrastructure solutions, has introduced a range of innovative products to support the evolving needs of networking and telecommunications. Among these are the DPOE12U1XY, DPOE24S1X, DPOE24U1XY, DPOE12U1X, and DPOE24S1XY, designed to enhance performance and reliability in various applications.The DPOE12U1XY is a high-density patch panel that offers 12 ports in a 1U form factor. Its compact design makes it ideal for environments where space is at a premium. It supports a range of cabling types, including Cat 6A and Cat 6, while also accommodating various connector styles. This flexibility ensures that users can adapt to different networking requirements without compromising on performance.
Similarly, the DPOE24S1X and DPOE24S1XY models cater to larger installations, featuring 24 ports in a 1U configuration. These models focus on providing exceptional port density while maintaining compliance with industry standards for performance and reliability. Their versatile design allows for easy integration into existing systems, making them an excellent choice for data centers and enterprise networks.
The DPOE12U1X also joins this lineup, offering 12 ports in a unique design optimized for ease of use. With its simple installation process and intuitive labeling system, this panel simplifies network management and minimizes downtime during upgrades or maintenance.
All models in this series leverage advanced technologies such as enhanced cable management and efficient airflow design, ensuring optimal performance and reduced overheating. They also feature robust construction, providing reliability and durability in demanding environments.
Key characteristics of these Panduit products include color-coded ports, allowing for quick identification and troubleshooting, and a modular design that supports future scalability. Additionally, the panels offer compatibility with the Panduit Pan-Track system, facilitating organized cable routing for improved aesthetics and performance.
In summary, the Panduit DPOE series provides a comprehensive solution for networking needs, combining high density, ease of installation, and advanced technology. Whether for a data center or an office environment, these products stand out as reliable choices for enhancing network infrastructure.