3.Press L or R to change the print position. Pressing L decreases the value (moves the image down); R increases it (moves the image up).
4.Press E when the number you need appears. Press U twice to exit to the Main menu.
S u p p l y P o s i t i o n
This function adjusts how much supply feeds out of the exit chute. You may need to adjust the supply in or out to allow
♦labels to be removed.
♦die cut labels to be removed easily.
The adjustments are in dots (0.0033 inch).
♦Increase the number to feed more supply out of the chute.
♦Decrease the number to feed less supply out of the chute.
This option takes effect on the next label printed. Changing supply position may also affect print position.
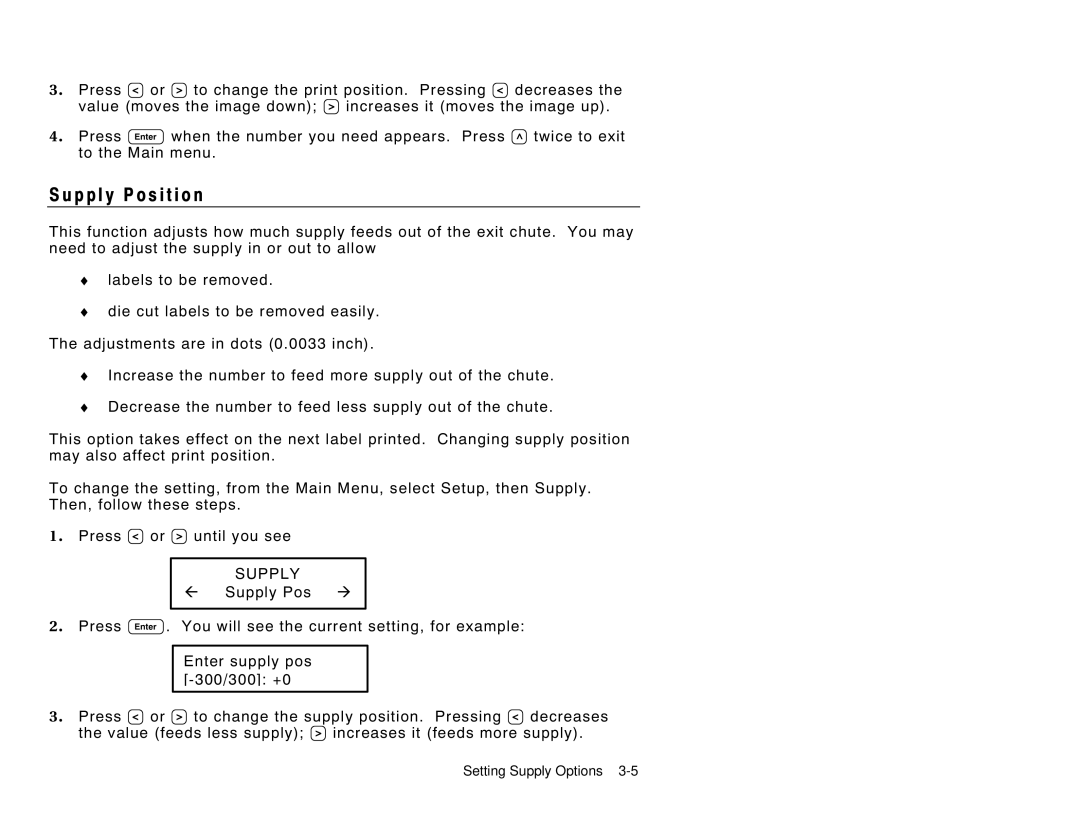
To change the setting, from the Main Menu, select Setup, then Supply. Then, follow these steps.
1.Press L or R until you see
SUPPLY
l Supply Pos r
2.Press E. You will see the current setting, for example:
Enter supply pos
3.Press L or R to change the supply position. Pressing L decreases the value (feeds less supply); R increases it (feeds more supply).
Setting Supply Options
