C o n n e c t i n g t h e P o w e r C a b l e
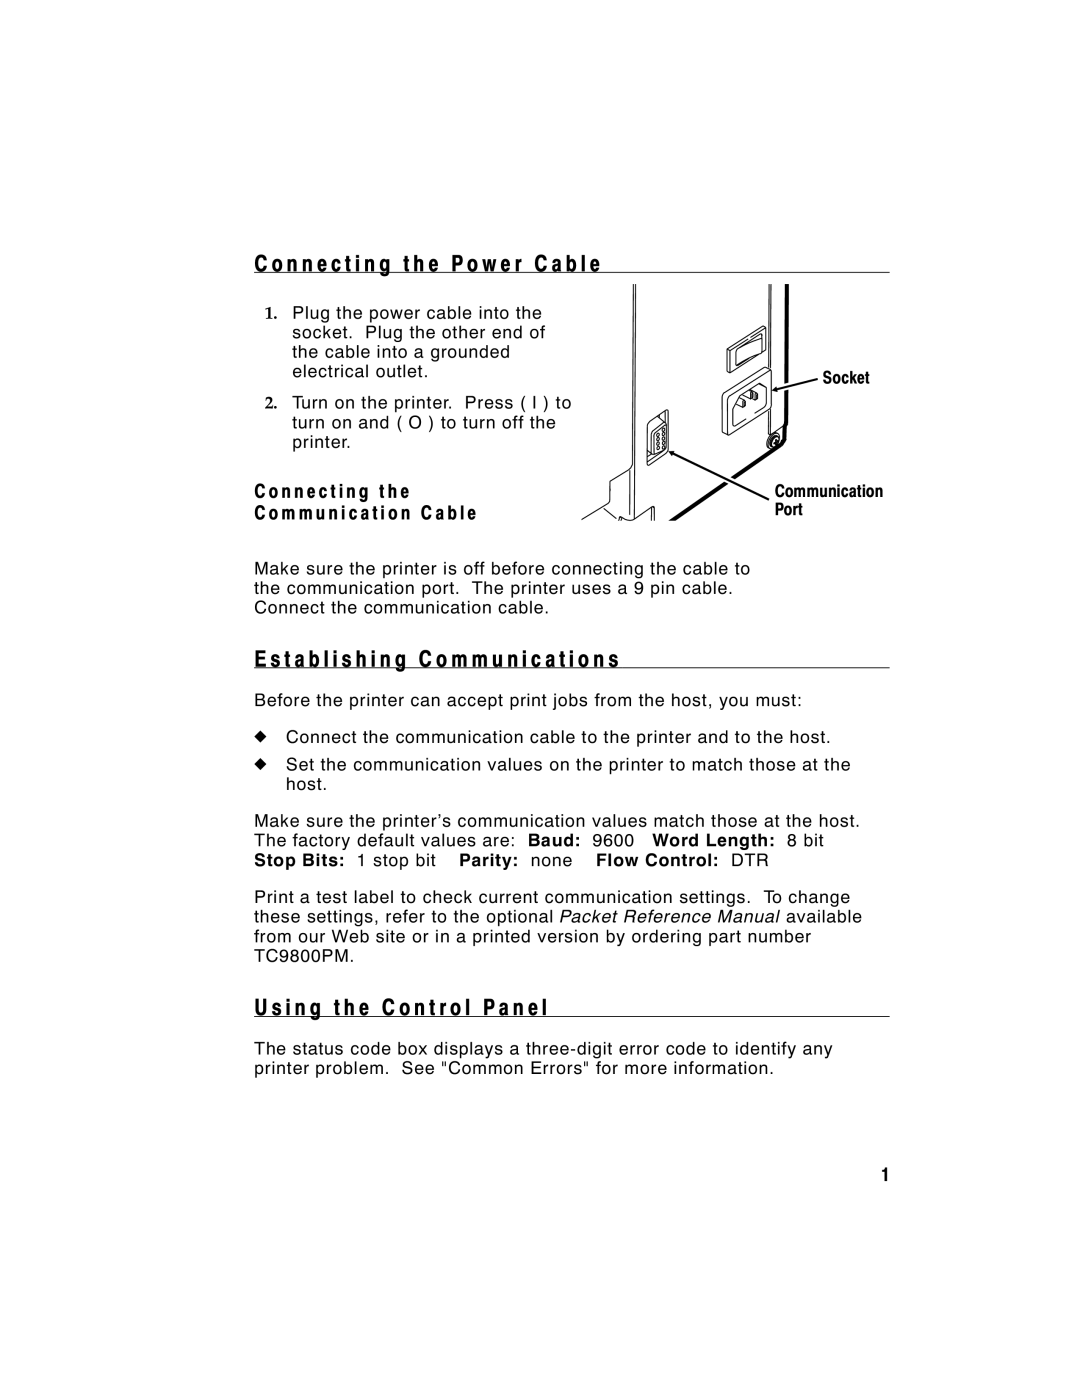
1.Plug the power cable into the socket. Plug the other end of the cable into a grounded electrical outlet.
2.Turn on the printer. Press ( I ) to turn on and ( O ) to turn off the printer.
C o n n e c t i n g t h e
C o m m u n i c a t i o n C a b l e

 Socket
Communication
Port
Make sure the printer is off before connecting the cable to the communication port. The printer uses a 9 pin cable. Connect the communication cable.
E s t a b l i s h i n g C o m m u n i c a t i o n s
Before the printer can accept print jobs from the host, you must:
uConnect the communication cable to the printer and to the host.
uSet the communication values on the printer to match those at the host.
Make sure the printer’s communication values match those at the host.
The factory default values are: | Baud: | 9600 Word Length: 8 bit |
Stop Bits: 1 stop bit Parity: | none | Flow Control: DTR |
Print a test label to check current communication settings. To change these settings, refer to the optional Packet Reference Manual available from our Web site or in a printed version by ordering part number TC9800PM.
U s i n g t h e C o n t r o l P a n e l
The status code box displays a
1
