8.0 RECORDING
NOTES:
•Press the PAUSE/SHUTTLE HOLD button to momentarily stop recording. Press the but- ton again to resume recording.
•To protect the tape, the pause mode is automatically re- leased after about five min- utes.
•The REC button will not func- tion unless the tape is in the stop or pause mode.
•If the cassette you insert in the VCR has the erasure preven- tion tab removed, the VCR will automatically eject it if you try to record on it.
•Both
8.1MANUAL RECORDING
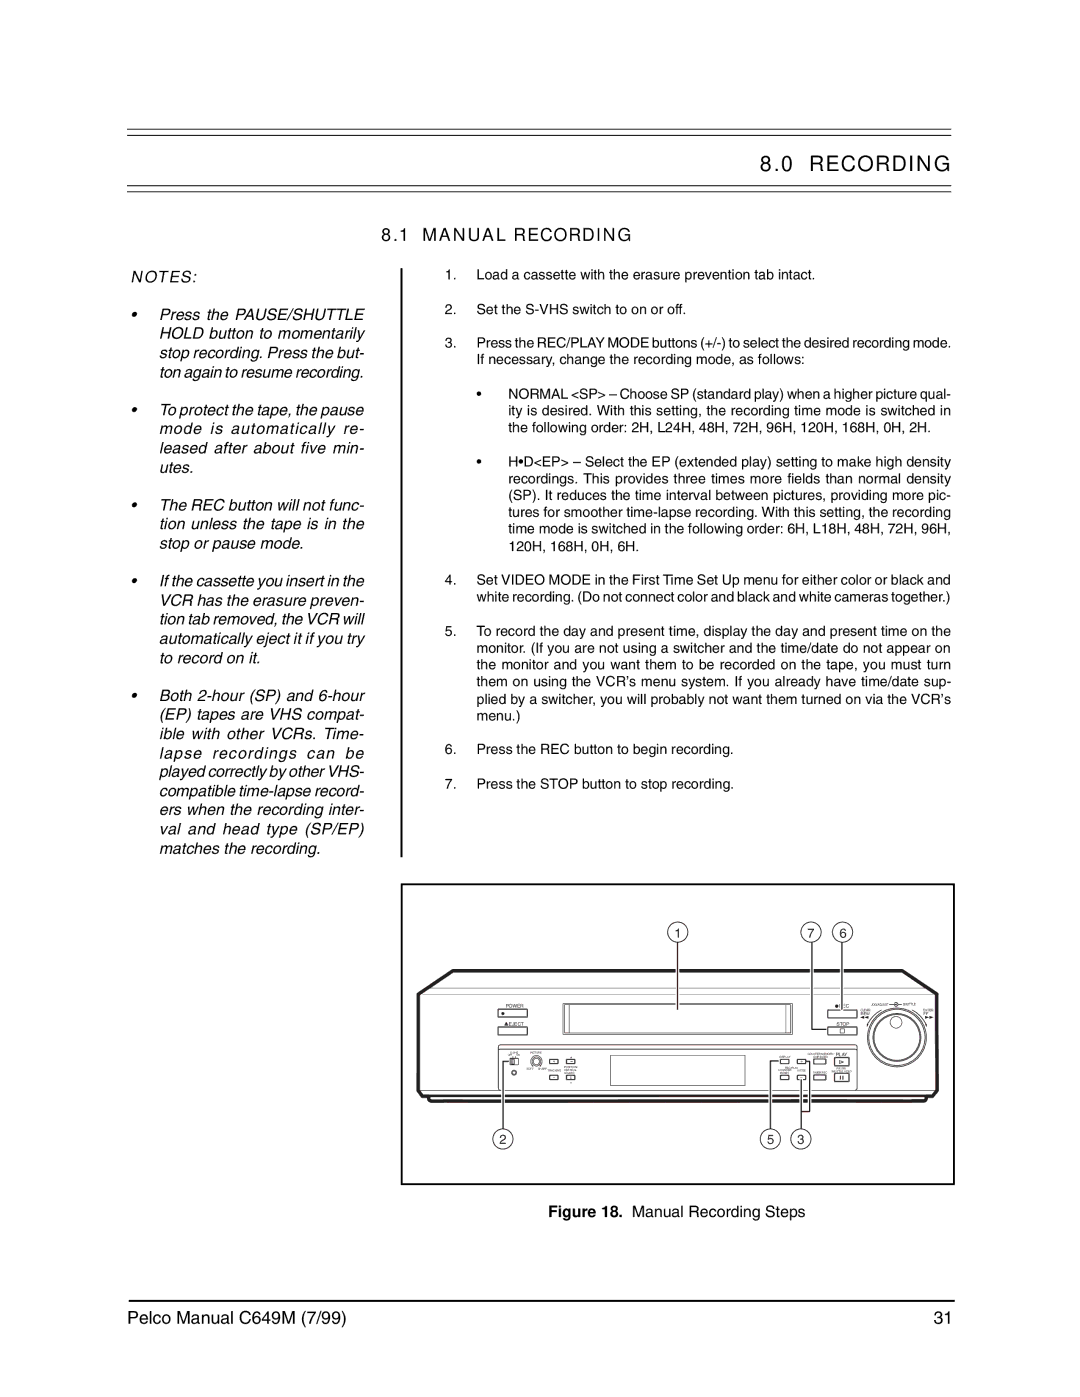
1.Load a cassette with the erasure prevention tab intact.
2.Set the
3.Press the REC/PLAY MODE buttons
•NORMAL <SP> – Choose SP (standard play) when a higher picture qual- ity is desired. With this setting, the recording time mode is switched in the following order: 2H, L24H, 48H, 72H, 96H, 120H, 168H, 0H, 2H.
•H•D<EP> – Select the EP (extended play) setting to make high density recordings. This provides three times more fields than normal density (SP). It reduces the time interval between pictures, providing more pic- tures for smoother
4.Set VIDEO MODE in the First Time Set Up menu for either color or black and white recording. (Do not connect color and black and white cameras together.)
5.To record the day and present time, display the day and present time on the monitor. (If you are not using a switcher and the time/date do not appear on the monitor and you want them to be recorded on the tape, you must turn them on using the VCR’s menu system. If you already have time/date sup- plied by a switcher, you will probably not want them turned on via the VCR’s menu.)
6.Press the REC button to begin recording.
7.Press the STOP button to stop recording.
|
|
|
| 1 |
|
| 7 |
| 6 |
|
|
POWER |
|
|
|
|
|
|
|
| REC | JOG/ADJUST | SHUTTLE |
|
|
|
|
|
|
|
| CLEAR/ | ENTER/ | ||
|
|
|
|
|
|
|
|
|
| ||
|
|
|
|
|
|
|
|
|
| REW | FF |
EJECT |
|
|
|
|
|
|
|
| STOP |
|
|
PICTURE |
|
|
|
| COUNTER MEMORY/ | PLAY |
|
| |||
OFF ON |
|
|
|
| DISPLAY |
| SKIP/INDEX |
|
|
| |
| SOFT | SHARP |
| POSITION/ | REC/PLAY |
|
| PAUSE/ |
|
| |
|
|
| TRACKING | VERTICAL | COUNTER | MODE | TIMER REC | SHUTTLE HOLD |
|
| |
|
|
|
| ADJUST | RESET |
|
|
|
|
| |
2 |
|
|
|
| 5 | 3 |
|
|
|
|
|
Figure 18. Manual Recording Steps
Pelco Manual C649M (7/99) | 31 |
