Manuals
/
Philips
/
Photography
/
Digital Photo Frame
Philips
9FF2
user manual
Photo Frame
Models:
9FF2
1
1
70
70
Download
70 pages
53.41 Kb
1
2
3
4
5
6
7
8
Troubleshooting
Specs
FAQ
Connecting Power Source
Warranty
Quick access to thumbnai
Setting Time, Date and Clock
Browse Mode
Page 1
Image 1
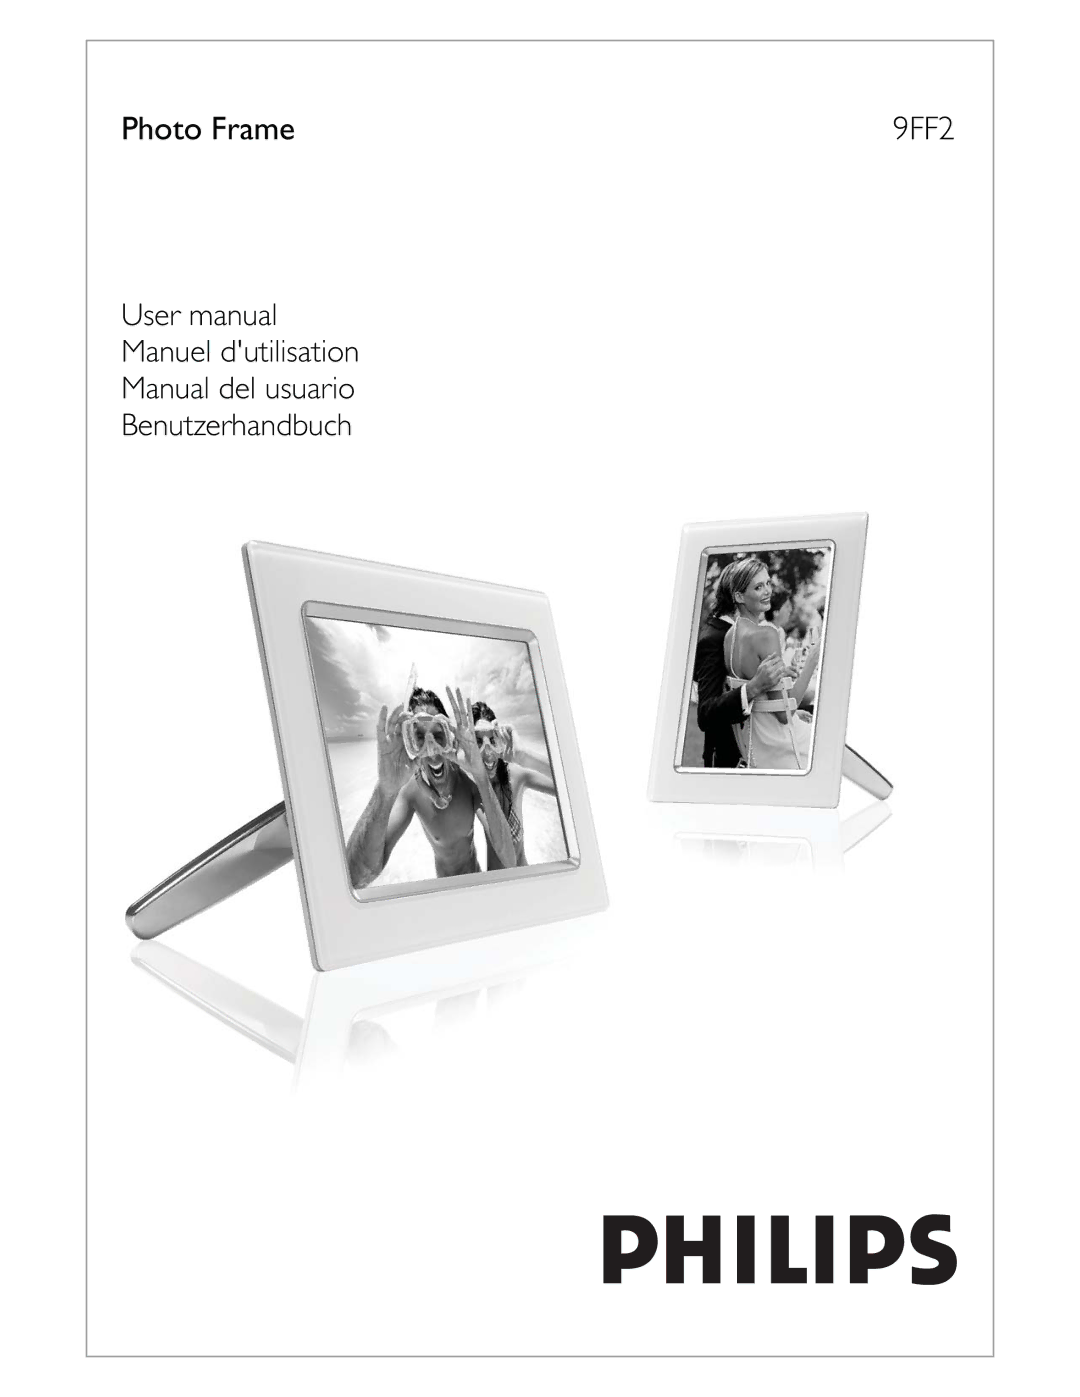
Photo Frame
9FF2
User manual
Manuel d'utilisation
Manual del usuario
Benutzerhandbuch
Page 1
Page 2
Page 1
Image 1
Page 1
Page 2
Contents
Photo Frame
Philips 2006 2006.8 First Version
Content
Introduction
Packing list
Getting started
Connecting Power Source
Initial setup
Locate Control Buttons
Turning on Photo Frame
Select Language
Setting Time, Date and Clock
Navigate down to Time, Date and Clock
Time
Inserting a memory card
Play Photos from Memory Card
Removing a memory card
Philips Electronics
Slide Show Mode
Browse Mode
Managing Photos and Albums
Thumbnail Access and Navigation
Photo selection single and multiple
Quick access to thumbnai
Copying Photos
Photo Menu
Copying photos single and multiple photos
Photo menu
Philips Electronics
To copy from Photo Frame to PC
Navigation
Deleting Photos2
Rotating
Rotating, Zooming and Cropping3
Navigate down to go to Rotate and Crop
Zoom + button
Zooming and Cropping
Album
Moving Photos4
Photo Effects5
Frames6
Album Menu Creating New Photo Album
Delete Album
Rename Album
Slideshow Create New Slideshow
Creating and Managing Slideshows
Add Album to Slideshow
Play All albums or selected slideshow
Philips Electronics
Remove Album from Slideshow
Rename Slideshow
Delete Slideshow
Slideshow Sequence
Slide and Scroll
Transition Effects
Frequency
Collage
Background Color
Press Play Slideshow button to exit menu
Brightness
Language
Navigate down to Memory Card
Memory Card
Navigate right select Do Not Allow or Allow
Create New
Event Reminder
Philips Electronics
Event Reminder Time
Deleting an event reminder
Snooze
Time, Date and Clock
Weekday Monday 0000 to Friday
Auto On/Off
Weekend Saturday 0000 to Sunday
Philips Electronics
Auto Tilt
Turning the button sounds on or OFF
Beep On/Off
Status
Checking Display Status
Getting help
Taking Care of Photo Frame
Frequently asked questions
Philips Electronics
Troubleshooting
Months
Service and Warranty
Months Germany, Turkey
Western Europe
Contact
Greece 00800 3122
Philips Pixel Defect Policy
Appendix
Proximity of Pixel Defects
Total DOT Defects
Recycling Information for Customers
Regulatory
Banned Substance Declaration
CE Declaration of Conformity
FCC Declaration of Conformity
Commission Federale de la Communication FCC Declaration
Polish Center for Testing and Certification Notice
Bsmi Notice Taiwan Only
North Europe Information Nordic Countries
Waste Electronics and Electrical Equipment Weee
End-of-Life Disposal
Specification
UL, Vcci
Taking care of your Photo Frame
Frequently Asked Questions
Philips Electronics
Top
Page
Image
Contents