Data adjustments
|
|
|
|
|
|
| STAND BY |
MENU |
| OK |
|
|
|
| |
|
|
|
|
|
| PICTURE SIZE |
|
|
| VOLUME + |
|
| BRIGHTNESS | CONTRAST | FREEZE |
|
|
|
|
|
|
| |
|
|
|
|
| PICTURE FORMAT COLOUR TRACKING | ZOOM | |
|
|
|
|
| DATA | VIDEO | |
PICTUREI | SIZEI – |
| PICTUREI | SIZEI + | KEY LOCK | AV MUTE | INFO |
|
|
|
| ||||
|
|
|
|
| MENU |
| OK |
|
| VOLUME – |
|
|
|
|
|
|
|
|
|
|
|
| KEYSTONE |
|
|
|
|
|
| MUTE |
|
| DATA | VIDEO |
|
|
|
| |
STANDBY |
|
|
|
|
|
| |
|
| SOURCE | AV MUTE |
|
|
| |
5. Operation | On Screen Display Menu > |
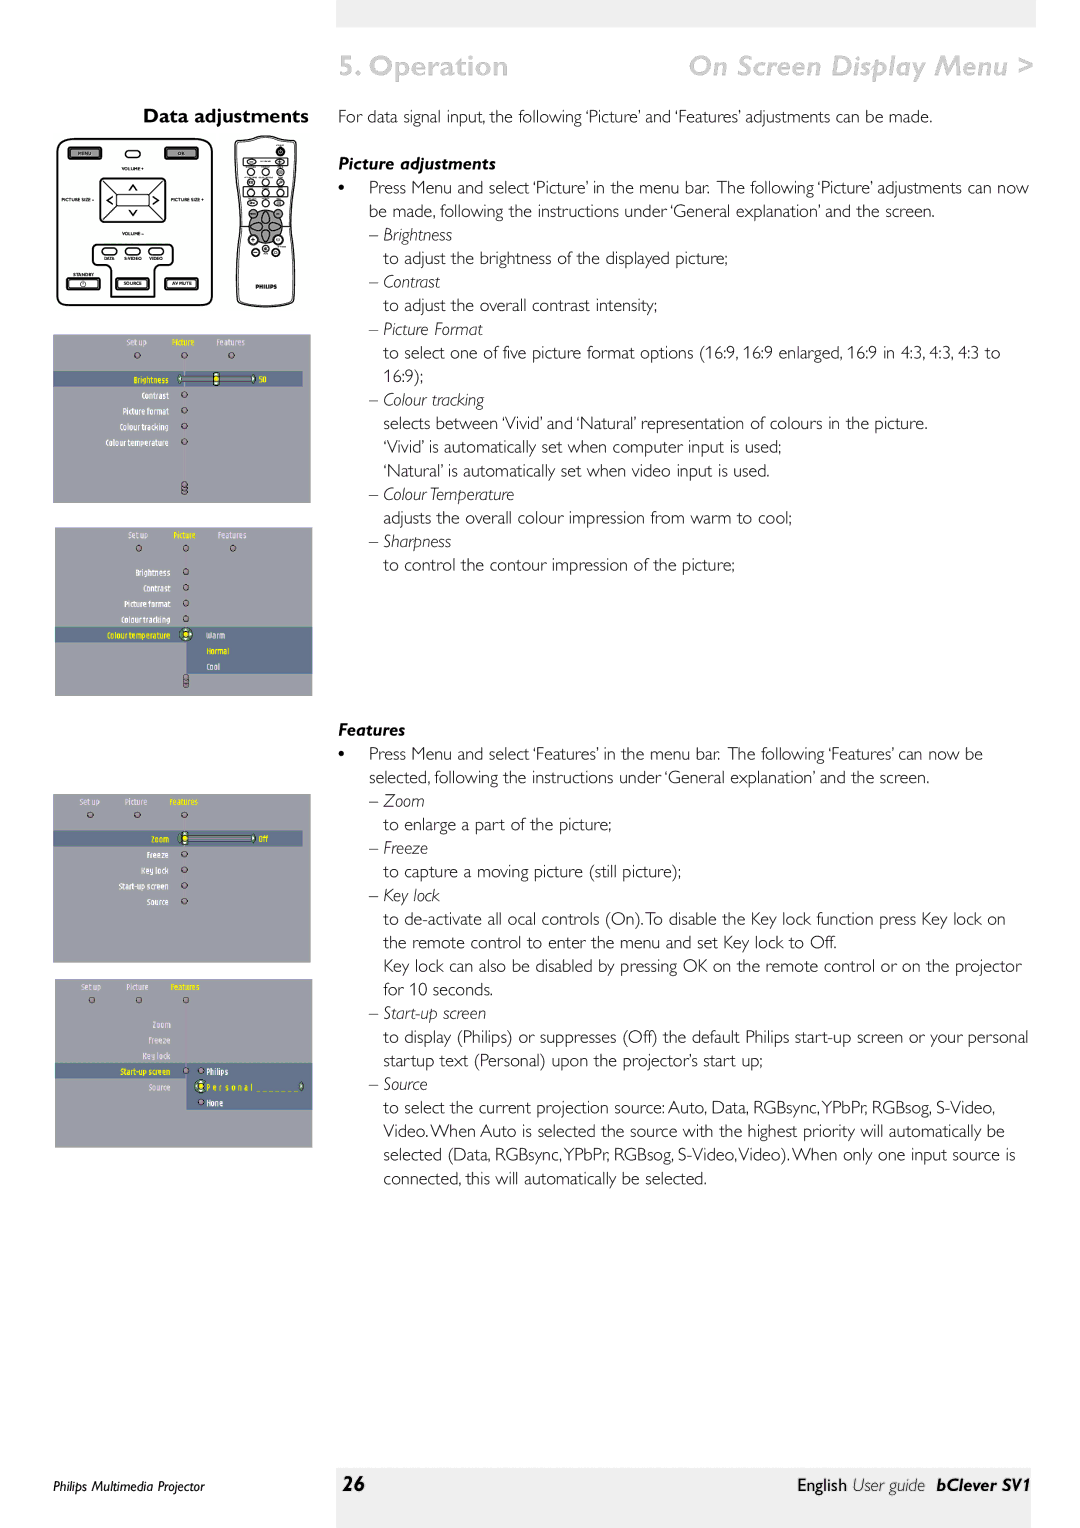
For data signal input, the following ‘Picture’ and ‘Features’ adjustments can be made.
Picture adjustments
•Press Menu and select ‘Picture’ in the menu bar. The following ‘Picture’ adjustments can now be made, following the instructions under ‘General explanation’ and the screen.
–Brightness
to adjust the brightness of the displayed picture;
–Contrast
to adjust the overall contrast intensity;
–Picture Format
to select one of five picture format options (16:9, 16:9 enlarged, 16:9 in 4:3, 4:3, 4:3 to 16:9);
–Colour tracking
selects between ‘Vivid’ and ‘Natural’ representation of colours in the picture. ‘Vivid’ is automatically set when computer input is used;
‘Natural’ is automatically set when video input is used.
–Colour Temperature
adjusts the overall colour impression from warm to cool;
–Sharpness
to control the contour impression of the picture;
Features
•Press Menu and select ‘Features’ in the menu bar. The following ‘Features’ can now be selected, following the instructions under ‘General explanation’ and the screen.
–Zoom
to enlarge a part of the picture;
–Freeze
to capture a moving picture (still picture);
–Key lock
to
Key lock can also be disabled by pressing OK on the remote control or on the projector for 10 seconds.
–Start-up screen
to display (Philips) or suppresses (Off) the default Philips
–Source
to select the current projection source: Auto, Data, RGBsync,YPbPr, RGBsog,
Philips Multimedia Projector | 26 | English User guide bClever SV1 |
|
|
|
