DVDR612, DVDR612/97 specifications
The Philips DVDR612/97 is a versatile and user-friendly DVD recorder designed to cater to the needs of both casual viewers and avid home theater enthusiasts. With its array of features, this device stands out as a reliable solution for recording and playing back various media formats.One of the primary features of the DVDR612 is its capability to record high-quality video onto DVD+R and DVD+RW discs, providing users with the flexibility to create customized movie collections or backup personal footage. The unit supports a range of recording modes, allowing users to choose between standard and extended recording lengths, which optimizes storage according to their requirements. Additionally, the device is equipped with progressive scan technology, delivering superior picture quality with enhanced detail and vivid colors for an immersive viewing experience.
The Philips DVDR612/97 also integrates a built-in tuner, enabling users to watch and record live television shows seamlessly. The device supports various digital and analog formats, ensuring compatibility with most television sources. Furthermore, this model includes a user-friendly electronic programming guide (EPG), which simplifies scheduling recordings, making it easier for users to catch their favorite programs without missing a moment.
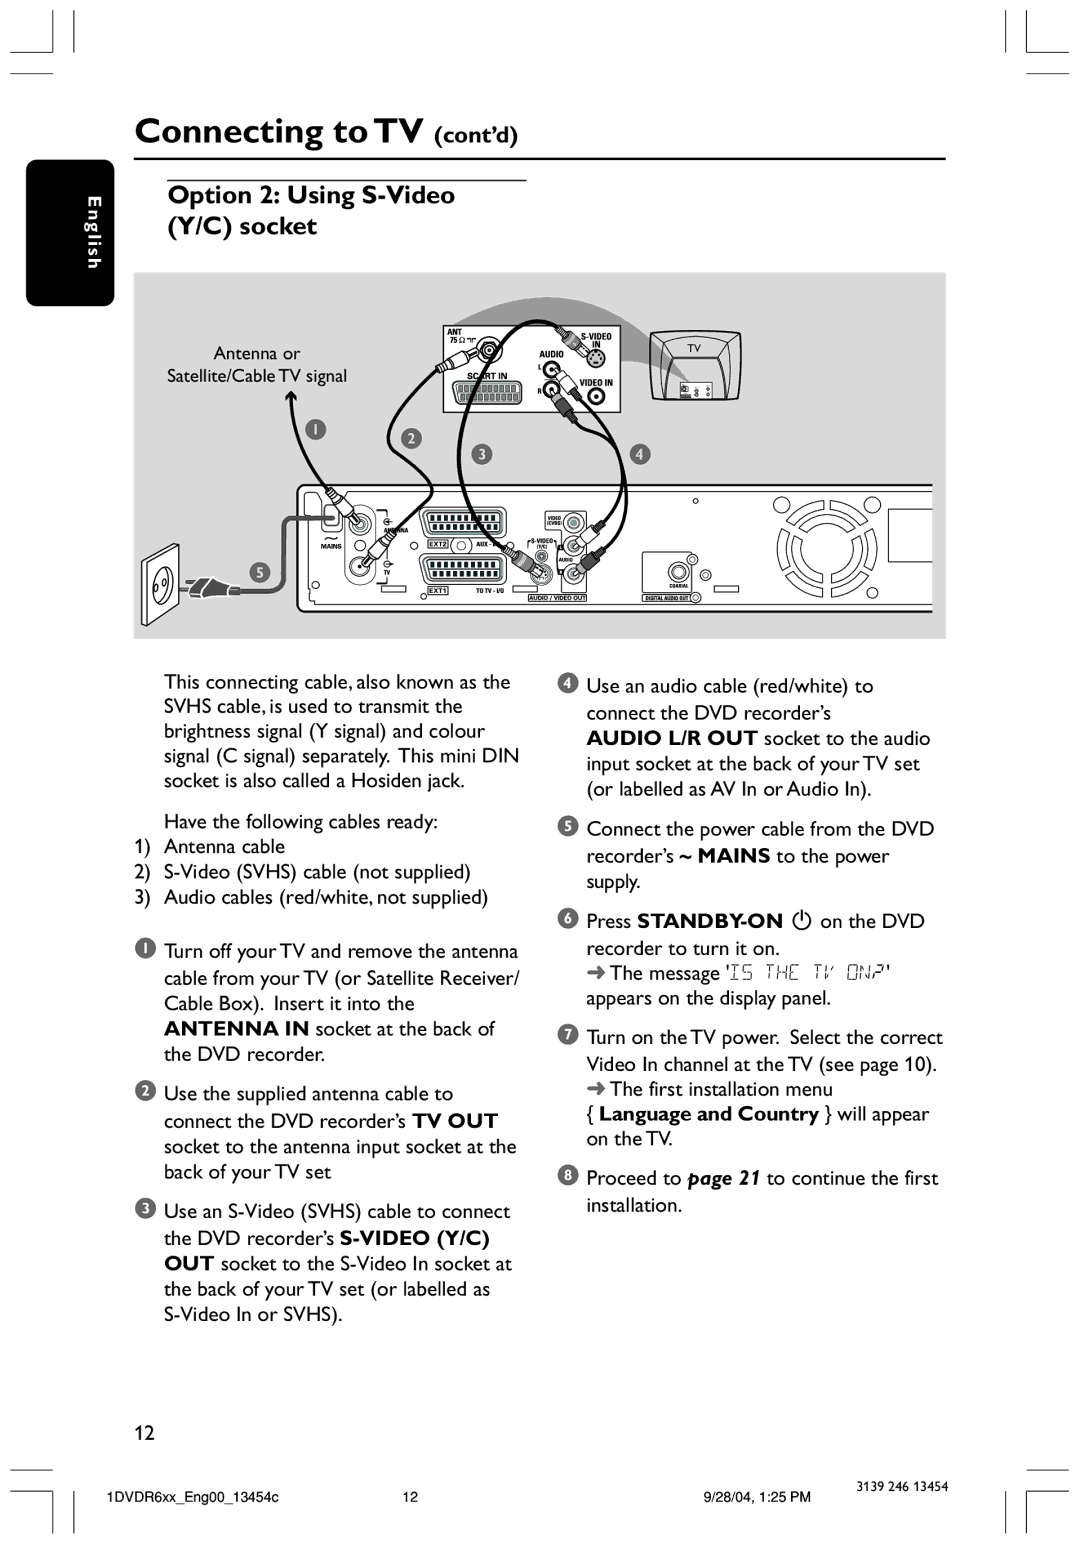
In terms of connectivity, the DVDR612 boasts multiple input options, including S-Video, composite video, and audio jacks, accommodating various devices such as camcorders, gaming consoles, and other media players. It also features a USB port, enabling users to connect compatible devices for easy access to their digital photos and videos. This connectivity expands the functionality of the DVDR612, allowing it to serve as a central hub for home entertainment.
Another significant characteristic of the Philips DVDR612 is its ease of use. The on-screen menus are intuitive, making navigation straightforward for users of all technological skill levels. It also provides helpful features like one-touch recording and simplified disc finalization for hassle-free playback on standard DVD players.
In summary, the Philips DVDR612/97 DVD recorder combines advanced recording technology, user-friendly features, and extensive connectivity options, making it a perfect choice for anyone looking to preserve and enjoy their video content with ease and quality. Whether you’re archiving family memories or recording your favorite shows, the DVDR612 stands as a reliable and effective home entertainment solution.

