18 Initial Setup
Initial Setup screens will appear the very first time you turn on the Recorder. These
During Initial Setup,“IS TV ON? CO3” will appear on the Recorder’s display panel.The Initial Setup information shows on your TV.
“IS TV ON? CO3” indicates you should turn on your television and set it to channel 3 or the correct Video In channel. Even though your TV may be on, you must set it to the correct Video In channel to see the Initial Setup messages. See pages
Follow the steps below to set up the Recorder. You cannot turn off the
Recorder until you finish the Initial Setup.The only way to quit the Initial Setup is to disconnect the power cord. If you quit, the Initial Setup screens will appear again the next time you turn on the Recorder.The screens will not go away until you finish the Initial Setup. Also, you cannot open the Disc tray while “IS TV ON? CO3” appears. (“INSTALL RECORDER FIRST” will show on the display panel.)
If the setup screens do not appear, your Recorder has been set up previously. You can change setup items later. See the pages listed at each step below for each feature.
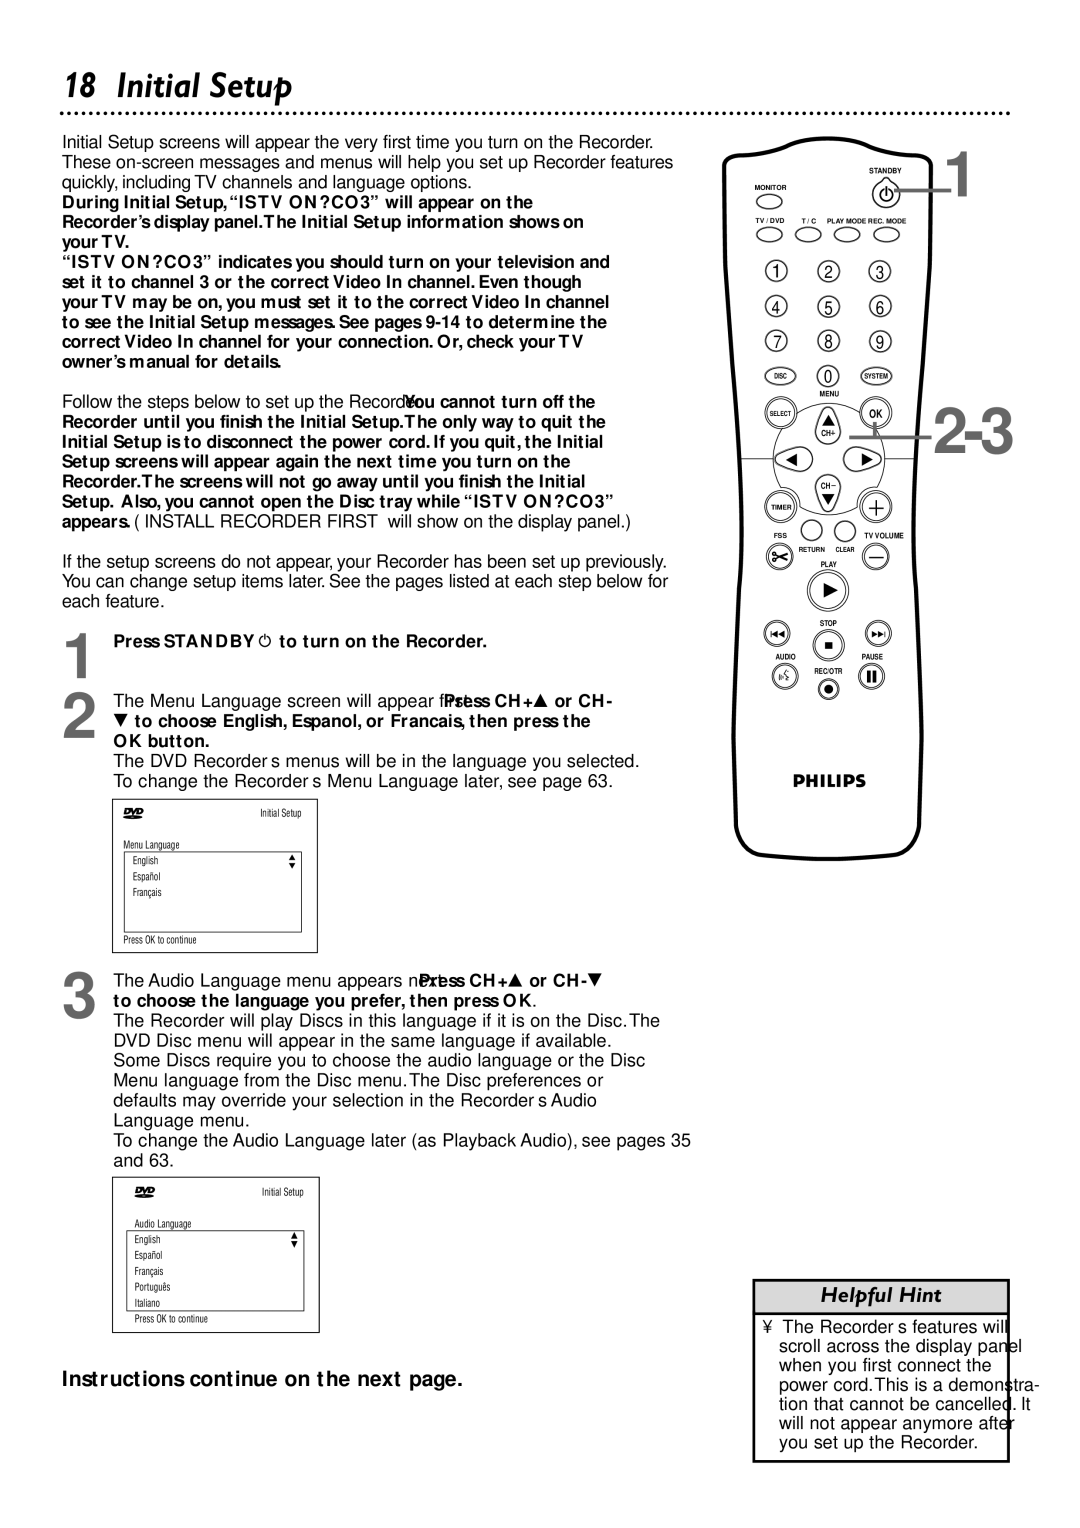
1 Press STANDBYy to turn on the Recorder.
| The Menu Language screen will appear first. Press CH+8 or CH- | ||||
2 OK9 tobutton.choose English, Espanol, or Francais, then press the | |||||
| The DVD Recorder’s menus will be in the language you selected. | ||||
| To change the Recorder’s Menu Language later, see page 63. | ||||
|
|
|
| ||
| ~ | Initial Setup |
| ||
| Menu Language |
|
|
| |
|
| English | K |
|
|
|
| L |
|
| |
|
|
|
|
| |
|
| Español |
|
|
|
|
| Français |
|
|
|
|
|
|
|
|
|
| Press OK to continue |
|
|
| |
|
|
|
|
|
|
| The Audio Language menu appears next. Press CH+8 or | ||||
| to choose the language you prefer, then press OK. | ||||
3 The Recorder will play Discs in this language if it is on the Disc.The | |||||
| DVD Disc menu will appear in the same language if available. | ||||
| Some Discs require you to choose the audio language or the Disc | ||||
| Menu language from the Disc menu.The Disc preferences or | ||||
| defaults may override your selection in the Recorder’s Audio | ||||
| Language menu. |
|
|
| |
| To change the Audio Language later (as Playback Audio), see pages 35 | ||||
| and 63. |
|
|
| |
|
|
|
| ||
| ~ | Initial Setup |
| ||
|
| Audio Language |
|
|
|
|
| English | K |
|
|
|
| L |
|
| |
|
|
|
|
| |
|
| Español |
|
|
|
|
| Français |
|
|
|
|
| Português |
|
|
|
|
| Italiano |
|
|
|
|
| Press OK to continue |
|
|
|
|
|
|
|
|
|
Instructions continue on the next page.
| STANDBY | 1 |
MONITOR |
|
|
TV / DVD | T / C PLAY MODE REC. MODE |
|
1 2 3
4 5 6
7 8 9
DISC | 0 | SYSTEM |
|
|
| ||
| MENU | ||
SELECT |
| OK | |
|
| ||
| CH |
|
|
| CH |
|
|
TIMER |
|
|
|
FSS |
| TV VOLUME |
|
| RETURN | CLEAR |
|
| PLAY |
| |
| STOP |
| |
I |
| I |
|
AUDIO |
| PAUSE |
|
| REC/OTR |
| |
Helpful Hint
•The Recorder’s features will scroll across the display panel when you first connect the power cord.This is a demonstra- tion that cannot be cancelled. It will not appear anymore after
you set up the Recorder.