VGA menu
Only available when a VGA source has been connected and activated. See also the separate supplied instruction manual with your monitor.
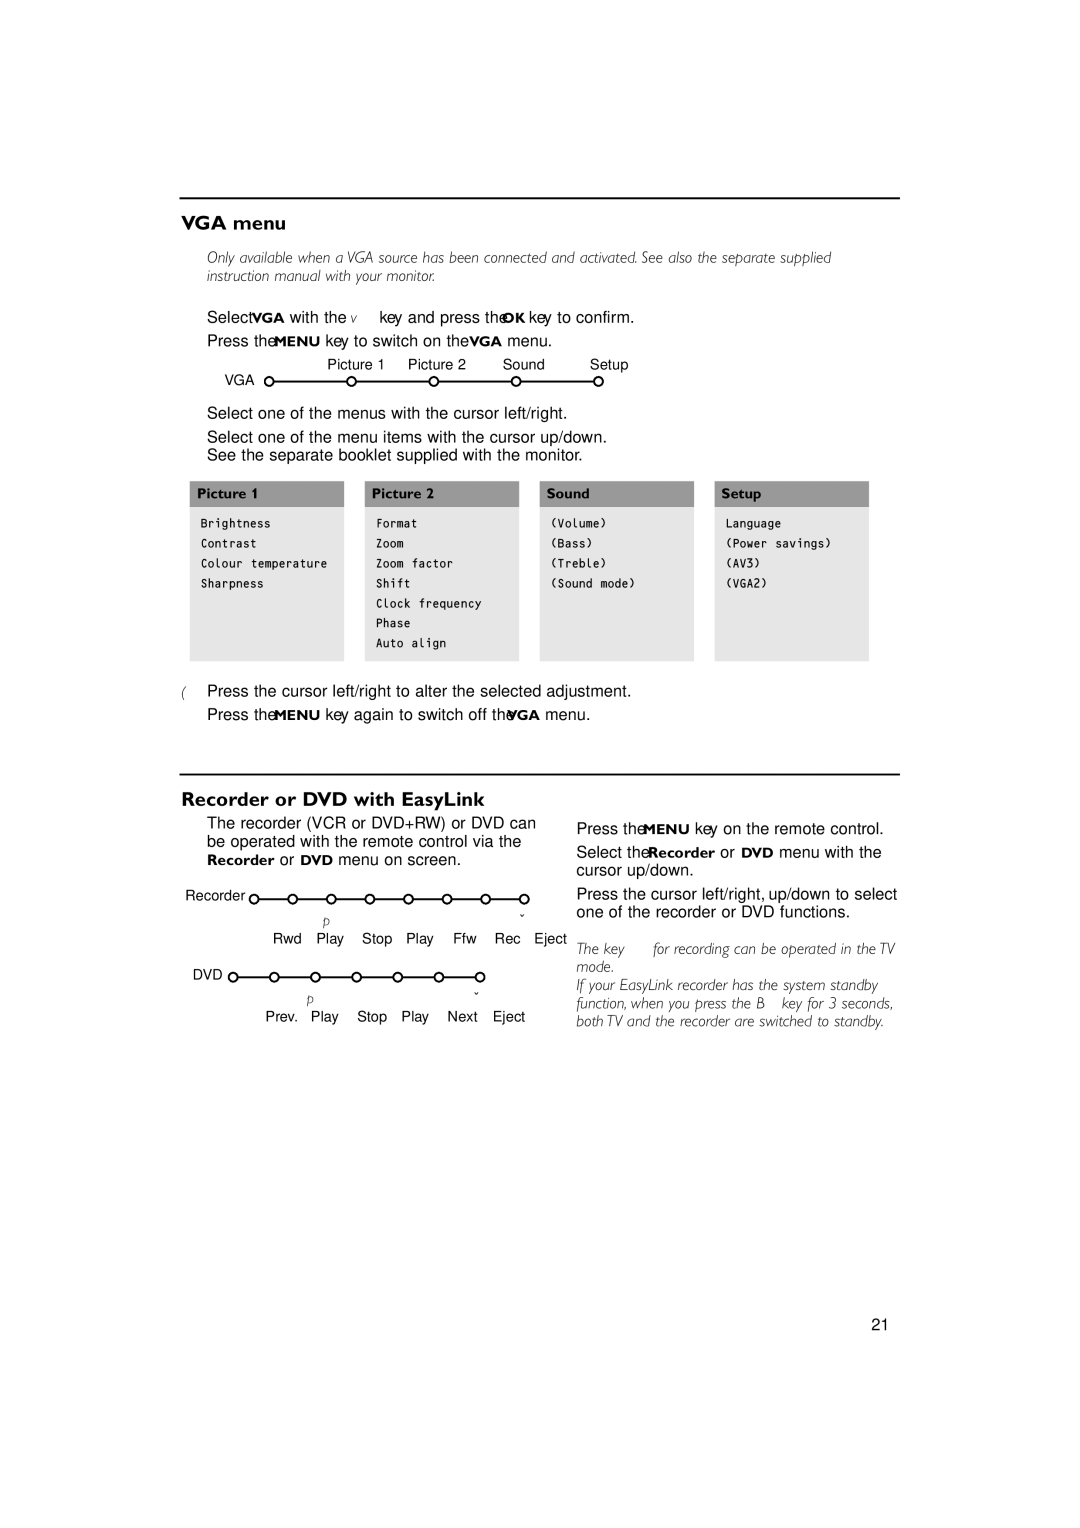
&Select VGA with the v key and press the OK key to confirm.
éPress the MENU key to switch on the VGA menu.
Picture 1 | Picture 2 | Sound | Setup |
VGA
“Select one of the menus with the cursor left/right.
‘Select one of the menu items with the cursor up/down. See the separate booklet supplied with the monitor.
Picture 1 |
| Picture 2 |
| Sound |
| Setup |
Brightness |
| Format |
| (Volume) |
| Language |
Contrast |
| Zoom |
| (Bass) |
| (Power savings) |
Colour temperature |
| Zoom factor |
| (Treble) |
| (AV3) |
Sharpness |
| Shift |
| (Sound mode) |
| (VGA2) |
|
| Clock frequency |
|
|
|
|
|
| Phase |
|
|
|
|
|
| Auto align |
|
|
|
|
|
|
|
|
|
|
|
(Press the cursor left/right to alter the selected adjustment.
§Press the MENU key again to switch off the VGA menu.
Recorder or DVD with EasyLink
The recorder (VCR or DVD+RW) or DVD can be operated with the remote control via the Recorder or DVD menu on screen.
Recorder ![]()
Òp ‡ π † ® Ï
Rwd Play Stop Play Ffw Rec Eject
DVD ![]()
Òp ‡ π † Ï
Prev. Play Stop Play Next Eject
&Press the MENU key on the remote control.
éSelect the Recorder or DVD menu with the cursor up/down.
“Press the cursor left/right, up/down to select one of the recorder or DVD functions.
The key ® for recording can be operated in the TV mode.
If your EasyLink recorder has the system standby function, when you press the B key for 3 seconds, both TV and the recorder are switched to standby.
21
