8. Operation | Display and picture control/Audio volume control |
|
|
General
The projector’s picture is set to standard specifications at the factory. However, you can adjust the image to suit your own preferences. The projector will store the last used settings for every source. So when you switch from one source to another, the settings of the source switched from will be stored and the settings of the source switched to will be recalled. When the projector is switched off and on again the settings for the selected source will be recalled again.
Direct access projector functions via the remote control unit
Digital features- for data and
–D-Freeze (Digital Freeze)
A still image of the current frame is displayed. To restore the present picture, press the button again;
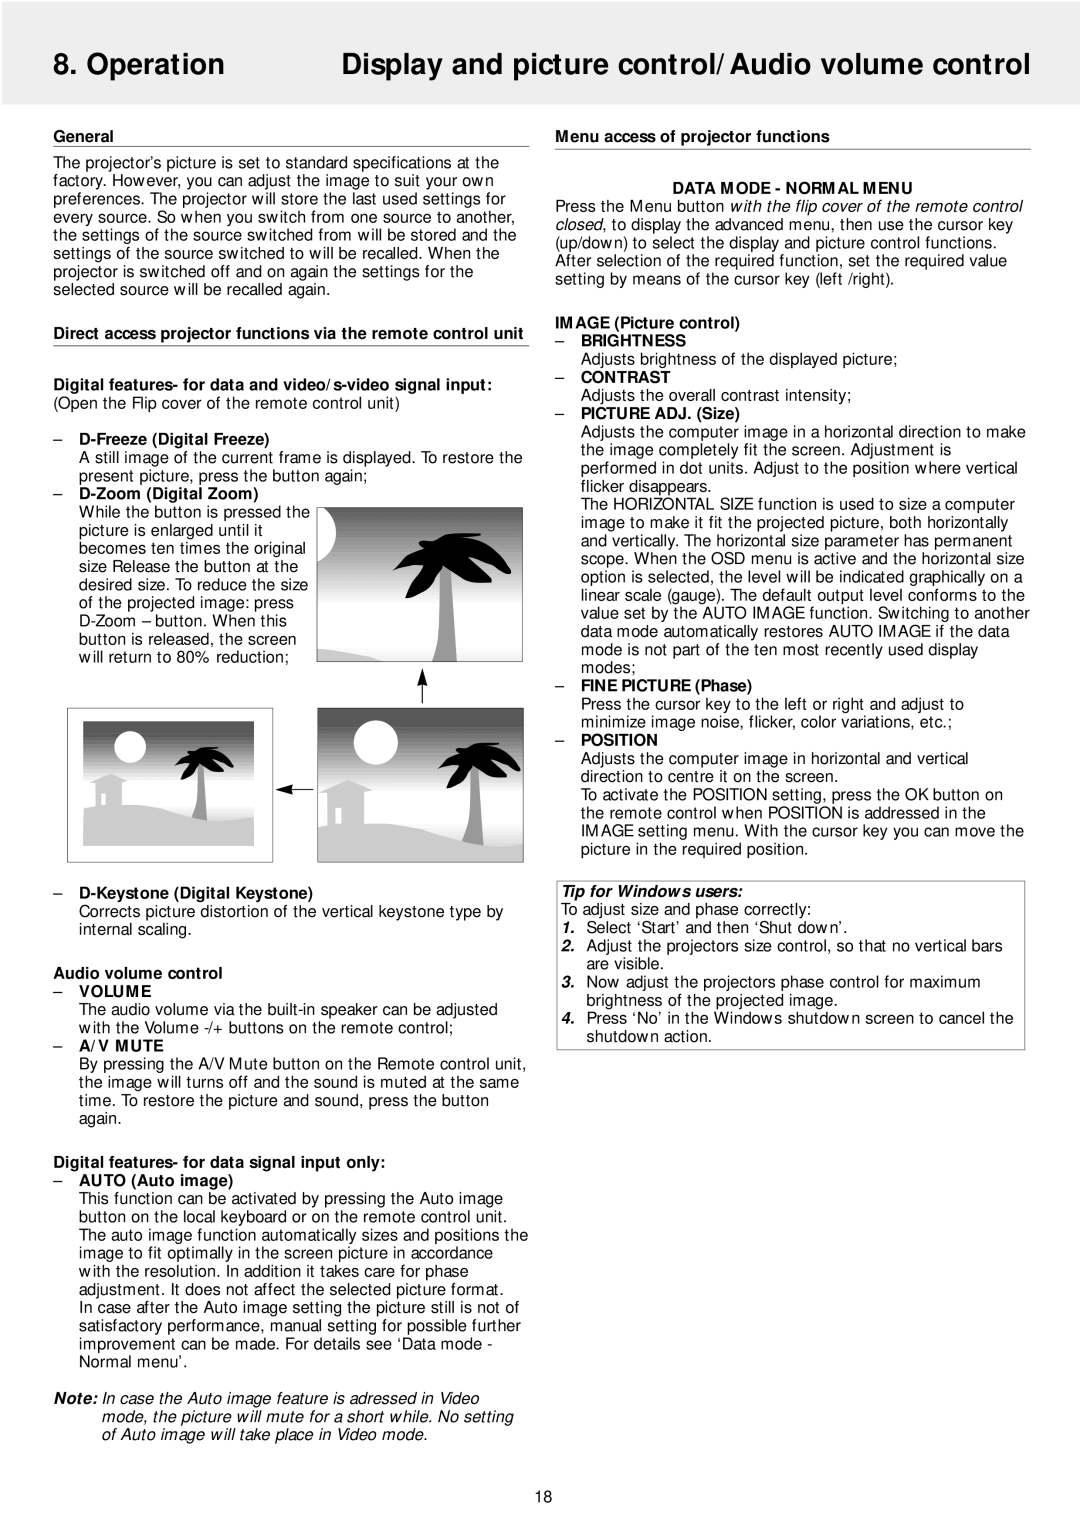
–D-Zoom (Digital Zoom)
While the button is pressed the ![]()
picture is enlarged until it becomes ten times the original size Release the button at the desired size. To reduce the size of the projected image: press
Menu access of projector functions
DATA MODE - NORMAL MENU
Press the Menu button with the flip cover of the remote control closed, to display the advanced menu, then use the cursor key (up/down) to select the display and picture control functions. After selection of the required function, set the required value setting by means of the cursor key (left /right).
IMAGE (Picture control)
–BRIGHTNESS
Adjusts brightness of the displayed picture;
–CONTRAST
Adjusts the overall contrast intensity;
–PICTURE ADJ. (Size)
Adjusts the computer image in a horizontal direction to make the image completely fit the screen. Adjustment is performed in dot units. Adjust to the position where vertical flicker disappears.
The HORIZONTAL SIZE function is used to size a computer image to make it fit the projected picture, both horizontally and vertically. The horizontal size parameter has permanent scope. When the OSD menu is active and the horizontal size option is selected, the level will be indicated graphically on a linear scale (gauge). The default output level conforms to the value set by the AUTO IMAGE function. Switching to another data mode automatically restores AUTO IMAGE if the data mode is not part of the ten most recently used display modes;
–FINE PICTURE (Phase)
Press the cursor key to the left or right and adjust to minimize image noise, flicker, color variations, etc.;
–POSITION
Adjusts the computer image in horizontal and vertical direction to centre it on the screen.
To activate the POSITION setting, press the OK button on the remote control when POSITION is addressed in the IMAGE setting menu. With the cursor key you can move the picture in the required position.
–
Corrects picture distortion of the vertical keystone type by internal scaling.
Audio volume control
–VOLUME
The audio volume via the
–A/V MUTE
By pressing the A/V Mute button on the Remote control unit, the image will turns off and the sound is muted at the same time. To restore the picture and sound, press the button again.
Digital features- for data signal input only:
–AUTO (Auto image)
This function can be activated by pressing the Auto image button on the local keyboard or on the remote control unit. The auto image function automatically sizes and positions the image to fit optimally in the screen picture in accordance with the resolution. In addition it takes care for phase adjustment. It does not affect the selected picture format.
In case after the Auto image setting the picture still is not of satisfactory performance, manual setting for possible further improvement can be made. For details see ‘Data mode - Normal menu’.
Note: In case the Auto image feature is adressed in Video mode, the picture will mute for a short while. No setting of Auto image will take place in Video mode.
Tip for Windows users:
To adjust size and phase correctly:
1.Select ‘Start’ and then ‘Shut down’.
2.Adjust the projectors size control, so that no vertical bars are visible.
3.Now adjust the projectors phase control for maximum brightness of the projected image.
4.Press ‘No’ in the Windows shutdown screen to cancel the shutdown action.
18