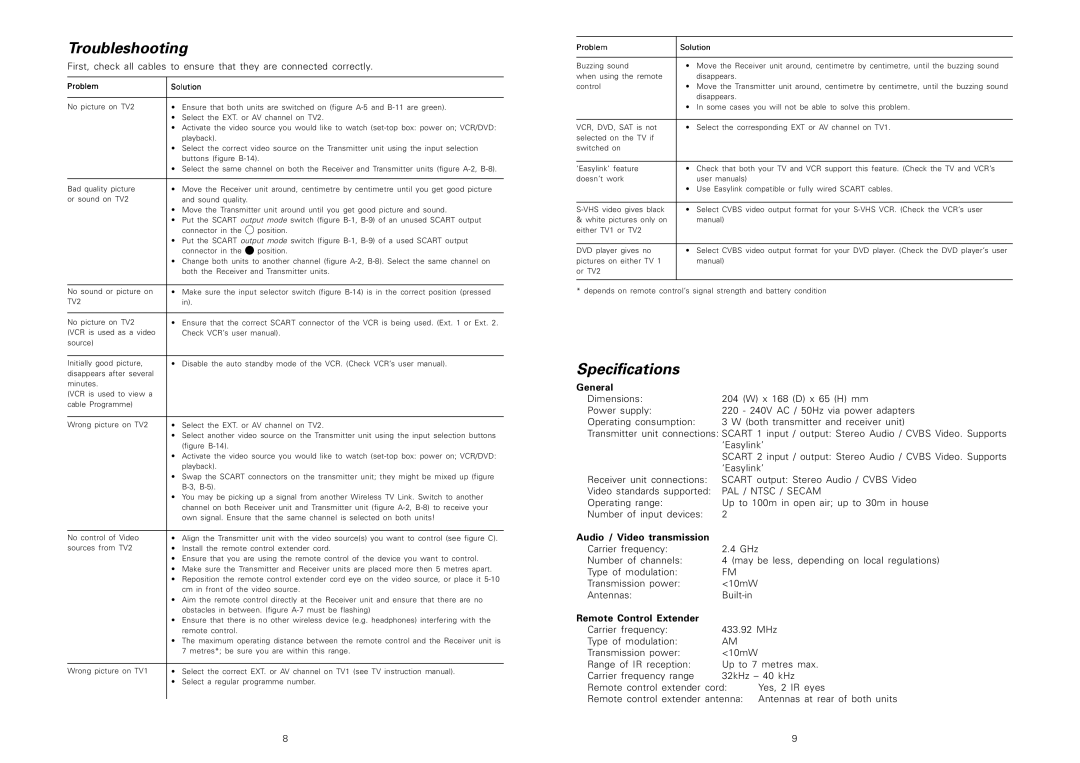
Troubleshooting
First, check all cables to ensure that they are connected correctly.
Problem | Solution |
| |
|
|
| |
No picture on TV2 | • | Ensure that both units are switched on (figure | |
| • | Select the EXT. or AV channel on TV2. | |
| • | Activate the video source you would like to watch | |
|
| playback). |
|
| • | Select the correct video source on the Transmitter unit using the input selection | |
|
| buttons (figure | |
| • | Select the same channel on both the Receiver and Transmitter units (figure | |
|
|
| |
Bad quality picture | • | Move the Receiver unit around, centimetre by centimetre until you get good picture | |
or sound on TV2 |
| and sound quality. |
|
| • | Move the Transmitter unit around until you get good picture and sound. | |
| • | Put the SCART output mode switch (figure | |
|
| connector in the | position. |
| • | Put the SCART output mode switch (figure | |
|
| connector in the | position. |
| • | Change both units to another channel (figure | |
|
| both the Receiver and Transmitter units. | |
|
|
| |
No sound or picture on | • | Make sure the input selector switch (figure | |
TV2 |
| in). |
|
|
|
| |
No picture on TV2 | • | Ensure that the correct SCART connector of the VCR is being used. (Ext. 1 or Ext. 2. | |
(VCR is used as a video |
| Check VCR’s user manual). | |
source) |
|
|
|
|
|
| |
Initially good picture, | • | Disable the auto standby mode of the VCR. (Check VCR’s user manual). | |
disappears after several |
|
|
|
minutes. |
|
|
|
(VCR is used to view a |
|
|
|
cable Programme) |
|
|
|
|
|
| |
Wrong picture on TV2 | • | Select the EXT. or AV channel on TV2. | |
| • | Select another video source on the Transmitter unit using the input selection buttons | |
|
| (figure |
|
| • | Activate the video source you would like to watch | |
|
| playback). |
|
| • | Swap the SCART connectors on the transmitter unit; they might be mixed up (figure | |
|
|
|
|
| • | You may be picking up a signal from another Wireless TV Link. Switch to another | |
|
| channel on both Receiver unit and Transmitter unit (figure | |
|
| own signal. Ensure that the same channel is selected on both units! | |
|
|
| |
No control of Video | • | Align the Transmitter unit with the video source(s) you want to control (see figure C). | |
sources from TV2 | • | Install the remote control extender cord. | |
•Ensure that you are using the remote control of the device you want to control.
•Make sure the Transmitter and Receiver units are placed more then 5 metres apart.
•Reposition the remote control extender cord eye on the video source, or place it 5-10 cm in front of the video source.
•Aim the remote control directly at the Receiver unit and ensure that there are no obstacles in between. (figure A-7 must be flashing)
•Ensure that there is no other wireless device (e.g. headphones) interfering with the remote control.
•The maximum operating distance between the remote control and the Receiver unit is 7 metres*; be sure you are within this range.
Wrong picture on TV1 | • | Select | the correct EXT. or AV channel on TV1 (see TV instruction manual). |
| • | Select | a regular programme number. |
Solution
8
