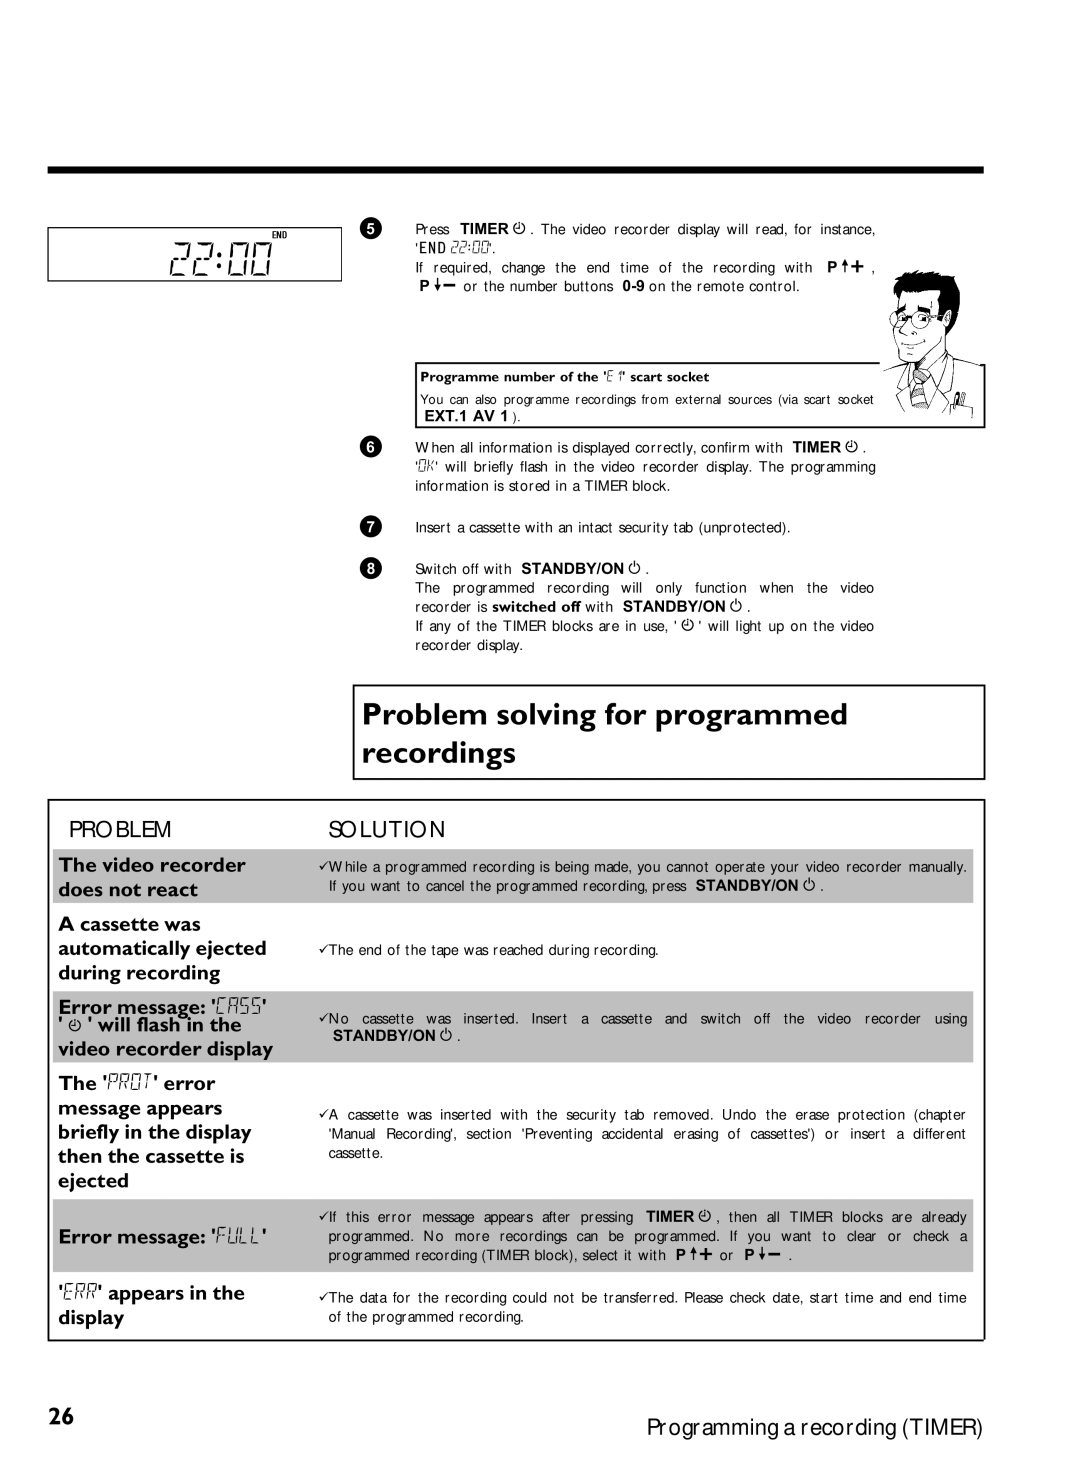
5Press TIMER . The video recorder display will read, for instance,
22:00 | 'END 22:00'. |
|
| |
If | required, change the end | time of the recording with P | , | |
| P | or the number buttons |
| |
| Programme number of the 'E1' scart socket |
|
|
| You can also programme recordings from external sources (via scart socket | ||
| EXT.1 AV 1 ). | ||
6 |
|
|
|
When all information is displayed correctly, confirm with TIMER . | |||
| 'OK' will briefly flash in the video recorder display. The programming | ||
| information is stored in a TIMER block. | ||
7Insert a cassette with an intact security tab (unprotected).
|
| 8 | Switch off with STANDBY/ON . |
|
|
| |
|
|
|
| The programmed recording will only function when the video | |||
|
|
|
| recorder is switched off with STANDBY/ON . |
|
| |
|
|
|
| If any of the TIMER blocks are in use, ' | ' will light up on the video | ||
|
|
|
| recorder display. |
|
|
|
|
|
|
|
| |||
|
|
| Problem solving for programmed | ||||
|
|
| recordings |
|
|
| |
|
|
|
|
|
|
| |
|
|
|
|
|
| ||
| PROBLEM | SOLUTION |
|
|
| ||
|
|
| |||||
| The video recorder | While a programmed recording is being made, you cannot operate your video recorder manually. |
| ||||
| does not react | If you want to cancel the programmed recording, press | STANDBY/ON . |
| |||
| A cassette was |
|
|
|
|
|
|
| automatically ejected | The end of the tape was reached during recording. |
|
|
| ||
| during recording |
|
|
|
|
|
|
|
|
|
|
|
|
|
|
| Error message: 'CASS' | No cassette | was inserted. Insert a cassette and | switch off | the video recorder using |
| |
| ' ' will flash in the |
| |||||
| STANDBY/ON . |
|
|
| |||
| video recorder display |
|
|
| |||
|
|
|
|
|
|
| |
| The 'PROT' error |
|
|
|
|
|
|
| message appears | A cassette was inserted with the security tab removed. Undo the erase protection (chapter | |||||
| briefly in the display | 'Manual Recording', section 'Preventing accidental erasing of cassettes') or insert a different | |||||
| then the cassette is | cassette. |
|
|
|
| |
| ejected |
|
|
|
|
|
|
|
|
|
|
| |||
| Error message: 'FULL' | If this error | message appears after pressing TIMER | , then all TIMER blocks are already |
| ||
| programmed. No more recordings can be programmed. If you want to clear or check a |
| |||||
|
| programmed recording (TIMER block), select it with P | or P | . |
| ||
|
|
|
| ||||
| 'ERR' appears in the | The data for the recording could not be transferred. Please check date, start time and end time | |||||
| display | of the programmed recording. |
|
|
| ||
|
|
|
|
|
|
|
|
26 | Programming a recording (TIMER) |
|