28 Playing
Read and follow the steps below to play a tape.
1
Turn the TV on and set it to channel 3 or 4, whichever the CH3/CH4 switch on the back of the VCR is set to.
2
Insert a tape in the VCR. The power will come on. The VCR will place itself in VCR position automatically (the VCR light and the
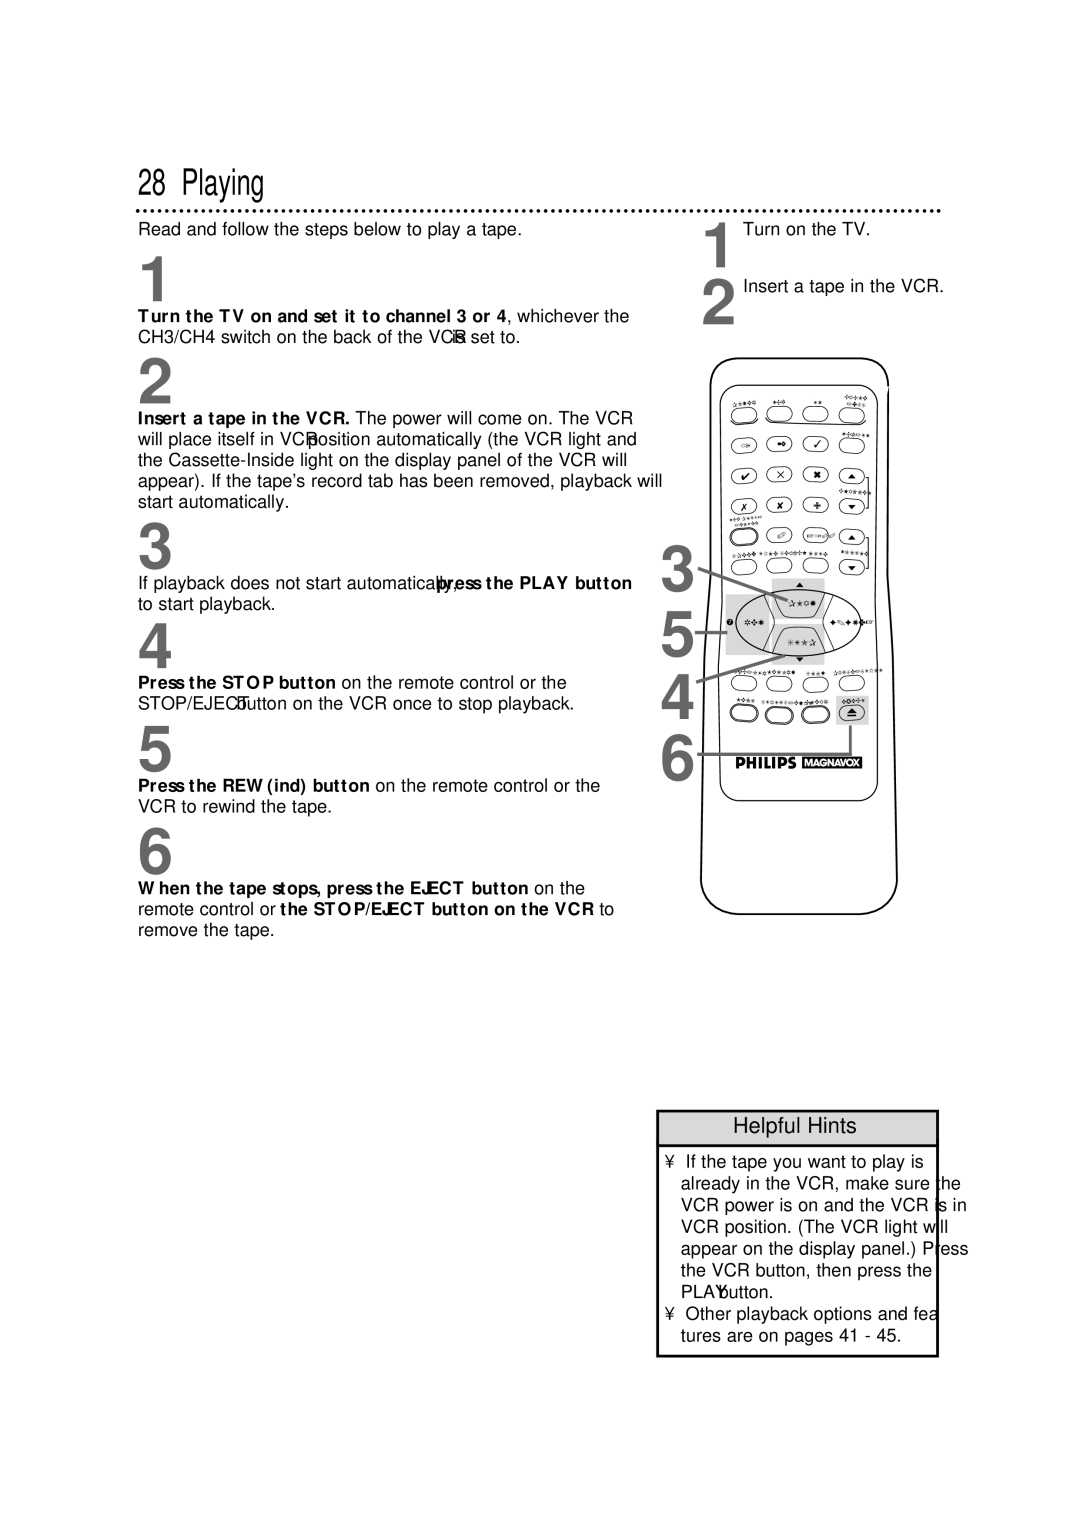
3
1Turn on the TV.
2Insert a tape in the VCR.
| VCR | TV | CABLE | |
POWER | /DSS | |||
|
| |||
| 2 | 3 | VCR/TV | |
1 |
| |||
4 | 5 | 6 |
| |
|
|
| CHANNEL | |
7 | 8 | 9 |
| |
VCR PLUS+ |
|
|
| |
/ENTER |
|
|
|
0+100
If playback does not start automatically, press the PLAY button to start playback.
4
Press the STOP button on the remote control or the STOP/EJECT button on the VCR once to stop playback.
5
Press the REW(ind) button on the remote control or the VCR to rewind the tape.
6
When the tape stops, press the EJECT button on the remote control or the STOP/EJECT button on the VCR to remove the tape.
3 | SPEED | TIME SEARCH | MUTE | |
|
| PLAY | ||
5 | – REW |
| ||
|
| |||
|
|
| STOP | |
4 | REC/OTR | MEMORY | SLOW | |
MENU |
| STATUS/EXIT | CLEAR | |
6 |
|
|
|
|
VOLUME
F.FWD +
PAUSE/STILL
EJECT
Helpful Hints
•If the tape you want to play is already in the VCR, make sure the VCR power is on and the VCR is in VCR position. (The VCR light will appear on the display panel.) Press the VCR button, then press the PLAY button.
•Other playback options and fea- tures are on pages 41 - 45.