Manuals
/
Philips
/
TV and Video
/
VCR
Philips
VRX562AT
warranty
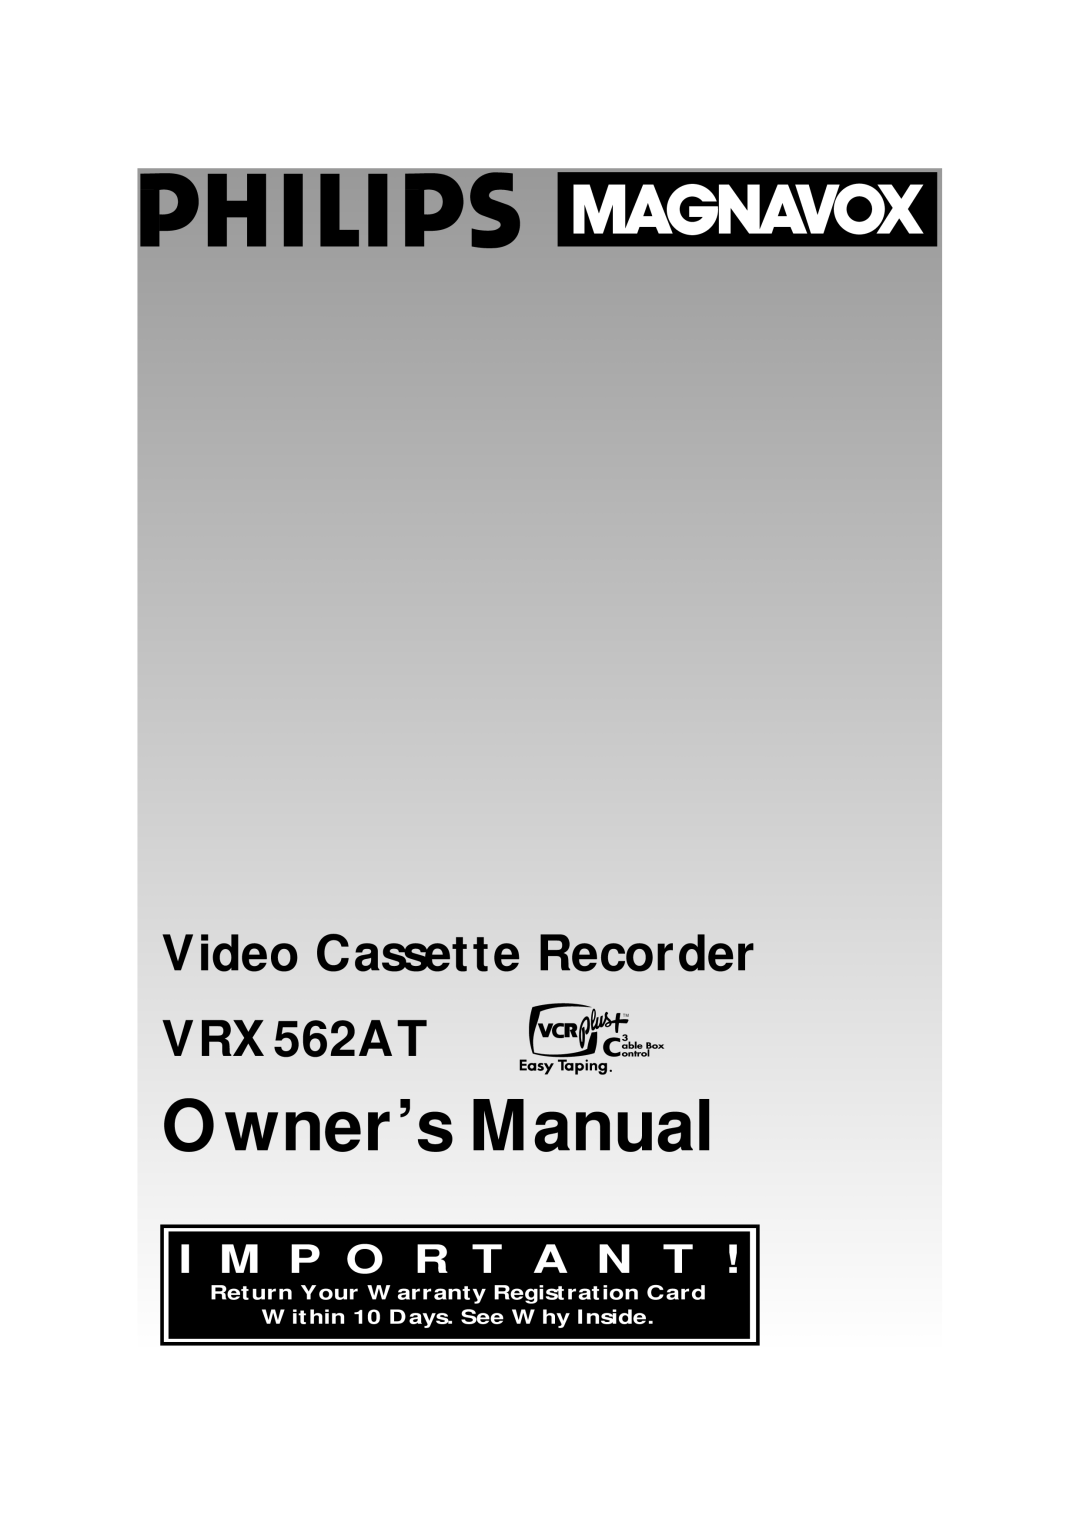
Owner’s Manual, Video Cassette Recorder, I M P O R T A N T
Models:
VRX562AT
1
1
64
64
Download
64 pages
60.3 Kb
1
2
3
4
5
6
7
8
Specs
Timer Recordings
Know these safetysymbols
Warranty
Maintenance
Supplied Accessories
Automatic Tracking Adjustment
Setting the Clock
Remote Control Buttons
Safety Precautions
Page 1
Image 1
Page 1
Page 2
Page 1
Image 1
Page 1
Page 2
Contents
Owner’s Manual
Return Your Warranty Registration Card Within 10 Days. See Why Inside
Video Cassette Recorder
VRX562AT
Warranty Verification
AHurry
Know these safetysymbols
Owner Confirmation
Features
Introduction
Safety Precautions
Welcome to your VCR owner’s manual
Setting Up Your VCR
4 Table of Contents
Stereo Features
Description of Controls
Putting Batteries in the Remote Control
Before Using Your VCR
Using the Remote Control
VCR maintenance
Disconnect the antenna or cable from your TV
6 Hookups Without a Cable Box
Connect the antenna or cable to the ANTenna IN Jack of your VCR
VIDEO
CH3 CH4
Hookups Without a Cable Box cont’d
Plug in the TV and the VCR
Timer Recordings
8 Hookups With a Cable Box/DSS Receiver
Recording/Viewing Any Channel
Watching TV With the VCR Off
Recording One Channel/Watching Another
Hookups With a Cable Box/DSS Receiver cont’d
Playing a Tape
You cannot record scrambled chan- nels with this connection
VIDEO yellow and AUDIO red and white OUT Jacks Video Cable
10 Hookups With a Stereo TV
Audio Cable Audio and Video cables are not supplied
Turning on Your VCR
Programming Channels
12 Channel Memory
Adding/Deleting Channels
Channel Memory cont’d
Reviewing Programmed Channels
Manual Clock Setting
14 Setting the Clock
Setting the Clock cont’d
Automatic Clock Setting
16 Setting the Clock cont’d
For Automatic Clock Setting
Time Zone
Setting the Clock cont’d
page 16 for details
Daylight-Saving Time Selection
18 Daylight-Saving Time Selection
Language Selection
Language Selection
1. Press the VCR button 2. Press the MENU button
5. Press the Number 1 button to select ENGLISH
20 Setting the Remote to Operate a TV
There is no guarantee that the remote will work your TV
TV CODES
CABLE BOX CODES
Setting the Remote to Operate a Cable Box/Digital Satellite System
SATELLITE SYSTEM CODES
If another remote control beeps
22 Remote Locator
Letting your VCR find your remote for you
Remote Control Buttons
Details are on page
24 Remote Control Buttons cont’d
Remote Control Buttons cont’d
26 On-Screen Status Displays
Feature Light Symbols
VCR Display Panel
002. Details are on page
Recordings. Details are on pages 38
28 Front Panel
are on page
tracking. Details are on page
etc. here. Details are on pages
Rear Panel
44 and
your VCR. Details are
Press the STOP button to stop playback
30 Playing
Press the Rewind button to rewind the tape
The VCR will record in a preset vol- ume
Recording
Other recording options are on pages
32 Recording One Channel/Watching Another
One Touch Recording
Channels are programmed The clock is set
34 Timer Recording
Select a once, daily or weekly recording
Instructions continue on page
Timer Recording cont’d
The VCR must be off for a timer recording to take place
36 Timer Recording cont’d
Make sure there is a tape in the VCR
clock before re-programming the timer recordings
Checking or Cancelling Timer Recordings
Positioning the Cable Box
38 Setting Up the Cable Box Controller
Setting Up the Cable Box Controller cont’d
There is no guarantee that the VCR will control your Cable Box
TV Channels
40 Setting Up the VCR Plus+ Programming System
CABLE Channels
Always enter a “0” before single- digit channels
Setting Up the VCR Plus+ Programming System cont’d
42 Timer Recording With the VCR Plus+ Programming System
Timer Recording With the VCR Plus+ Programming System cont’d
The VCR must be off for a timer recording to take
place! Make sure there is a tape in the VCR
44 Rerecording Tape Duplication
Repeat Playback
Repeat Playback
You can not enter the TIME SEARCH menu when you are in Recording mode
46 Time Search
Time Search
Index Search
Index Search
Up to 20 index marks may be searched
This function will not operate in recording mode
Record End Search
48 Record End Search/Skip Search
Skip Search
Search
Real Time Counter Memory
Real Time Counter Memory
Forward and Reverse Searching SP/LP/SLP
50 Special Effects Playback
Super High Speed Searching LP/SLP
Playing a Tape at Double Speed
Viewing a Slow Motion Picture
Special Effects Playback cont’d
Viewing a Picture in Slow to Fast Motion
Memory Rewind, Power Off
52 Automatic Operation Features
Automatic Playback
Automatic Rewind, Eject, Off
Automatic Tracking Adjustment
Automatic Operation Features cont’d
Manual Tracking
Understanding On-Screen Displays
54 MTS Broadcast Stereo System
This indication is not available during tape playback
to the right of your selection
MTS Broadcast Stereo System cont’d
56 Hi-Fi Stereo Sound System
Hi-Fi Stereo Sound System cont’d
No power
58 Helpful Hints
Power Failure
The VCR will not perform a timer recording
Helpful Hints cont’d
Cable Box/DSS Receiver Output Channel Channel 03 or
60 Glossary
NOTE Designs and specifications are subject to change without notice
Specifications
WHAT IS COVERED?
62 Limited Warranty
WHAT IS EXCLUDED?
BEFORE REQUESTING SERVICE
10, 28, 29, 44, 54
Index
with the vcr plus+
receiving
SUPPLIED ACCESSORIES
Top
Page
Image
Contents