PRS-D410 specifications
The Pioneer PRS-D410 is an advanced 4-channel car amplifier designed to enhance the audio experience by delivering high-quality sound and performance in an efficient and compact package. This versatile amplifier is ideal for audiophiles looking to upgrade their car sound system, providing power and clarity that elevates any in-car audio setup.One of the main features of the PRS-D410 is its Class D amplification technology. Class D amplifiers are known for their high efficiency, generating less heat compared to traditional Class A/B amplifiers. This allows for a smaller and lighter amplifier without compromising on power output. The PRS-D410 delivers impressive maximum power ratings, making it suitable for driving multiple speakers or a combination of speakers and subwoofers with ease.
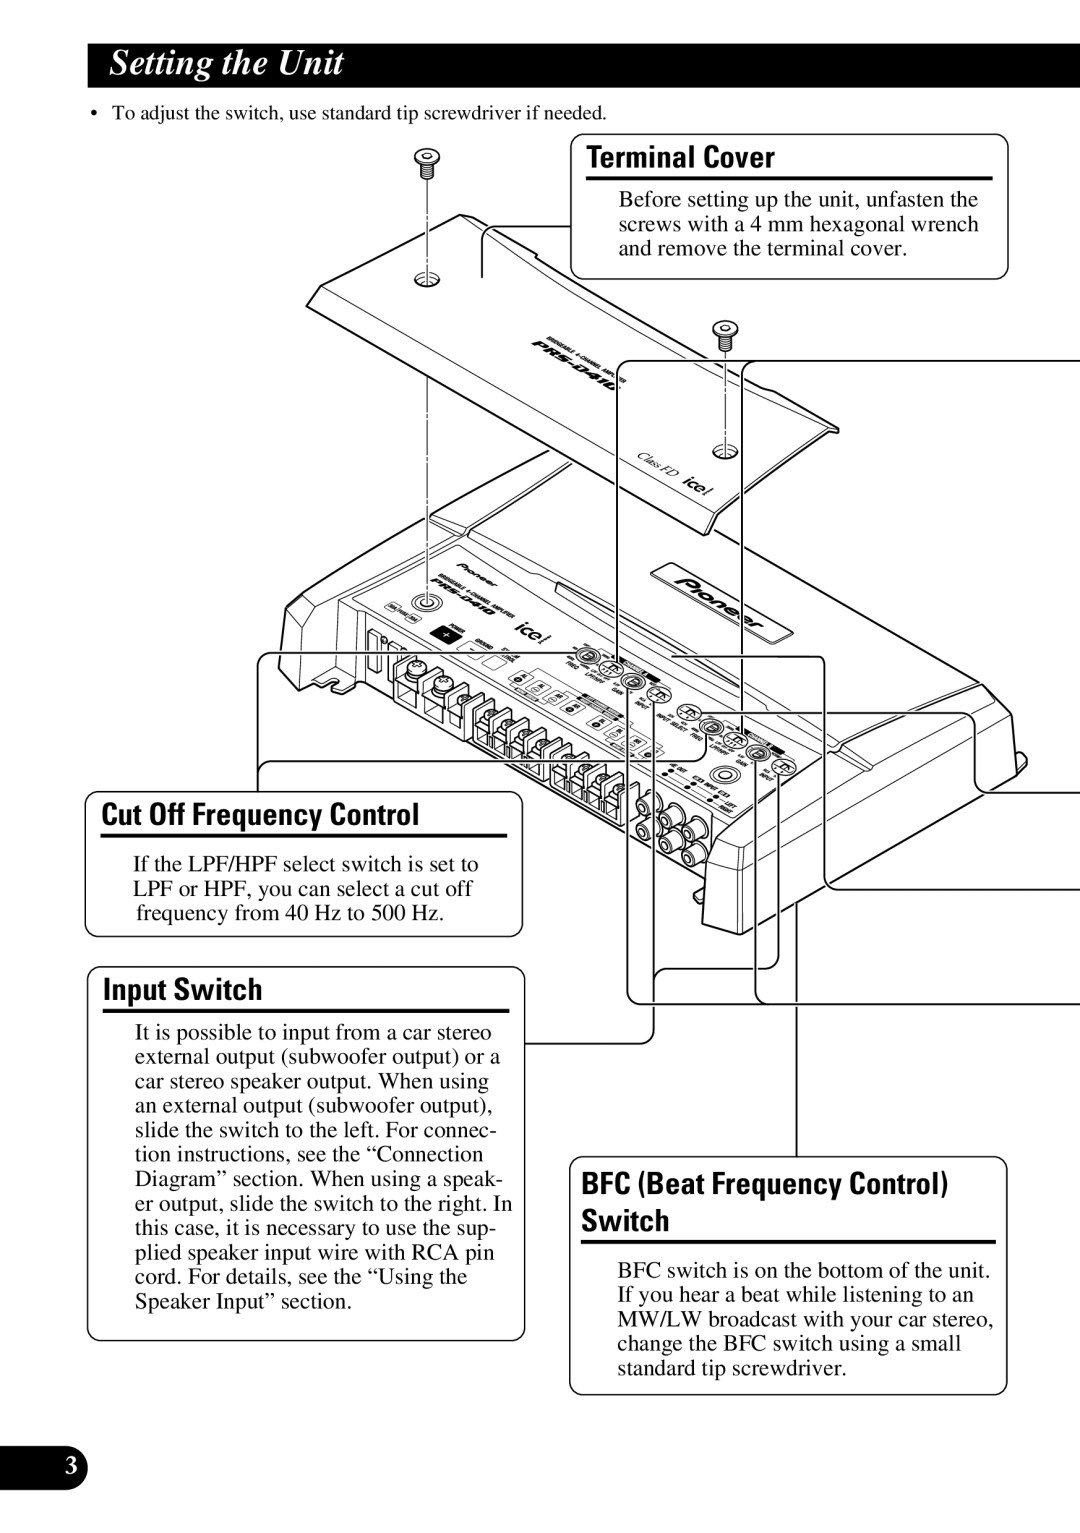
The amp offers four channels of output, each capable of producing 100 watts at 2 ohms, which translates to a total output of 400 watts. This robust power output ensures that the audio remains clear and detailed at all volume levels. The PRS-D410 also features adjustable low-pass and high-pass crossovers, allowing users to optimize their sound configuration based on their speaker setup. This flexibility enables audio enthusiasts to tailor the sound according to their preferences, whether they favor bass-heavy music or a more balanced sound profile.
Another remarkable characteristic of the PRS-D410 is its compact design. With a low-profile chassis, it can be easily installed in tight spaces, making it an excellent option for various vehicle types. Despite its compact size, the amplifier maintains a robust build quality, ensuring durability and long-lasting performance.
The PRS-D410 incorporates advanced protection circuitry to prevent overheating, short circuits, and overloading, which is crucial for maintaining the longevity of the device. Additionally, it features RCA inputs for easy connectivity with a wide range of audio sources, enhancing its versatility.
Overall, the Pioneer PRS-D410 is an exceptional choice for those seeking to amplify their car audio experience. Its powerful output, efficient Class D technology, customizable crossover settings, and compact design make it a standout option for both casual listeners and serious audiophiles alike.

