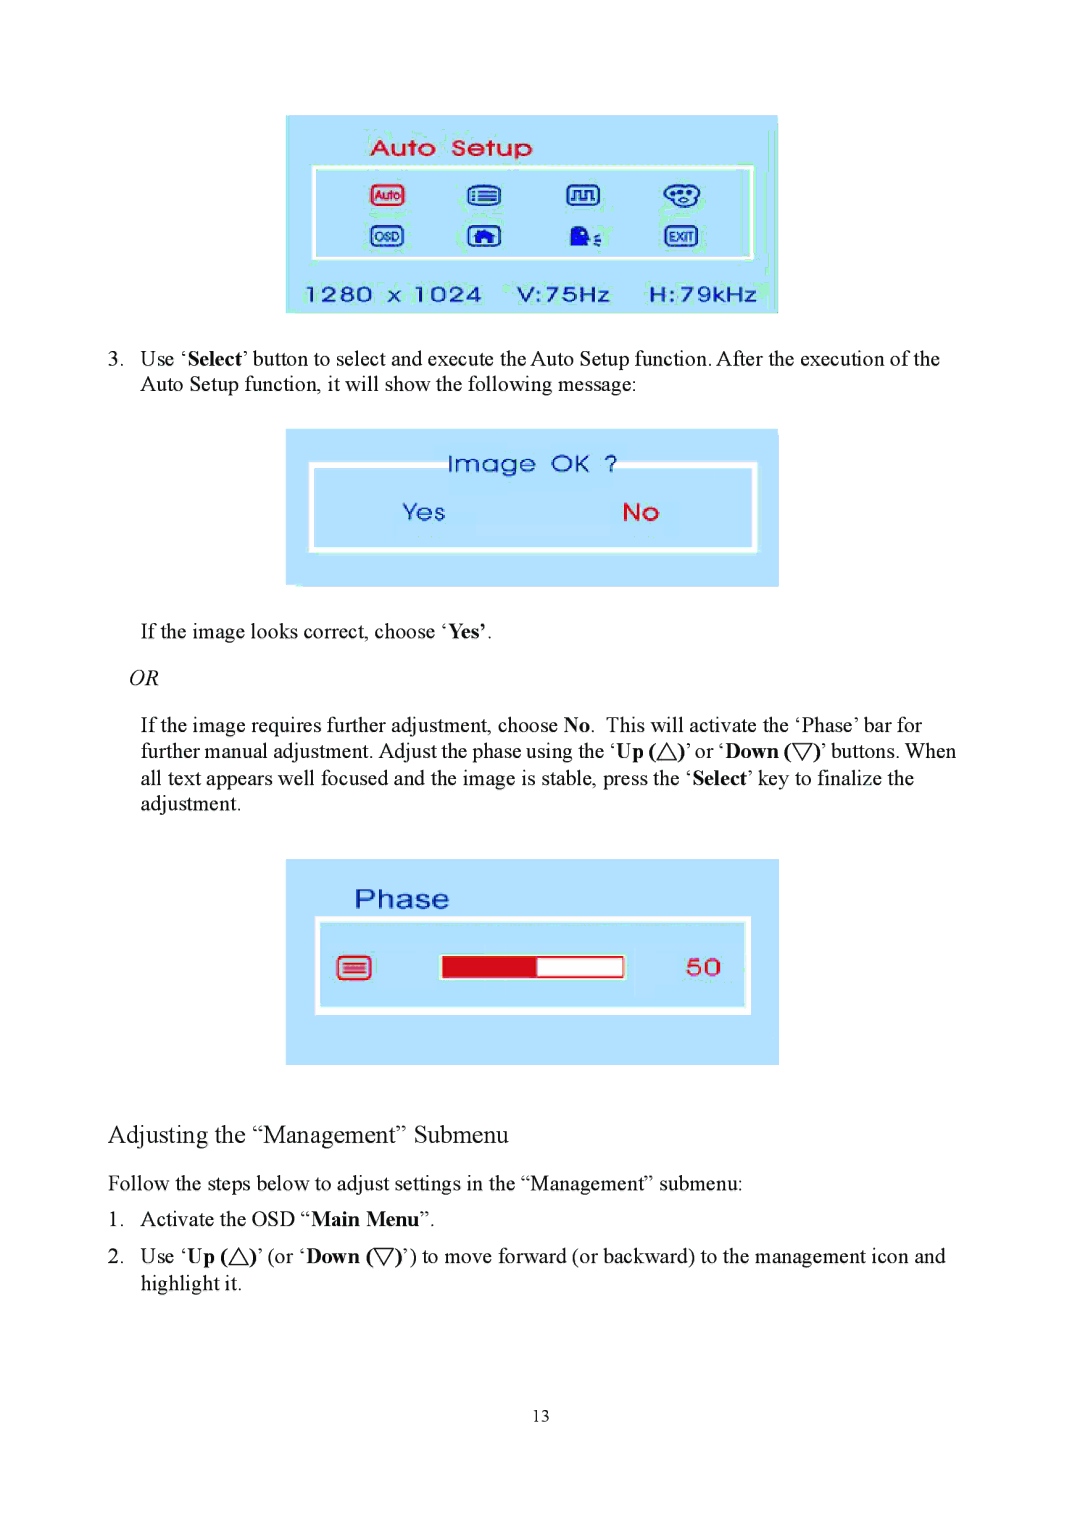
3.Use ‘Select’ button to select and execute the Auto Setup function. After the execution of the Auto Setup function, it will show the following message:
If the image looks correct, choose ‘Yes’.
OR
If the image requires further adjustment, choose No. This will activate the ‘Phase’ bar for further manual adjustment. Adjust the phase using the ‘Up (△)’ or ‘Down (▽)’ buttons. When all text appears well focused and the image is stable, press the ‘Select’ key to finalize the adjustment.
Adjusting the “Management” Submenu
Follow the steps below to adjust settings in the “Management” submenu:
1.Activate the OSD “Main Menu”.
2.Use ‘Up (△)’ (or ‘Down (▽)’) to move forward (or backward) to the management icon and highlight it.
13
