QUICK START-UP
LOADING PAPER
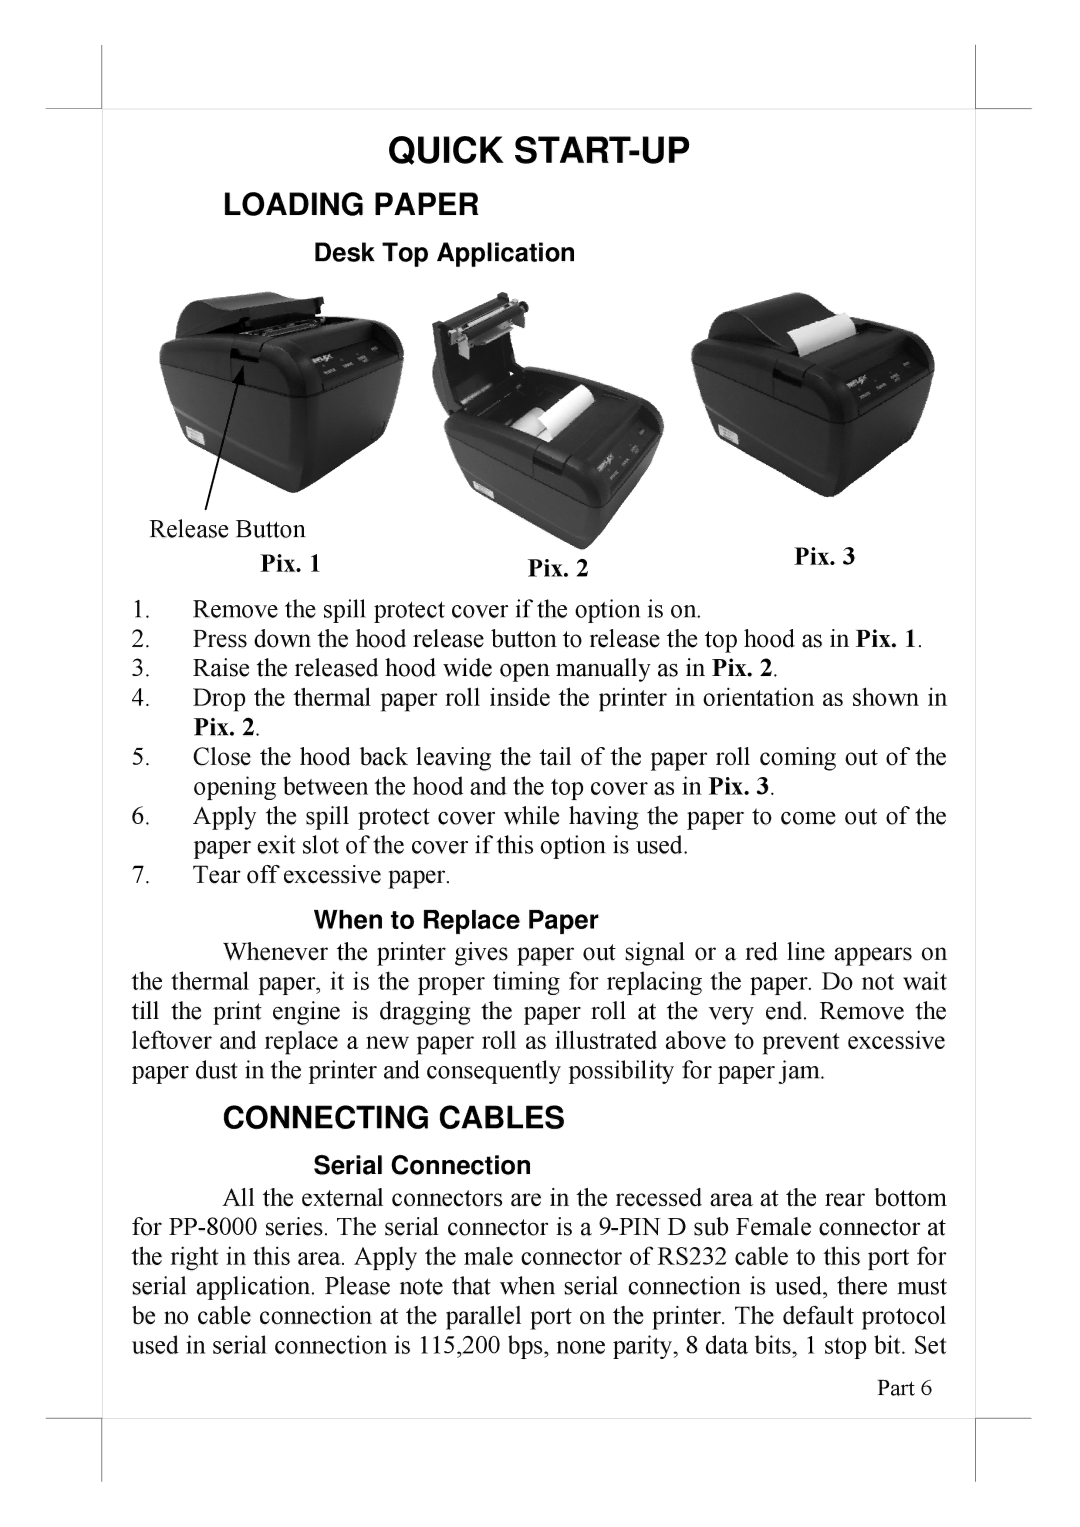
Desk Top Application
Release Button
Pix. 1 | Pix. 2 | Pix. 3 |
1.Remove the spill protect cover if the option is on.
2.Press down the hood release button to release the top hood as in Pix. 1.
3.Raise the released hood wide open manually as in Pix. 2.
4.Drop the thermal paper roll inside the printer in orientation as shown in Pix. 2.
5.Close the hood back leaving the tail of the paper roll coming out of the opening between the hood and the top cover as in Pix. 3.
6.Apply the spill protect cover while having the paper to come out of the paper exit slot of the cover if this option is used.
7.Tear off excessive paper.
When to Replace Paper
Whenever the printer gives paper out signal or a red line appears on the thermal paper, it is the proper timing for replacing the paper. Do not wait till the print engine is dragging the paper roll at the very end. Remove the leftover and replace a new paper roll as illustrated above to prevent excessive paper dust in the printer and consequently possibility for paper jam.
CONNECTING CABLES
Serial Connection
All the external connectors are in the recessed area at the rear bottom for
Part 6