CABLE ROUTING
Please route all cables through the cable passage to main unit in desktop mount application. Hold them together with the cable tie. Pass all cables (but those for HDD and UPS battery) through the cable exit to external connections. Then fix back the bottom plate if there is no option unit to install.
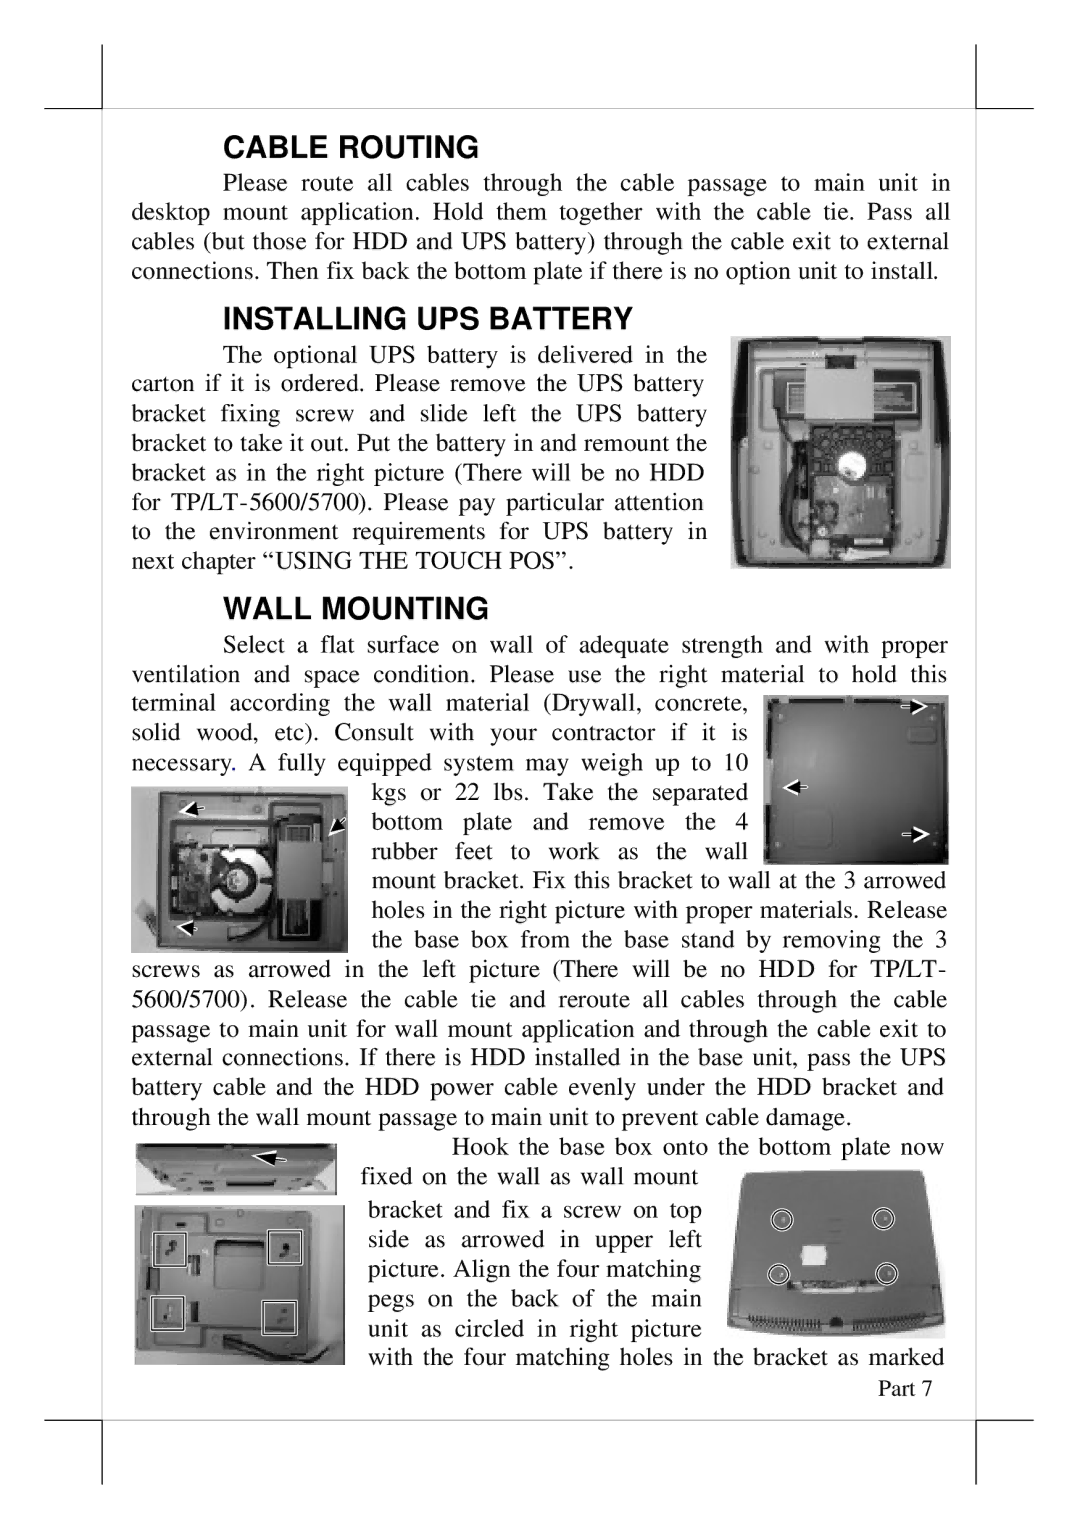
INSTALLING UPS BATTERY
The optional UPS battery is delivered in the carton if it is ordered. Please remove the UPS battery bracket fixing screw and slide left the UPS battery bracket to take it out. Put the battery in and remount the bracket as in the right picture (There will be no HDD for
WALL MOUNTING
Select a flat surface on wall of adequate strength and with proper ventilation and space condition. Please use the right material to hold this terminal according the wall material (Drywall, concrete,![]()
![]() solid wood, etc). Consult with your contractor if it is
solid wood, etc). Consult with your contractor if it is
necessary. A fully equipped system may weigh up to 10
kgs or 22 lbs. Take the separated bottom plate and remove the 4
rubber feet to work as the wall
mount bracket. Fix this bracket to wall at the 3 arrowed holes in the right picture with proper materials. Release the base box from the base stand by removing the 3
screws as arrowed in the left picture (There will be no HDD for TP/LT- 5600/5700). Release the cable tie and reroute all cables through the cable passage to main unit for wall mount application and through the cable exit to external connections. If there is HDD installed in the base unit, pass the UPS battery cable and the HDD power cable evenly under the HDD bracket and through the wall mount passage to main unit to prevent cable damage.
Hook the base box onto the bottom plate now fixed on the wall as wall mount
bracket and fix a screw on top
side as arrowed in upper left
picture. Align the four matching
pegs on the back of the main
unit as circled in right picture
with the four matching holes in the bracket as marked Part 7