I V . A S S E M B L Y
INITIAL ASSEMBLY OF YOUR KIDS UP SERIES WHEELCHAIR
The original package contains the following components:
Kids UP Series Wheelchair
Two rear wheels
Two
Additional options and accessories as ordered
WARNING! Contact your health care professional before using this wheelchair with a child.
To unpack the Kids UP Series Wheelchair:
1.Keep box upright.
2.Verify the package is in good shape and no damage has occurred during shipping.
3.Remove the Kids UP Series Wheelchair and accessories from the packaging.
4.Ensure your order is complete.
To assemble the Kids FAST Wheelchair:
1.Make sure the attendant wheel lock lever is released. See figure 7.
2.Align the rear wheel with the axle on the wheelchair.
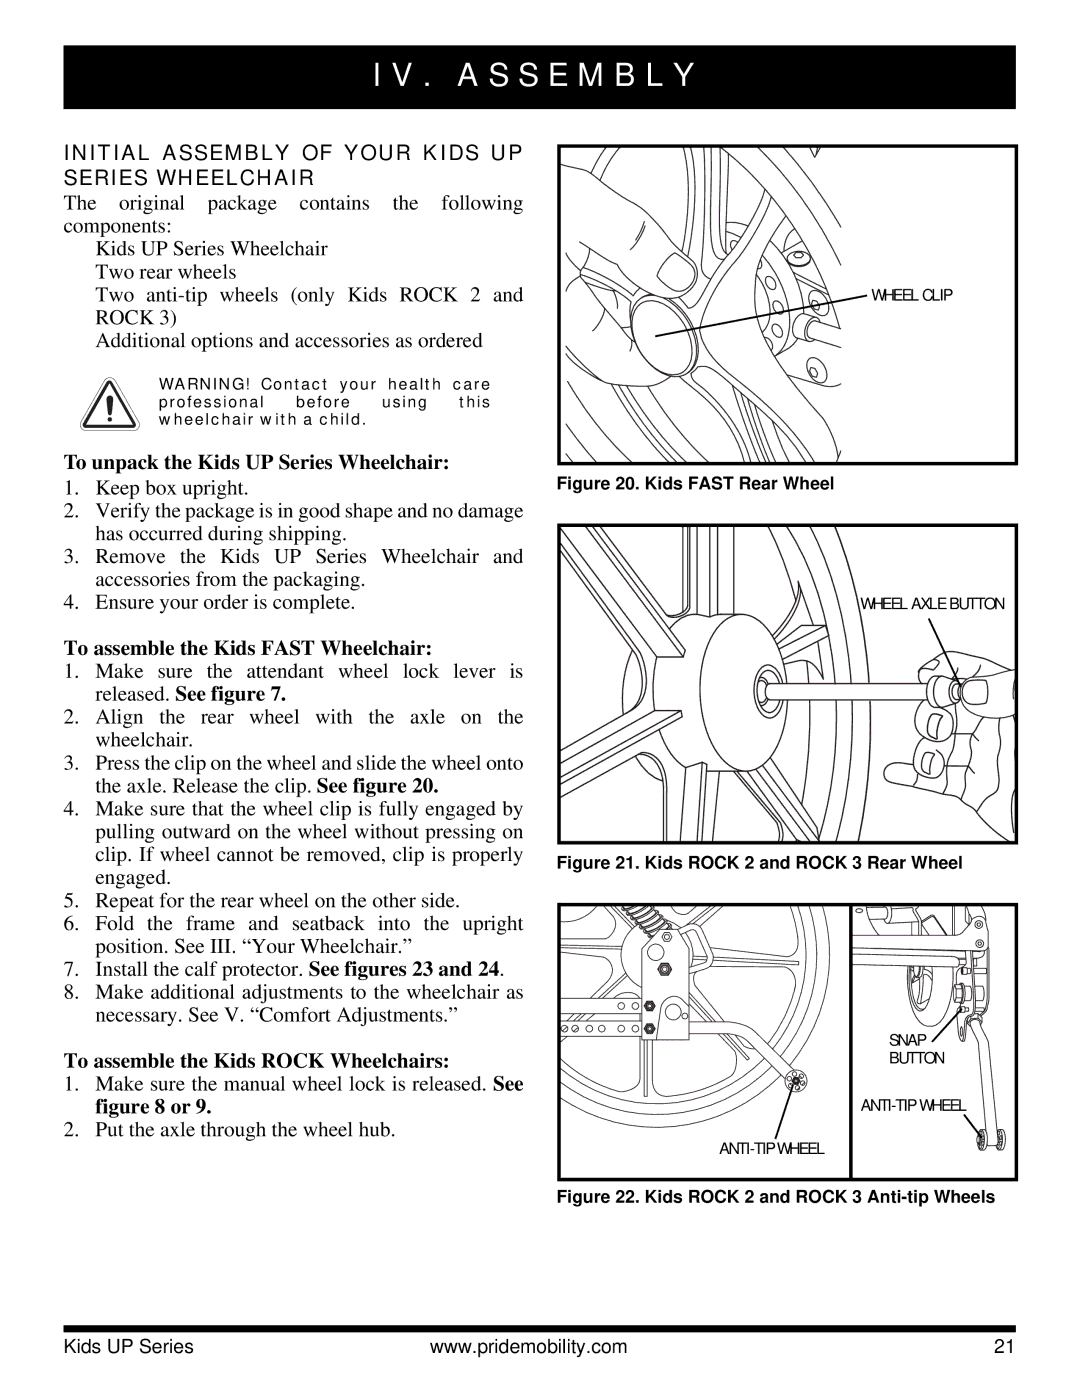
3.Press the clip on the wheel and slide the wheel onto the axle. Release the clip. See figure 20.
4.Make sure that the wheel clip is fully engaged by pulling outward on the wheel without pressing on clip. If wheel cannot be removed, clip is properly engaged.
5.Repeat for the rear wheel on the other side.
6.Fold the frame and seatback into the upright position. See III. “Your Wheelchair.”
7.Install the calf protector. See figures 23 and 24.
8.Make additional adjustments to the wheelchair as necessary. See V. “Comfort Adjustments.”
To assemble the Kids ROCK Wheelchairs:
1.Make sure the manual wheel lock is released. See figure 8 or 9.
2.Put the axle through the wheel hub.
WHEEL CLIP
Figure 20. Kids FAST Rear Wheel
WHEEL AXLE BUTTON |
Figure 21. Kids ROCK 2 and ROCK 3 Rear Wheel
SNAP |
BUTTON |
Figure 22. Kids ROCK 2 and ROCK 3 Anti-tip Wheels
Kids UP Series | www.pridemobility.com | 21 |