Mounting ProjectionLink
Mounting the Transmitter in a Rack
The ProjectionLink transmitter also incudes rack mounting ears. Make sure to secure the mounting ears with the 8 mm screws included with ProjectionLink.
To install the ProjectionLink rack mounting ears:
1.Remove the screws on the sides of the transmitter.
2.Attach the mounting ear with four of the 8 mm screws from the Hardware Kit included with ProjectionLink. The mounting ears are symmetrical and work on either the left or right side.
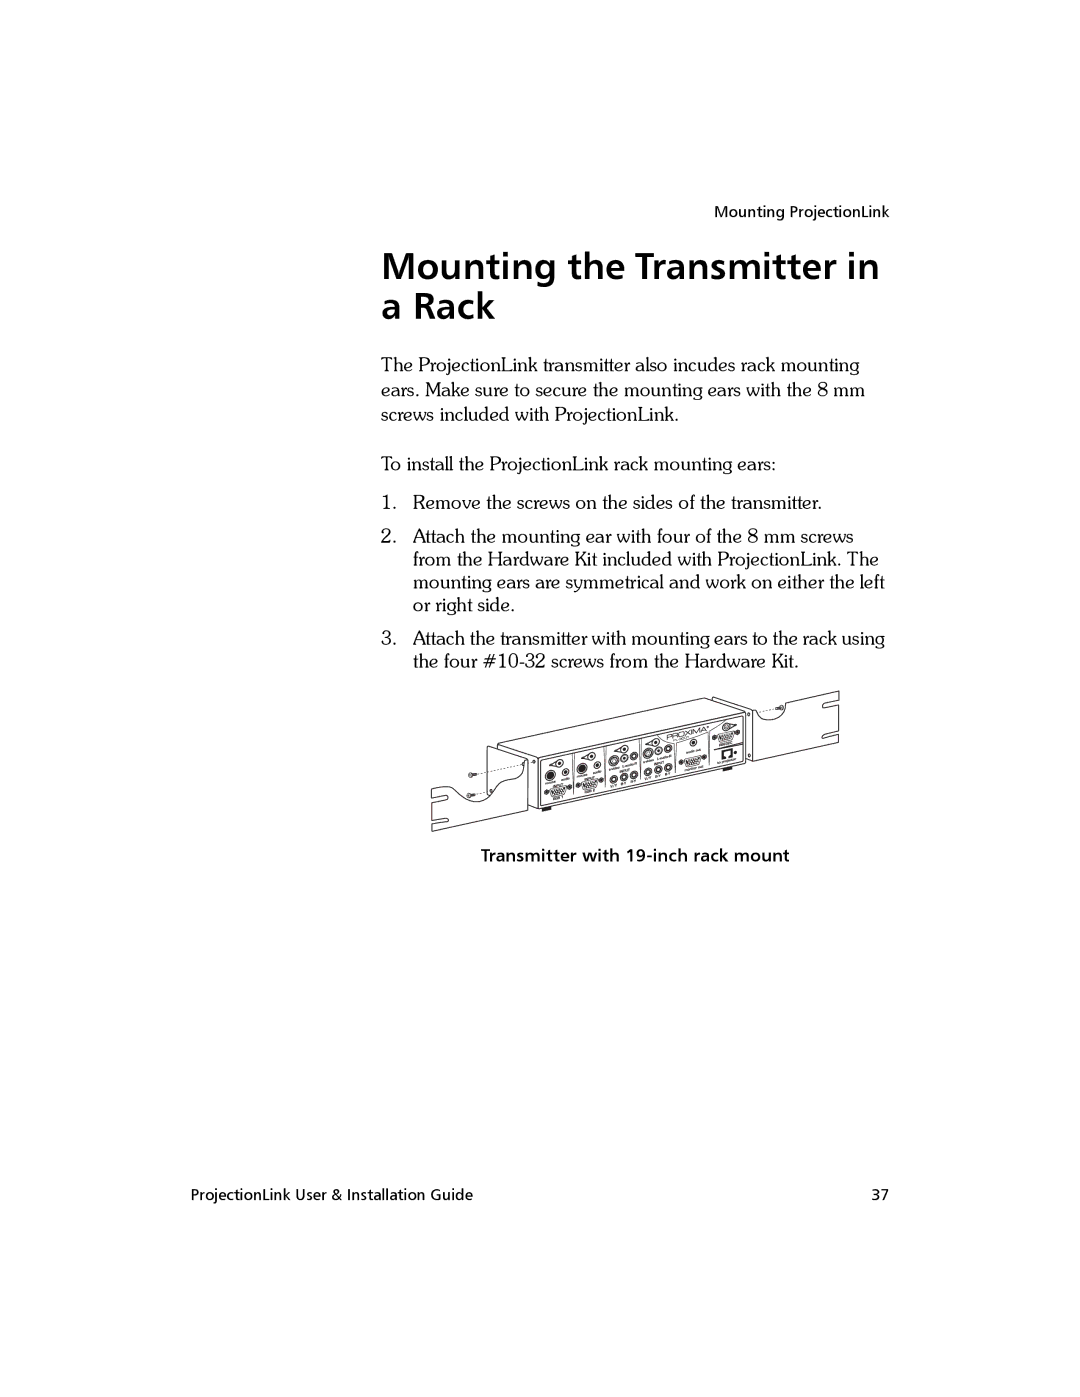
3.Attach the transmitter with mounting ears to the rack using the four
Transmitter with
ProjectionLink User & Installation Guide | 37 |