QT19D328SC User’s Manual
b). Machine’s device number: Use can use numbers from “000” to “999”. Machine’s device number has been preset to “000” at the factory. You need to input this number when the system is running.
c). Machine’s address: Manually enter the machine’s address here (optional). Machine address could be the address of the place being monitored thru this system. Move the cursor to the “address” line and press enter to enter the address and press enter again when finished. Use the remote control to enter the numbers and letters. The number keys can be used for letters similar to the keys on a standard telephone. For example “2” represents 2abc etc.
Note: The length limit is 8 characters or 4 words.
d). HDD overwrite: You have two options – “Yes” & “No”. When “Yes” is selected, it will allow recording continuously even after the hard drive is full and video will be recorded in FIFO
e). Video System: The video system can be changed from NTSC to PAL and vice versa using the left and right arrow keys on the remote.
f). Modify the administrator Password: Press enter to access the option to reset the administrator password. You can press the number keys on the remote control to enter the new password .
Please note that only the administrator has the authority to do change this password.
g). Operator Password: Press enter to access the option to reset the operator password. You can press the number keys on the remote control to change the password. Press the Enter key to save this setting.
Note: Please memorize your password and save it in a secure place to avoid others from accessing it.
h). HDD format: Use this function to format the hard drive.
Warning: All the data on the hard drive will be lost.
i). Default Setup: This function will reset the system to factory settings
j). Return: This function takes you back to the Main Menu.
3.3.2 Channel Set
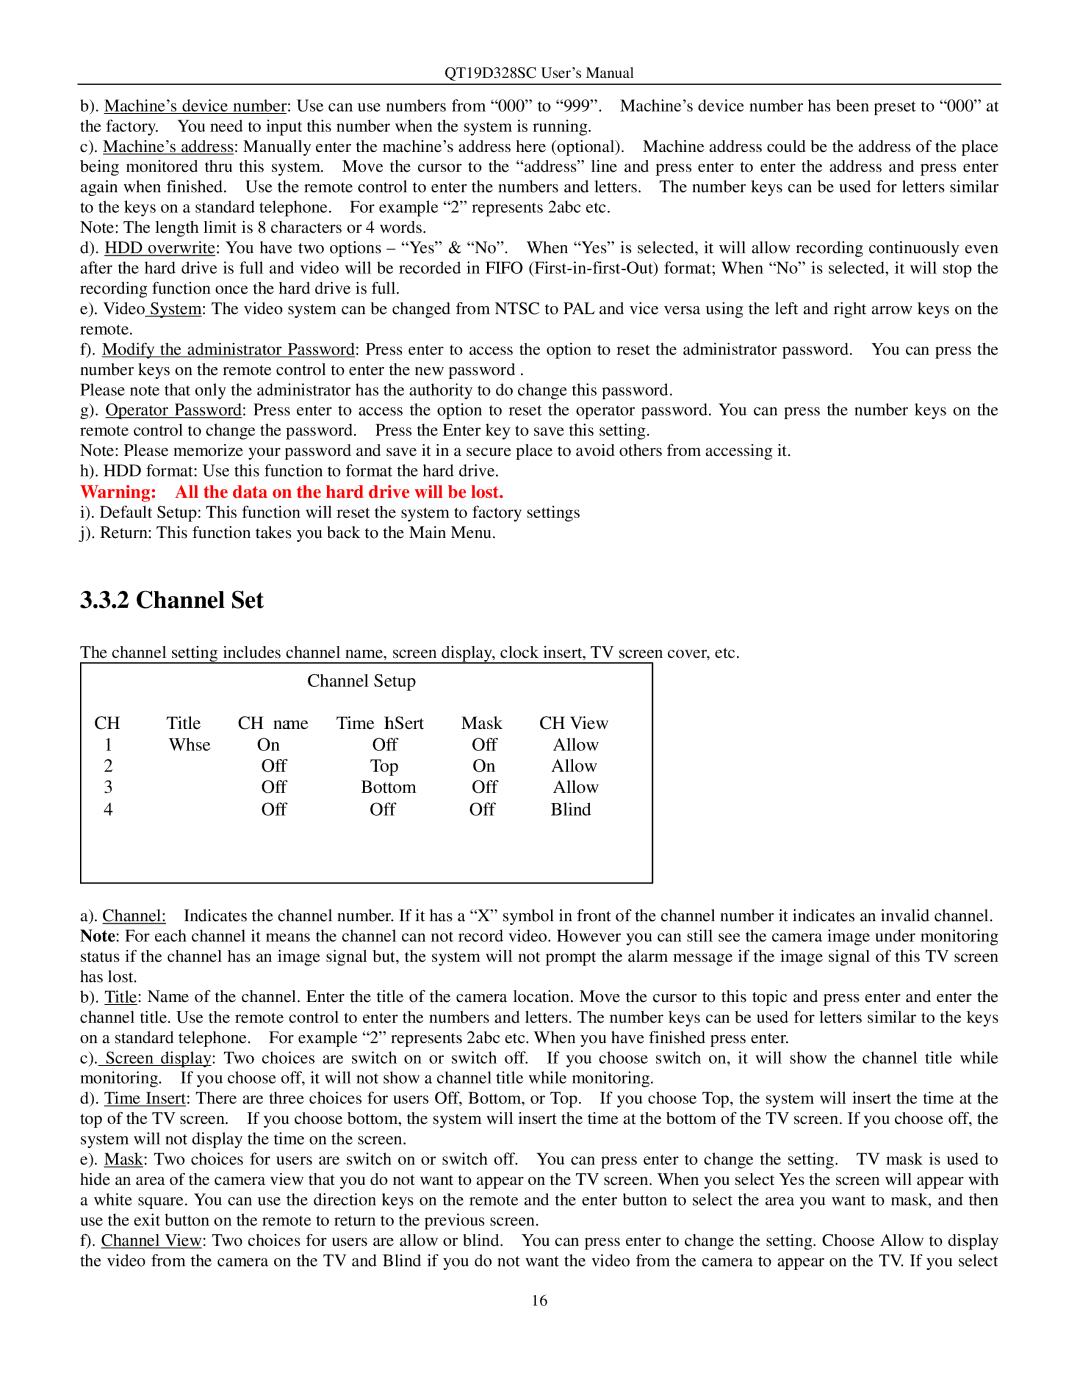
The channel setting includes channel name, screen display, clock insert, TV screen cover, etc.
|
| Channel Setup |
|
| |
CH | Title | CH name | Time InSert | Mask | CH View |
1 | Whse | On | Off | Off | Allow |
2 |
| Off | Top | On | Allow |
3 |
| Off | Bottom | Off | Allow |
4 |
| Off | Off | Off | Blind |
a). Channel: Indicates the channel number. If it has a “X” symbol in front of the channel number it indicates an invalid channel.
Note: For each channel it means the channel can not record video. However you can still see the camera image under monitoring status if the channel has an image signal but, the system will not prompt the alarm message if the image signal of this TV screen has lost.
b). Title: Name of the channel. Enter the title of the camera location. Move the cursor to this topic and press enter and enter the channel title. Use the remote control to enter the numbers and letters. The number keys can be used for letters similar to the keys on a standard telephone. For example “2” represents 2abc etc. When you have finished press enter.
c). Screen display: Two choices are switch on or switch off. If you choose switch on, it will show the channel title while monitoring. If you choose off, it will not show a channel title while monitoring.
d). Time Insert: There are three choices for users Off, Bottom, or Top. If you choose Top, the system will insert the time at the top of the TV screen. If you choose bottom, the system will insert the time at the bottom of the TV screen. If you choose off, the system will not display the time on the screen.
e). Mask: Two choices for users are switch on or switch off. You can press enter to change the setting. TV mask is used to hide an area of the camera view that you do not want to appear on the TV screen. When you select Yes the screen will appear with a white square. You can use the direction keys on the remote and the enter button to select the area you want to mask, and then use the exit button on the remote to return to the previous screen.
f). Channel View: Two choices for users are allow or blind. You can press enter to change the setting. Choose Allow to display the video from the camera on the TV and Blind if you do not want the video from the camera to appear on the TV. If you select
16