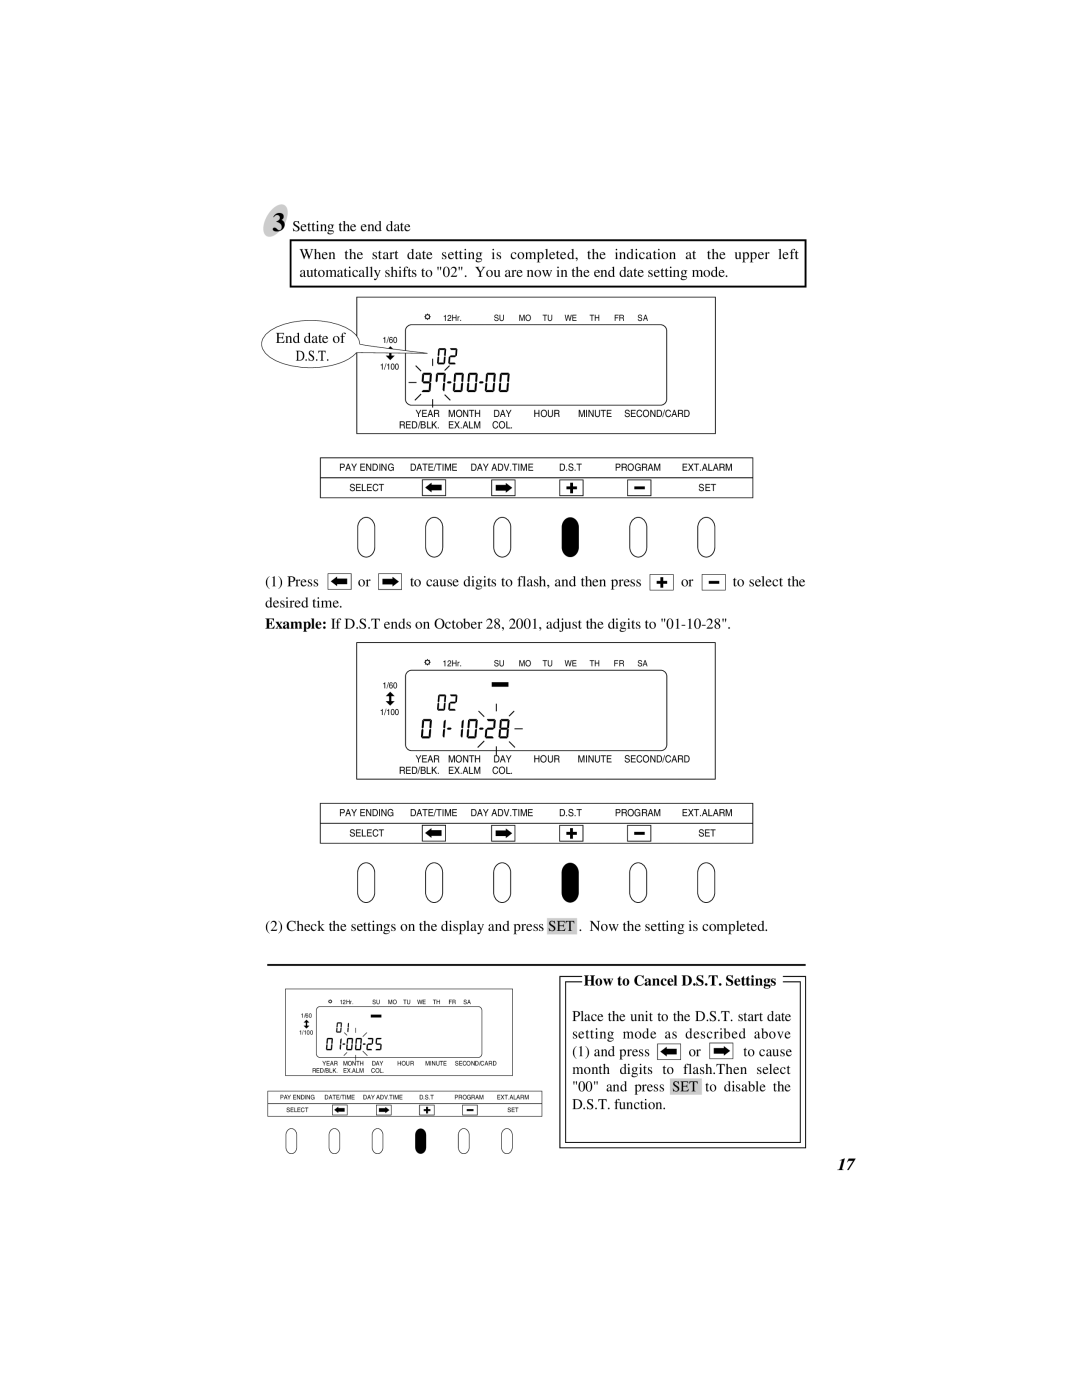
3 Setting the end date
When the start date setting is completed, the indication at the upper left automatically shifts to "02". You are now in the end date setting mode.
End date of D.S.T.
12Hr. SU MO TU WE TH FR SA
1/60
1/100
YEAR MONTH DAY HOUR MINUTE SECOND/CARD RED/BLK. EX.ALM COL.
PAY ENDING DATE/TIME DAY ADV.TIME | D.S.T | PROGRAM | EXT.ALARM | |||||||||||||||
|
|
|
|
|
|
|
|
|
|
|
|
|
|
|
|
|
|
|
|
|
|
|
|
|
|
|
|
|
|
|
|
|
|
|
|
| |
SELECT |
|
|
|
|
|
|
|
|
|
|
|
|
|
|
|
|
| SET |
|
|
|
|
|
|
|
|
|
|
|
|
|
|
|
|
| ||
|
|
|
|
|
|
|
|
|
|
|
|
|
|
|
|
|
|
|
(1)Press ![]()
![]() or
or ![]()
![]()
![]() to cause digits to flash, and then press desired time.
to cause digits to flash, and then press desired time.
or ![]()
![]()
![]() to select the
to select the
Example: If D.S.T ends on October 28, 2001, adjust the digits to
12Hr. SU MO TU WE TH FR SA
1/60
1/100
YEAR MONTH DAY HOUR MINUTE SECOND/CARD
RED/BLK. EX.ALM COL.
PAY ENDING DATE/TIME DAY ADV.TIME | D.S.T | PROGRAM | EXT.ALARM | |||||||||||||||
|
|
|
|
|
|
|
|
|
|
|
|
|
|
|
|
|
|
|
|
|
|
|
|
|
|
|
|
|
|
|
|
|
|
|
|
| |
SELECT |
|
|
|
|
|
|
|
|
|
|
|
|
|
|
|
|
| SET |
|
|
|
|
|
|
|
|
|
|
|
|
|
|
|
|
| ||
|
|
|
|
|
|
|
|
|
|
|
|
|
|
|
|
|
|
|
(2) Check the settings on the display and press SET . Now the setting is completed.
12Hr. SU MO TU WE TH FR SA
1/60
1/100
YEAR MONTH DAY HOUR MINUTE SECOND/CARD
RED/BLK. EX.ALM COL.
PAY ENDING DATE/TIME DAY ADV.TIME | D.S.T | PROGRAM | EXT.ALARM | ||||||||||||||
|
|
|
|
|
|
|
|
|
|
|
|
|
|
|
|
|
|
SELECT |
|
|
|
|
|
|
|
|
|
|
|
|
|
|
|
| SET |
 How to Cancel D.S.T. Settings
Place the unit to the D.S.T. start date setting mode as described above
(1)and press ![]()
![]() or
or ![]()
![]()
![]() to cause month digits to flash.Then select "00" and press SET to disable the D.S.T. function.
to cause month digits to flash.Then select "00" and press SET to disable the D.S.T. function.
17