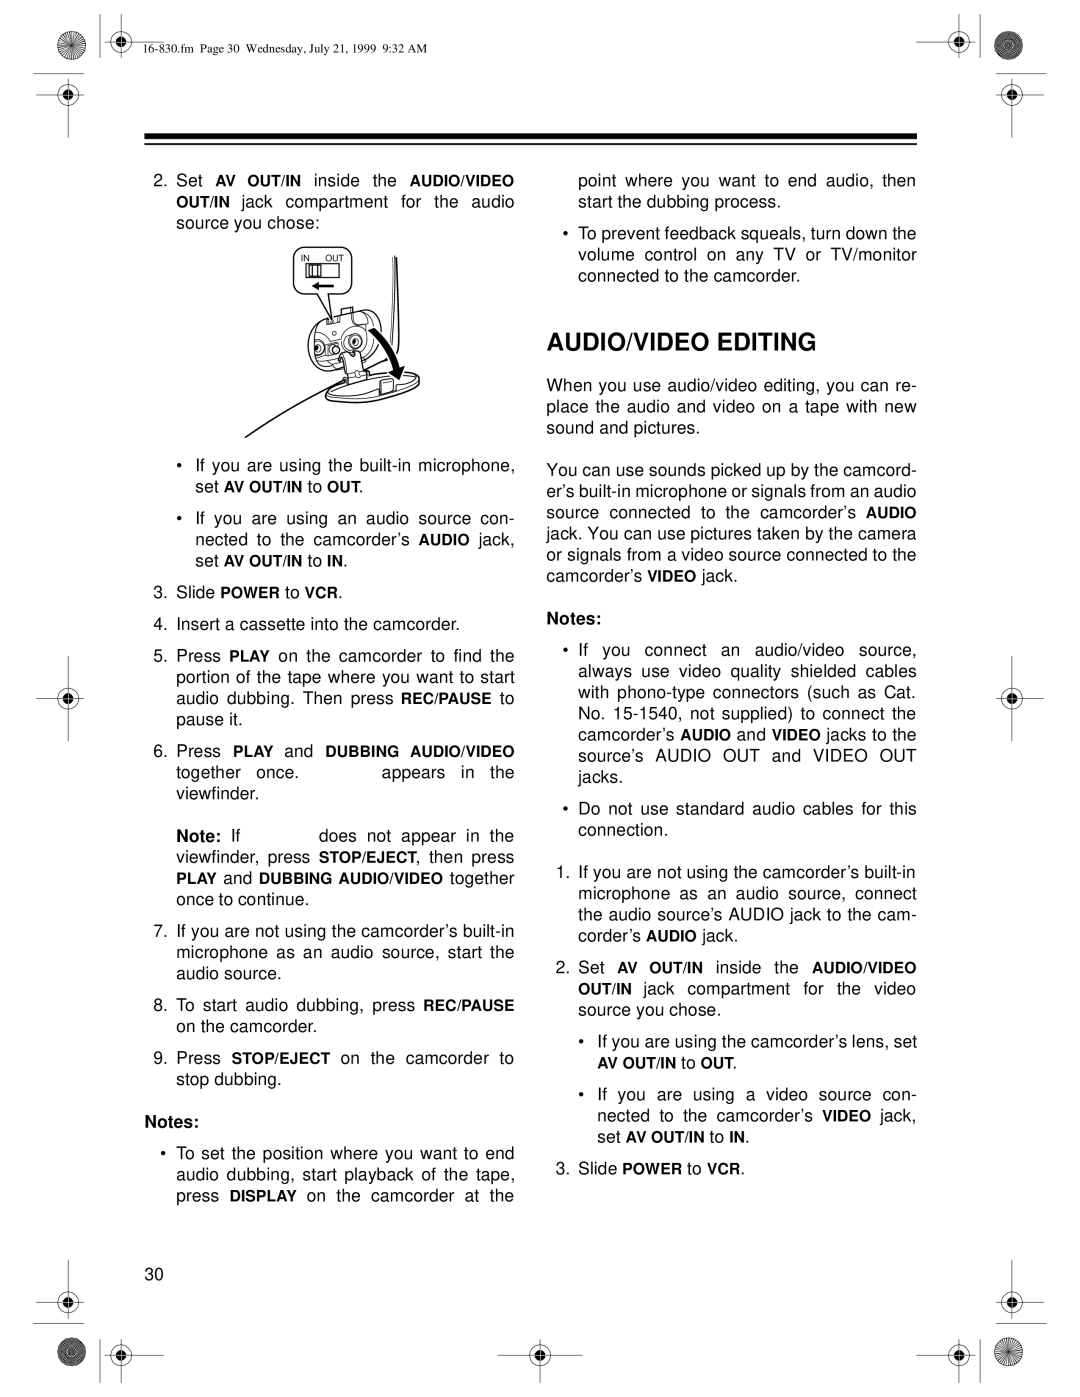
2.Set AV OUT/IN inside the AUDIO/VIDEO OUT/IN jack compartment for the audio source you chose:
IN OUT
•If you are using the
•If you are using an audio source con- nected to the camcorder’s AUDIO jack, set AV OUT/IN to IN.
3.Slide POWER to VCR.
4.Insert a cassette into the camcorder.
5.Press PLAY on the camcorder to find the portion of the tape where you want to start audio dubbing. Then press REC/PAUSE to pause it.
6.Press PLAY and DUBBING AUDIO/VIDEO
together once. | appears | in | the |
viewfinder. |
|
|
|
Note: If | does not appear | in | the |
viewfinder, press STOP/EJECT, then press PLAY and DUBBING AUDIO/VIDEO together once to continue.
7.If you are not using the camcorder’s
8.To start audio dubbing, press REC/PAUSE on the camcorder.
9.Press STOP/EJECT on the camcorder to stop dubbing.
Notes:
•To set the position where you want to end audio dubbing, start playback of the tape, press DISPLAY on the camcorder at the
point where you want to end audio, then start the dubbing process.
•To prevent feedback squeals, turn down the volume control on any TV or TV/monitor connected to the camcorder.
AUDIO/VIDEO EDITING
When you use audio/video editing, you can re- place the audio and video on a tape with new sound and pictures.
You can use sounds picked up by the camcord- er’s
Notes:
•If you connect an audio/video source, always use video quality shielded cables with
•Do not use standard audio cables for this connection.
1.If you are not using the camcorder’s
2.Set AV OUT/IN inside the AUDIO/VIDEO OUT/IN jack compartment for the video source you chose.
•If you are using the camcorder’s lens, set
AV OUT/IN to OUT.
•If you are using a video source con- nected to the camcorder’s VIDEO jack, set AV OUT/IN to IN.
3.Slide POWER to VCR.
30