5.Insert the tabs on the narrow end of the bracket into the lower slots on the base’s bottom, then push the tabs on the wide end of the bracket into the other slots until the bracket clicks securely into place.
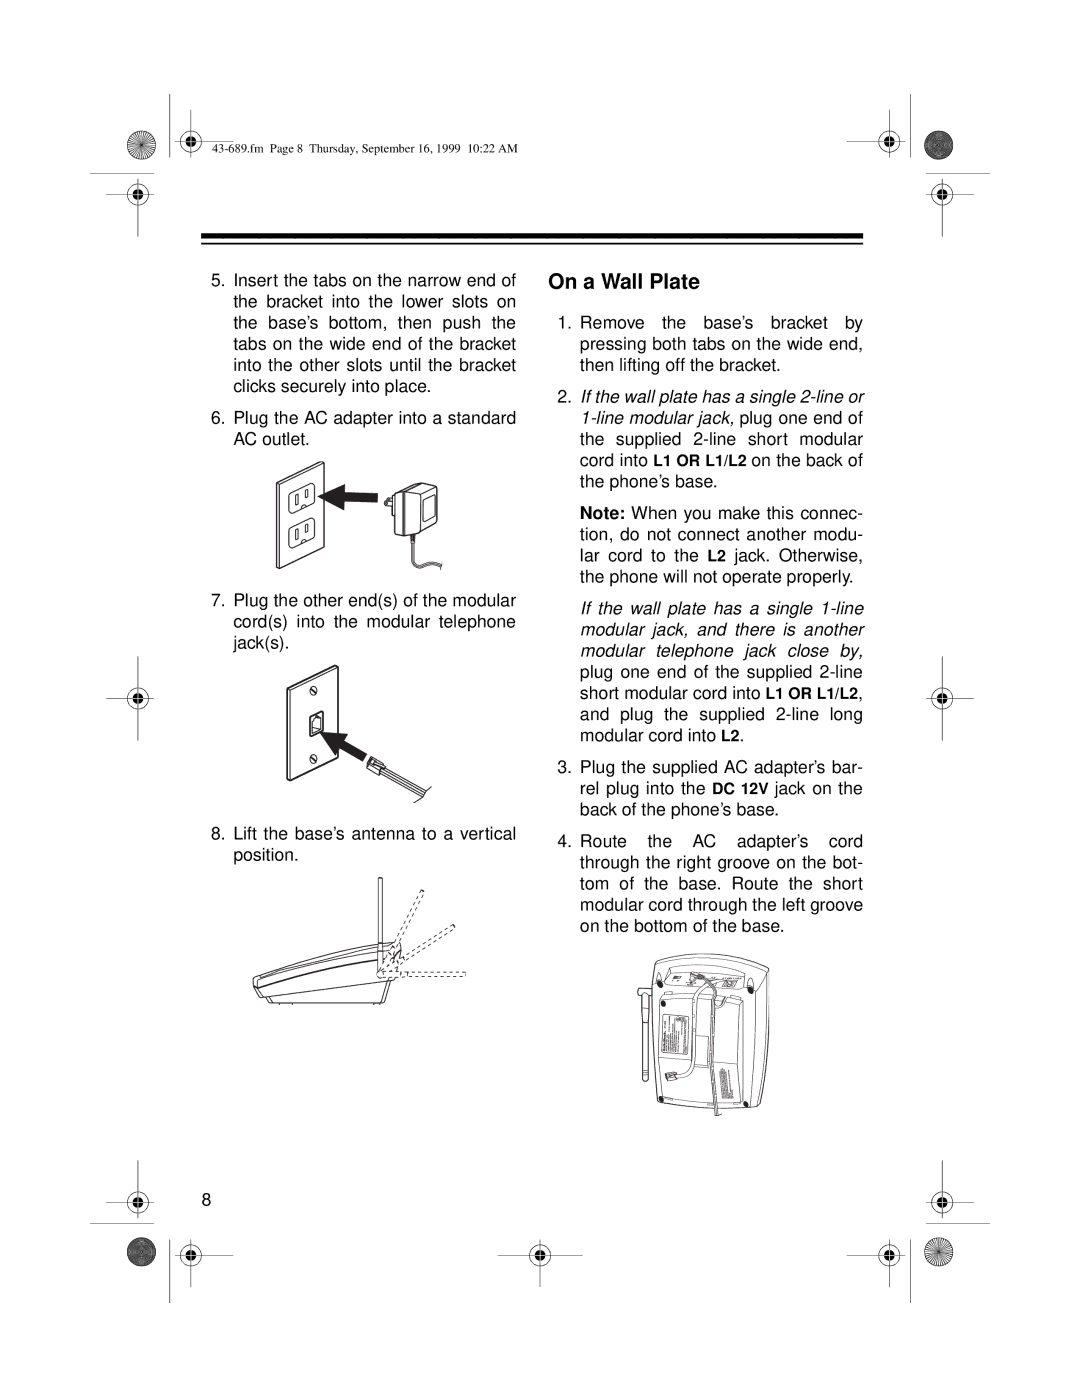
6.Plug the AC adapter into a standard AC outlet.
7.Plug the other end(s) of the modular cord(s) into the modular telephone jack(s).
8.Lift the base’s antenna to a vertical position.
On a Wall Plate
1.Remove the base’s bracket by pressing both tabs on the wide end, then lifting off the bracket.
2.If the wall plate has a single
Note: When you make this connec- tion, do not connect another modu- lar cord to the L2 jack. Otherwise, the phone will not operate properly.
If the wall plate has a single
3.Plug the supplied AC adapter’s bar- rel plug into the DC 12V jack on the back of the phone’s base.
4.Route the AC adapter’s cord through the right groove on the bot- tom of the base. Route the short modular cord through the left groove on the bottom of the base.
8
