110 specifications
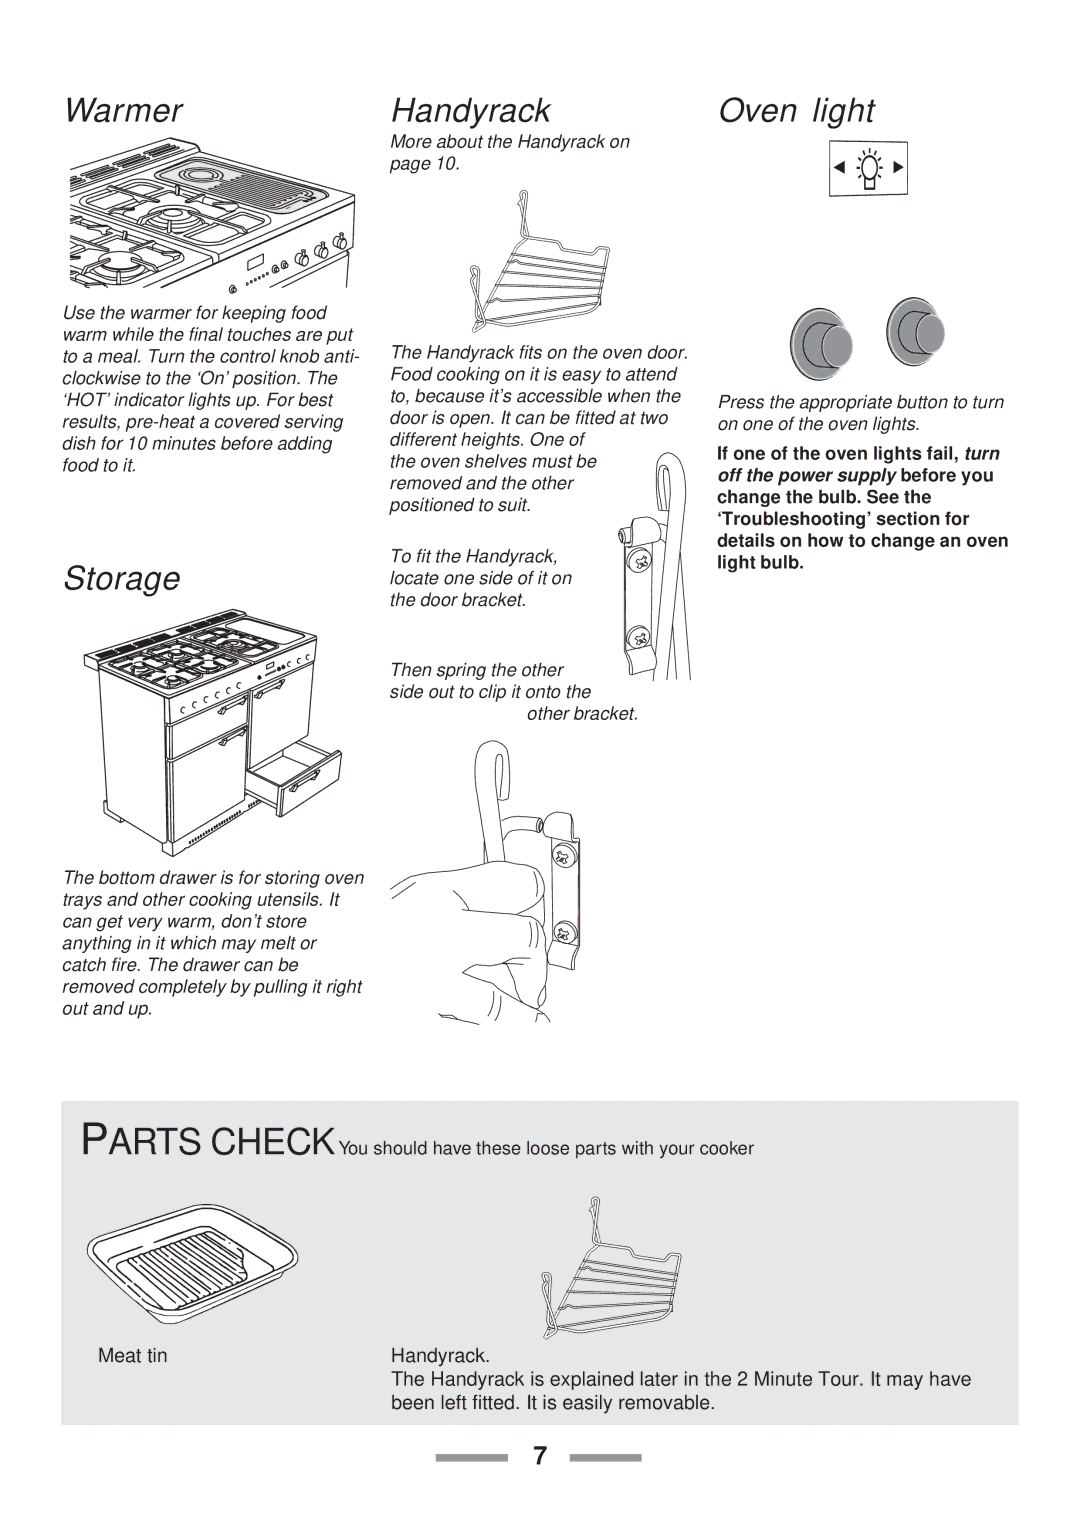
The Rangemaster 110 is a remarkable piece of culinary equipment that stands out for its blend of classic design, modern technology, and exceptional performance. Designed for the serious home cook and culinary enthusiast, this range cooker offers a host of features that cater to both functionality and aesthetics.One of the main characteristics of the Rangemaster 110 is its impressive size. Measuring 110cm wide, it provides ample cooking space, making it an ideal choice for larger kitchens and those who often cook for family and friends. The range features multiple ovens, allowing for versatile cooking modes. Typically, you will find a conventional oven, a fan oven for even heat distribution, and even a separate grill, providing users with the ultimate flexibility in meal preparation.
In terms of cooking technologies, the Rangemaster 110 is equipped with innovative features such as the multifunction oven. This technology enables various cooking methods, including baking, roasting, and grilling, ensuring that every dish comes out perfectly. The dual fuel option is another highlight, offering the efficiency of gas hobs combined with the consistent heat of electric ovens, giving home cooks the best of both worlds.
The design of the Rangemaster 110 is equally impressive. Available in a variety of colors, from traditional cream and black to more contemporary shades, it can seamlessly integrate into any kitchen decor. The elegant finish and classic styling give the cooker a timeless appeal, making it a centerpiece in any cooking space.
Additional features include heavy-duty cast-iron pan supports that provide excellent stability for cookware, and the ergonomic controls that allow for precise adjustments while cooking. A built-in timer and temperature gauge enhance convenience, ensuring that dishes are cooked to perfection every time.
Cleaning is made easier with self-cleaning functions in the ovens, reducing the time and effort needed to maintain the appliance. The Rangemaster 110's commitment to energy efficiency also stands out, as it typically boasts good energy ratings, making it an environmentally friendly choice.
In summary, the Rangemaster 110 is a sophisticated range cooker that combines traditional craftsmanship with modern innovations. Its combination of size, diverse cooking functions, and stylish aesthetics make it an excellent addition to any kitchen, catering to the needs of passionate cooks who demand both performance and elegance.

