GETTING STARTED
This section shows you how to install and setup your Caller ID Telephone. It’s important that you follow the instructions in this section in order to get your new phone correctly installed and set up.
BEFORE YOU BEGIN
PARTS CHECKLIST
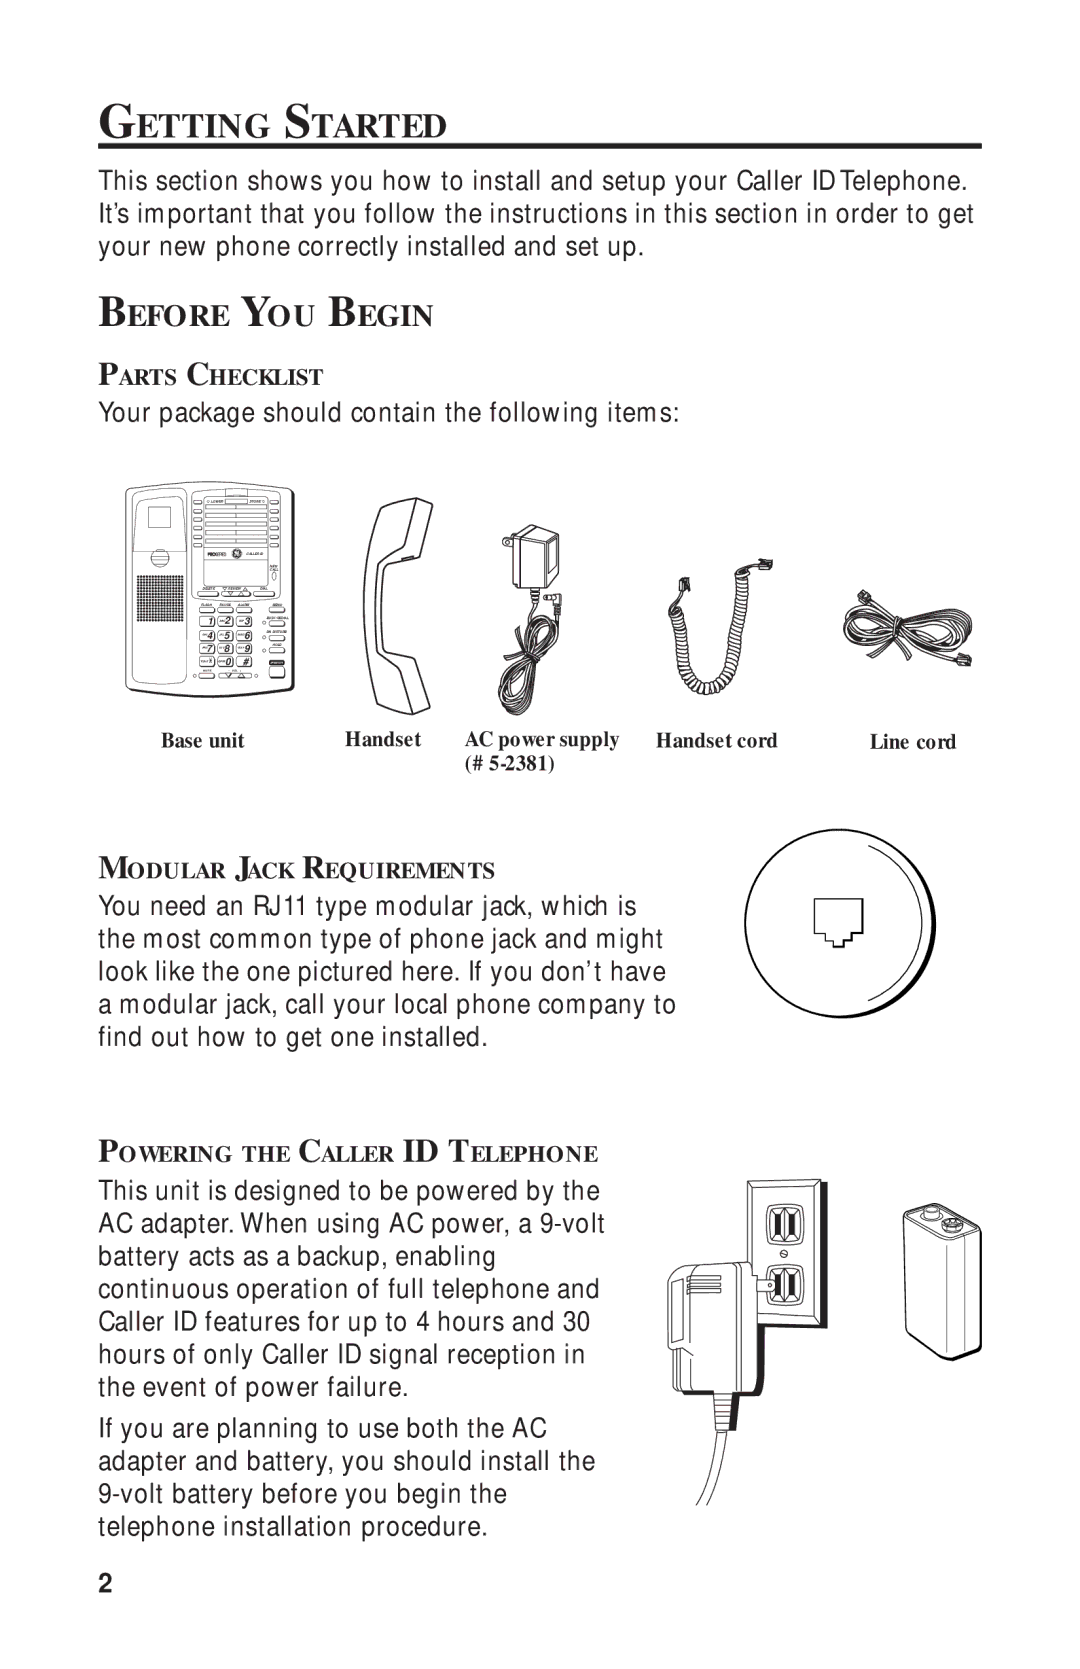
Your package should contain the following items:
LOWER |
| STORE | |
|
| CALLER ID | |
|
|
| NEW |
|
|
| CALL |
DELETE | REVIEW | DIAL | |
FLASH | PAUSE | ALARM | MENU |
1 | 2 | 3 | BUSY/REDIAL |
| |||
4 | 5 | 6 | DN DISTURB |
| |||
7 | 8 | 9 | HOLD |
| |||
| 0 | # |
|
Base unit | Handset | AC power supply | Handset cord | Line cord |
|
| (# |
|
|
MODULAR JACK REQUIREMENTS
You need an RJ11 type modular jack, which is the most common type of phone jack and might look like the one pictured here. If you don’t have a modular jack, call your local phone company to find out how to get one installed.
POWERING THE CALLER ID TELEPHONE
This unit is designed to be powered by the AC adapter. When using AC power, a
If you are planning to use both the AC adapter and battery, you should install the
2
