Chapter 2
Local Network Setup
Installing Windows USB driver
Verifying USB connectivity in Windows
Installing Mac USB drivers
Device settings
20
The installation is plug and play, meaning that installation will require almost no effort.
Proceed as follows:
1Insert the blue USB cable provided into the SpeedTouch™ USB port marked with the USB logo:
2The other end of the USB cable fits in (one of) the USB port(s) of your PC. In most cases your PC's USB port is marked with the same USB symbol.
You can also connect your PC to the SpeedTouch™ via a USB hub.
3Windows will automatically recognise the Thomson USB Remote NDIS device:
4The Windows Found New Hardware Wizard appears:
This wizard will guide you through the installation procedure of the USB drivers.
Click Next to continue.
The Windows Found New Hardware Wizard may ask your authorisation to connect to Window Update to search for software. If this is the case, select No, not this time and click Next.
5Select Install the software automatically (Recommended), and click Next.
6The USB driver is being installed. After a while a completing dialogue will appear. Click Finish to complete the installation.
7As a result your USB connection is installed and ready for use.
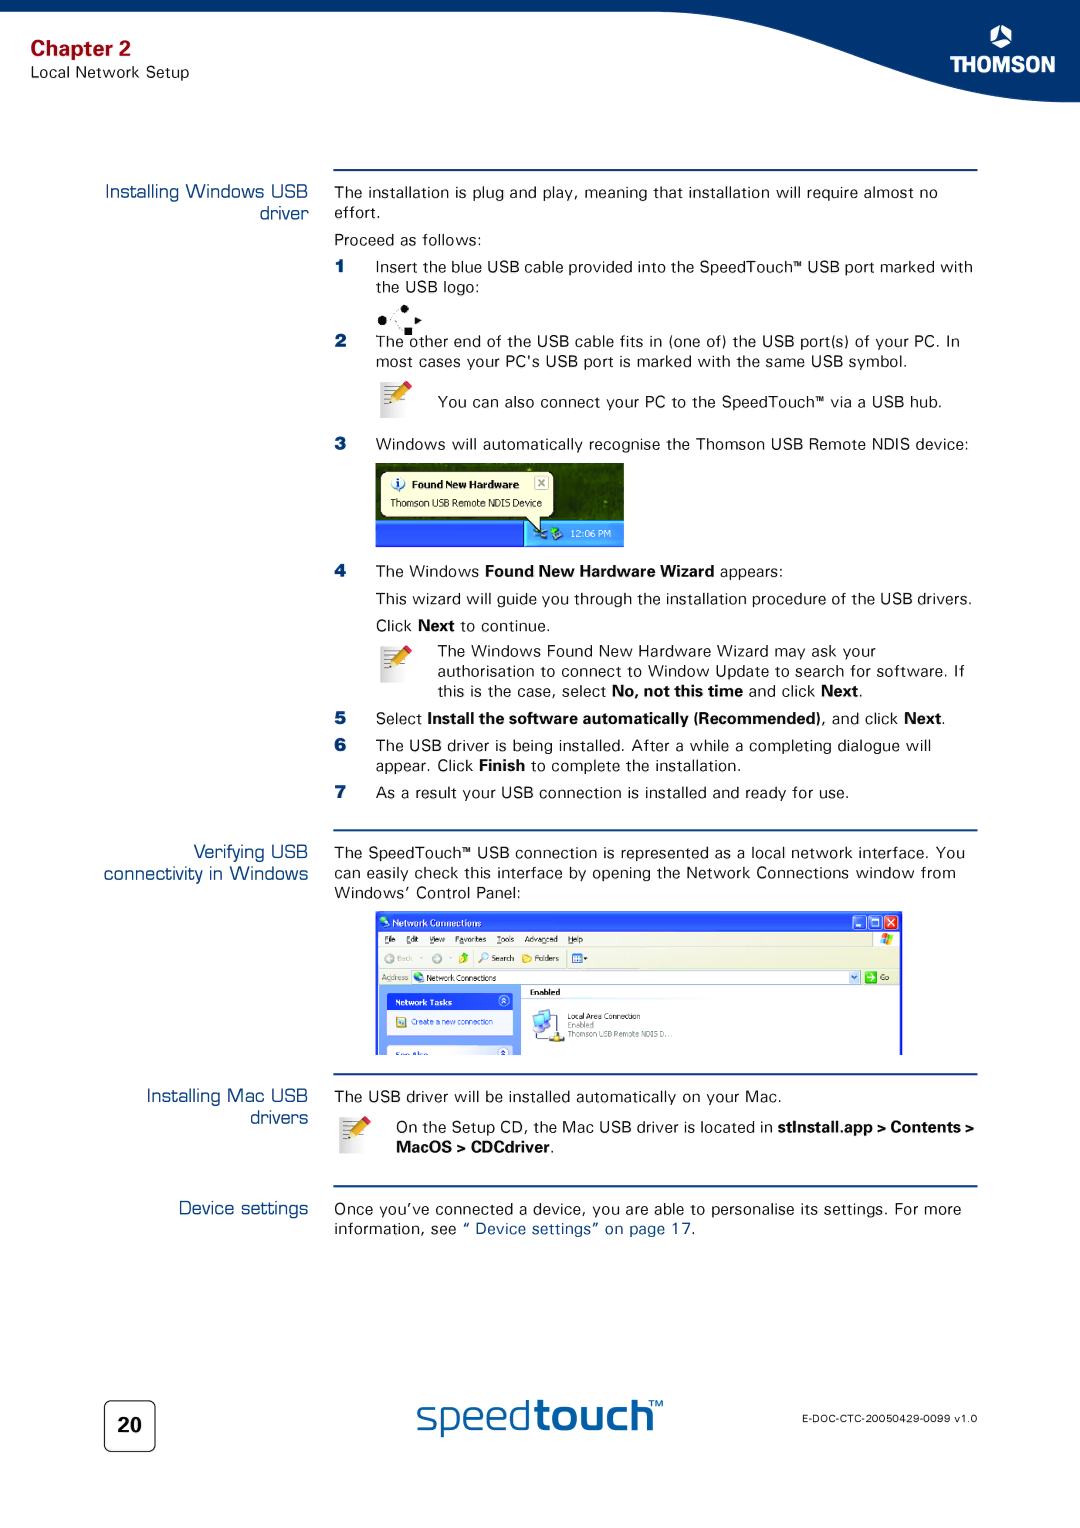
The SpeedTouch™ USB connection is represented as a local network interface. You can easily check this interface by opening the Network Connections window from Windows’ Control Panel:
The USB driver will be installed automatically on your Mac.
On the Setup CD, the Mac USB driver is located in stInstall.app > Contents > MacOS > CDCdriver.
Once you’ve connected a device, you are able to personalise its settings. For more information, see “ Device settings” on page 17.
