Digital Still Camera
Connecting To A Windows® PC
Image data stored in the camcorder’s
To assure safety, make sure all units are turned off before making any connection.
1.Insert the Picture Navigator
2.Double click the installer icon and follow the
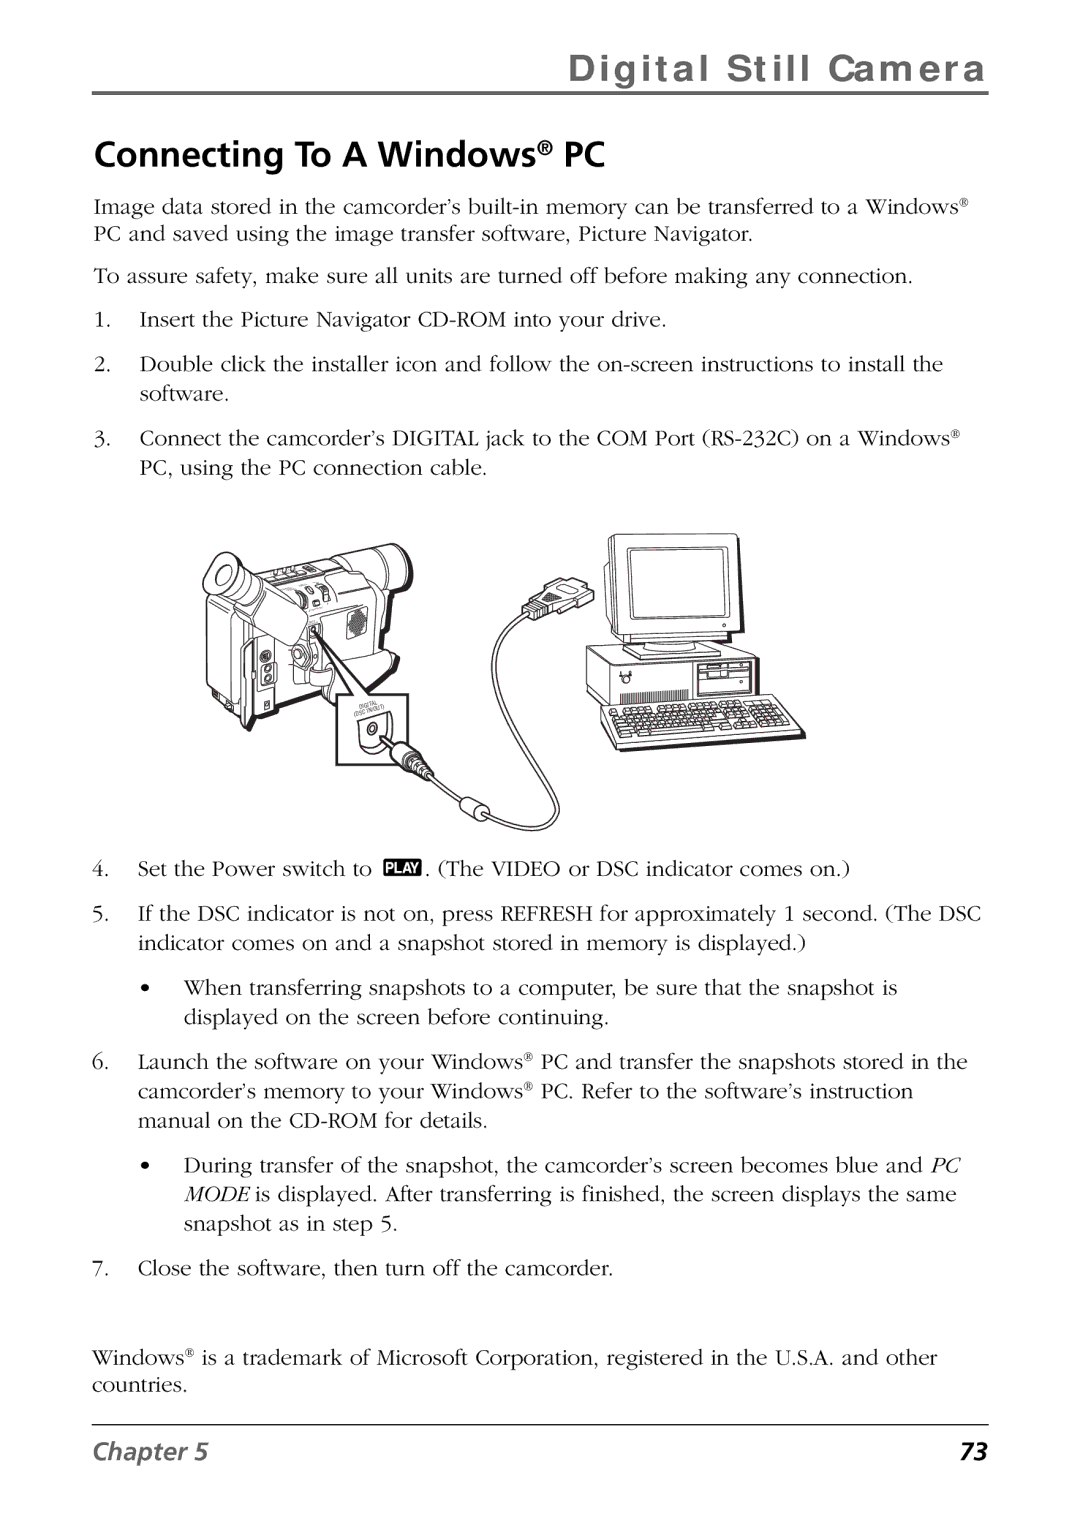
3.Connect the camcorder’s DIGITAL jack to the COM Port
+
+
A
L
P
| TAL | |
DIGI | UT) | |
(DSC | IN/O | |
4. Set the Power switch to ![]() . (The VIDEO or DSC indicator comes on.)
. (The VIDEO or DSC indicator comes on.)
5.If the DSC indicator is not on, press REFRESH for approximately 1 second. (The DSC indicator comes on and a snapshot stored in memory is displayed.)
•When transferring snapshots to a computer, be sure that the snapshot is displayed on the screen before continuing.
6.Launch the software on your Windows® PC and transfer the snapshots stored in the camcorder’s memory to your Windows® PC. Refer to the software’s instruction manual on the
•During transfer of the snapshot, the camcorder’s screen becomes blue and PC MODE is displayed. After transferring is finished, the screen displays the same snapshot as in step 5.
7.Close the software, then turn off the camcorder.
Windows® is a trademark of Microsoft Corporation, registered in the U.S.A. and other countries.
Chapter 5 | 73 |