Chapter 3: Recording, Playback & Features
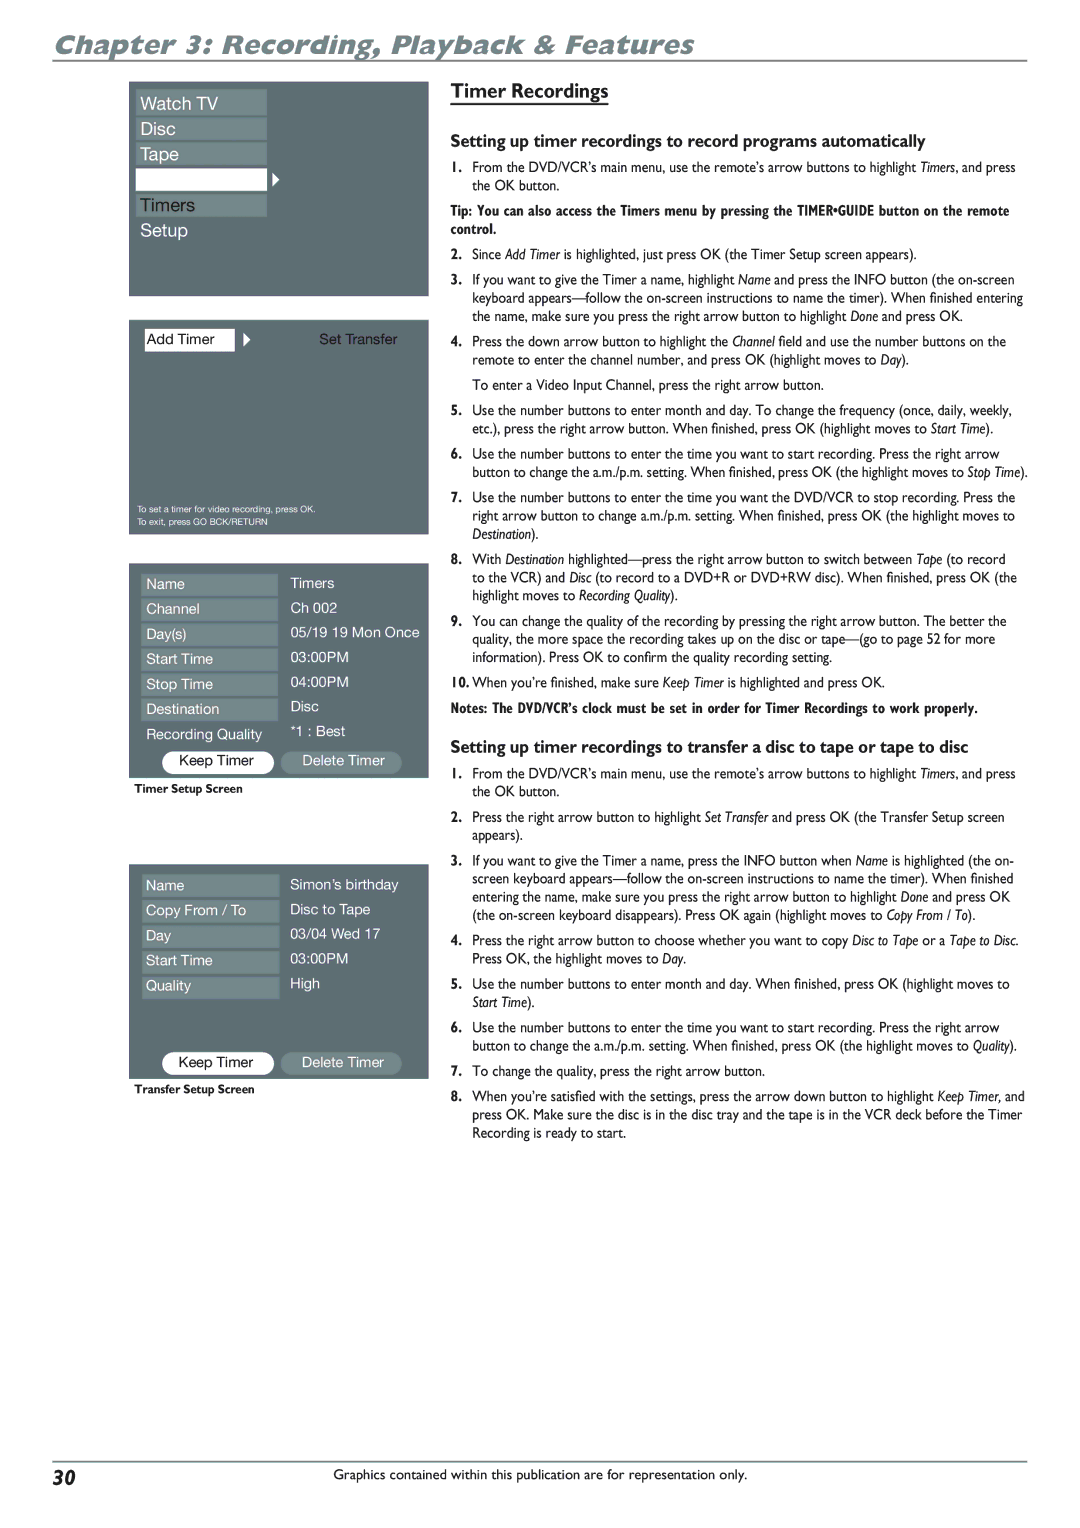
Watch TV
Disc
Tape
Disc Library
Timers
Setup
Add Timer | Set Transfer |
|
|
To set a timer for video recording, press OK.
To exit, press GO BCK/RETURN
|
| Timers |
| Name | |
| Channel | Ch 002 |
| Day(s) | 05/19 19 Mon Once |
| Start Time | 03:00PM |
| Stop Time | 04:00PM |
| Destination | Disc |
| Recording Quality | *1 : Best |
| Keep Timer | Delete Timer |
|
|
|
Timer Setup Screen |
| |
|
|
|
|
| Simon’s birthday |
| Name | |
| Copy From / To | Disc to Tape |
| Day | 03/04 Wed 17 |
| Start Time | 03:00PM |
| Quality | High |
|
|
|
| Keep Timer | Delete Timer |
|
|
|
Transfer Setup Screen |
| |
Timer Recordings
Setting up timer recordings to record programs automatically
1.From the DVD/VCR’s main menu, use the remote’s arrow buttons to highlight Timers, and press the OK button.
Tip: You can also access the Timers menu by pressing the TIMER•GUIDE button on the remote control.
2.Since Add Timer is highlighted, just press OK (the Timer Setup screen appears).
3.If you want to give the Timer a name, highlight Name and press the INFO button (the
4.Press the down arrow button to highlight the Channel field and use the number buttons on the remote to enter the channel number, and press OK (highlight moves to Day).
To enter a Video Input Channel, press the right arrow button.
5.Use the number buttons to enter month and day. To change the frequency (once, daily, weekly, etc.), press the right arrow button. When finished, press OK (highlight moves to Start Time).
6.Use the number buttons to enter the time you want to start recording. Press the right arrow button to change the a.m./p.m. setting. When finished, press OK (the highlight moves to Stop Time).
7.Use the number buttons to enter the time you want the DVD/VCR to stop recording. Press the right arrow button to change a.m./p.m. setting. When finished, press OK (the highlight moves to Destination).
8.With Destination
9.You can change the quality of the recording by pressing the right arrow button. The better the quality, the more space the recording takes up on the disc or
10.When you’re finished, make sure Keep Timer is highlighted and press OK.
Notes: The DVD/VCR’s clock must be set in order for Timer Recordings to work properly.
Setting up timer recordings to transfer a disc to tape or tape to disc
1.From the DVD/VCR’s main menu, use the remote’s arrow buttons to highlight Timers, and press the OK button.
2.Press the right arrow button to highlight Set Transfer and press OK (the Transfer Setup screen appears).
3.If you want to give the Timer a name, press the INFO button when Name is highlighted (the on- screen keyboard
4.Press the right arrow button to choose whether you want to copy Disc to Tape or a Tape to Disc. Press OK, the highlight moves to Day.
5.Use the number buttons to enter month and day. When finished, press OK (highlight moves to Start Time).
6.Use the number buttons to enter the time you want to start recording. Press the right arrow button to change the a.m./p.m. setting. When finished, press OK (the highlight moves to Quality).
7.To change the quality, press the right arrow button.
8.When you’re satisfied with the settings, press the arrow down button to highlight Keep Timer, and press OK. Make sure the disc is in the disc tray and the tape is in the VCR deck before the Timer Recording is ready to start.
30 | Graphics contained within this publication are for representation only. |