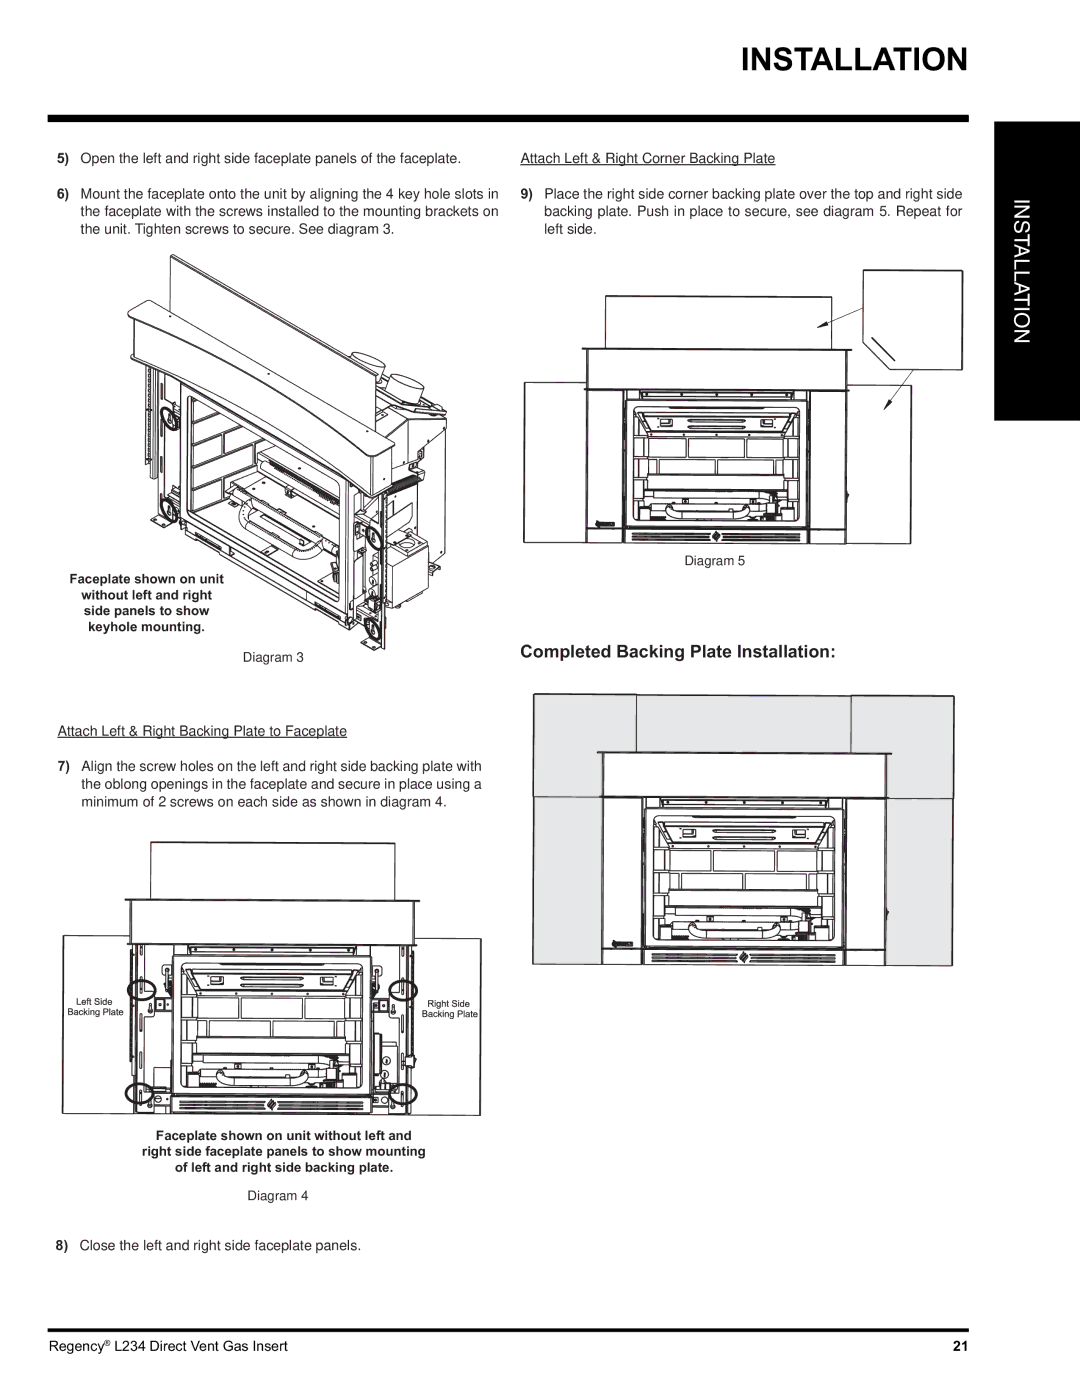
L234-NG, L234-LP specifications
The Regency L234-LP and L234-NG are elegant and efficient gas fireplaces that exemplify modern design and advanced technology. These models are ideal for homeowners looking to enhance their living spaces with warmth and aesthetics. With a variety of features, the Regency L234 fireplace series stands out in both functionality and style.One of the key characteristics of the L234 series is its choice between liquid propane (LP) and natural gas (NG) configurations, providing flexibility for various installation needs. This adaptability allows homeowners to select the fuel type that best suits their preferences and available resources.
In terms of design, the L234 fireplaces feature a contemporary clean face style, which emphasizes the stunning flames while minimizing distractions. The large viewing area is framed by a sleek, minimalist design that fits effortlessly into modern interiors. With customizable options, including different decorative media such as glass and stones, consumers can personalize the appearance of their fireplace to match their home decor.
Efficiency is another hallmark of the Regency L234 series. With its high-efficiency rating, this fireplace not only produces warmth but does so while minimizing fuel consumption. The incorporation of advanced technology such as a direct vent system allows for safe and efficient combustion, drawing in outdoor air for combustion and venting exhaust gases outside. This feature enhances the overall efficiency of the unit, ensuring the living space remains warm and comfortable.
The L234 also comes equipped with a user-friendly remote control, simplifying the operation and allowing users to adjust flame height and heat output from a distance. This remote capability enhances convenience and allows for immediate adjustments based on comfort levels.
Safety features are paramount in the design of the Regency L234 fireplaces. The units are equipped with automatic shut-off systems and advanced safety screens to prevent accidents, providing peace of mind to homeowners.
Overall, the Regency L234-LP and L234-NG gas fireplaces are exemplary choices for those seeking a blend of modern design, efficiency, and safety. With their customizable features and advanced technologies, they provide not only heating solutions but also a stylish focal point for any room. As homeowners seek eco-friendly alternatives that do not compromise on style, the Regency L234 series stands out as a top contender in the market.

