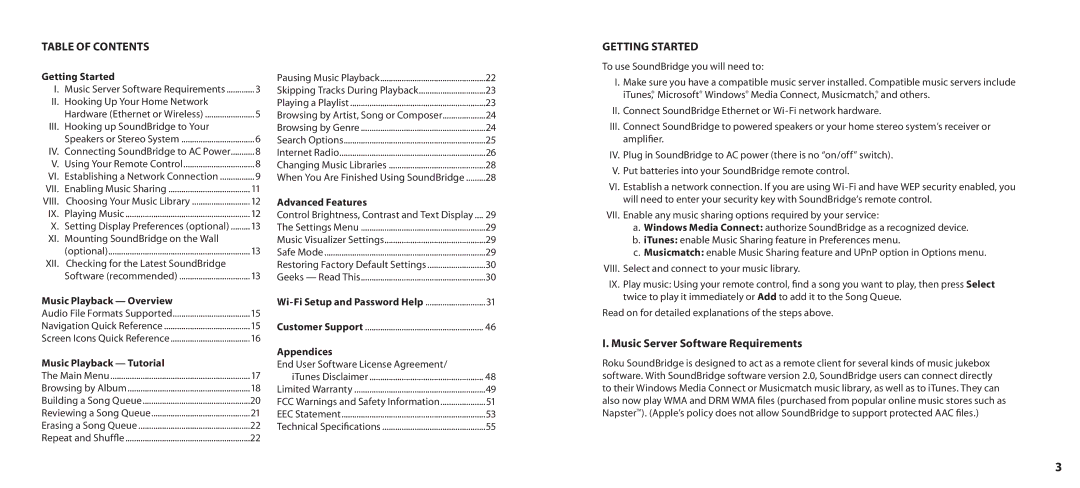
TABLE OF CONTENTS
Getting Started |
| Pausing Music Playback | 22 |
I. Music Server Software Requirements | 3 | Skipping Tracks During Playback | 23 |
II. Hooking Up Your Home Network |
| Playing a Playlist | 23 |
Hardware (Ethernet or Wireless) | 5 | Browsing by Artist, Song or Composer | 24 |
III. Hooking up SoundBridge to Your |
| Browsing by Genre | 24 |
Speakers or Stereo System | 6 | Search Options | 25 |
IV. Connecting SoundBridge to AC Power | 8 | Internet Radio | 26 |
V. Using Your Remote Control | 8 | Changing Music Libraries | 28 |
VI. Establishing a Network Connection | 9 | When You Are Finished Using SoundBridge | 28 |
VII. Enabling Music Sharing | 11 |
|
|
VIII. Choosing Your Music Library | 12 | Advanced Features |
|
IX. Playing Music | 12 | Control Brightness, Contrast and Text Display .... | 29 |
X. Setting Display Preferences (optional) | 13 | The Settings Menu | 29 |
XI. Mounting SoundBridge on the Wall |
| Music Visualizer Settings | 29 |
(optional) | 13 | Safe Mode | 29 |
XII. Checking for the Latest SoundBridge |
| Restoring Factory Default Settings | 30 |
Software (recommended) | 13 | Geeks — Read This | 30 |
Music Playback — Overview |
| 31 | |
Audio File Formats Supported | 15 |
|
|
Navigation Quick Reference | 15 | Customer Support | 46 |
Screen Icons Quick Reference | 16 |
|
|
|
| Appendices |
|
Music Playback — Tutorial |
| End User Software License Agreement/ |
|
The Main Menu | 17 | iTunes Disclaimer | 48 |
Browsing by Album | 18 | Limited Warranty | 49 |
Building a Song Queue | 20 | FCC Warnings and Safety Information | 51 |
Reviewing a Song Queue | 21 | EEC Statement | 53 |
Erasing a Song Queue | 22 | Technical Specifications | 55 |
Repeat and Shuffle | 22 |
|
|
GETTING STARTED
To use SoundBridge you will need to:
I.Make sure you have a compatible music server installed. Compatible music servers include iTunes,® Microsoft® Windows® Media Connect, Musicmatch,® and others.
II. Connect SoundBridge Ethernet or
III.Connect SoundBridge to powered speakers or your home stereo system’s receiver or amplifier.
IV. Plug in SoundBridge to AC power (there is no “on/off” switch).
V. Put batteries into your SoundBridge remote control.
VI. Establish a network connection. If you are using
VII. Enable any music sharing options required by your service:
a.Windows Media Connect: authorize SoundBridge as a recognized device.
b.iTunes: enable Music Sharing feature in Preferences menu.
c.Musicmatch: enable Music Sharing feature and UPnP option in Options menu.
VIII. Select and connect to your music library.
IX. Play music: Using your remote control, find a song you want to play, then press Select twice to play it immediately or Add to add it to the Song Queue.
Read on for detailed explanations of the steps above.
I. Music Server Software Requirements
Roku SoundBridge is designed to act as a remote client for several kinds of music jukebox software. With SoundBridge software version 2.0, SoundBridge users can connect directly to their Windows Media Connect or Musicmatch music library, as well as to iTunes. They can also now play WMA and DRM WMA files (purchased from popular online music stores such as Napster™). (Apple’s policy does not allow SoundBridge to support protected AAC files.)
3
