
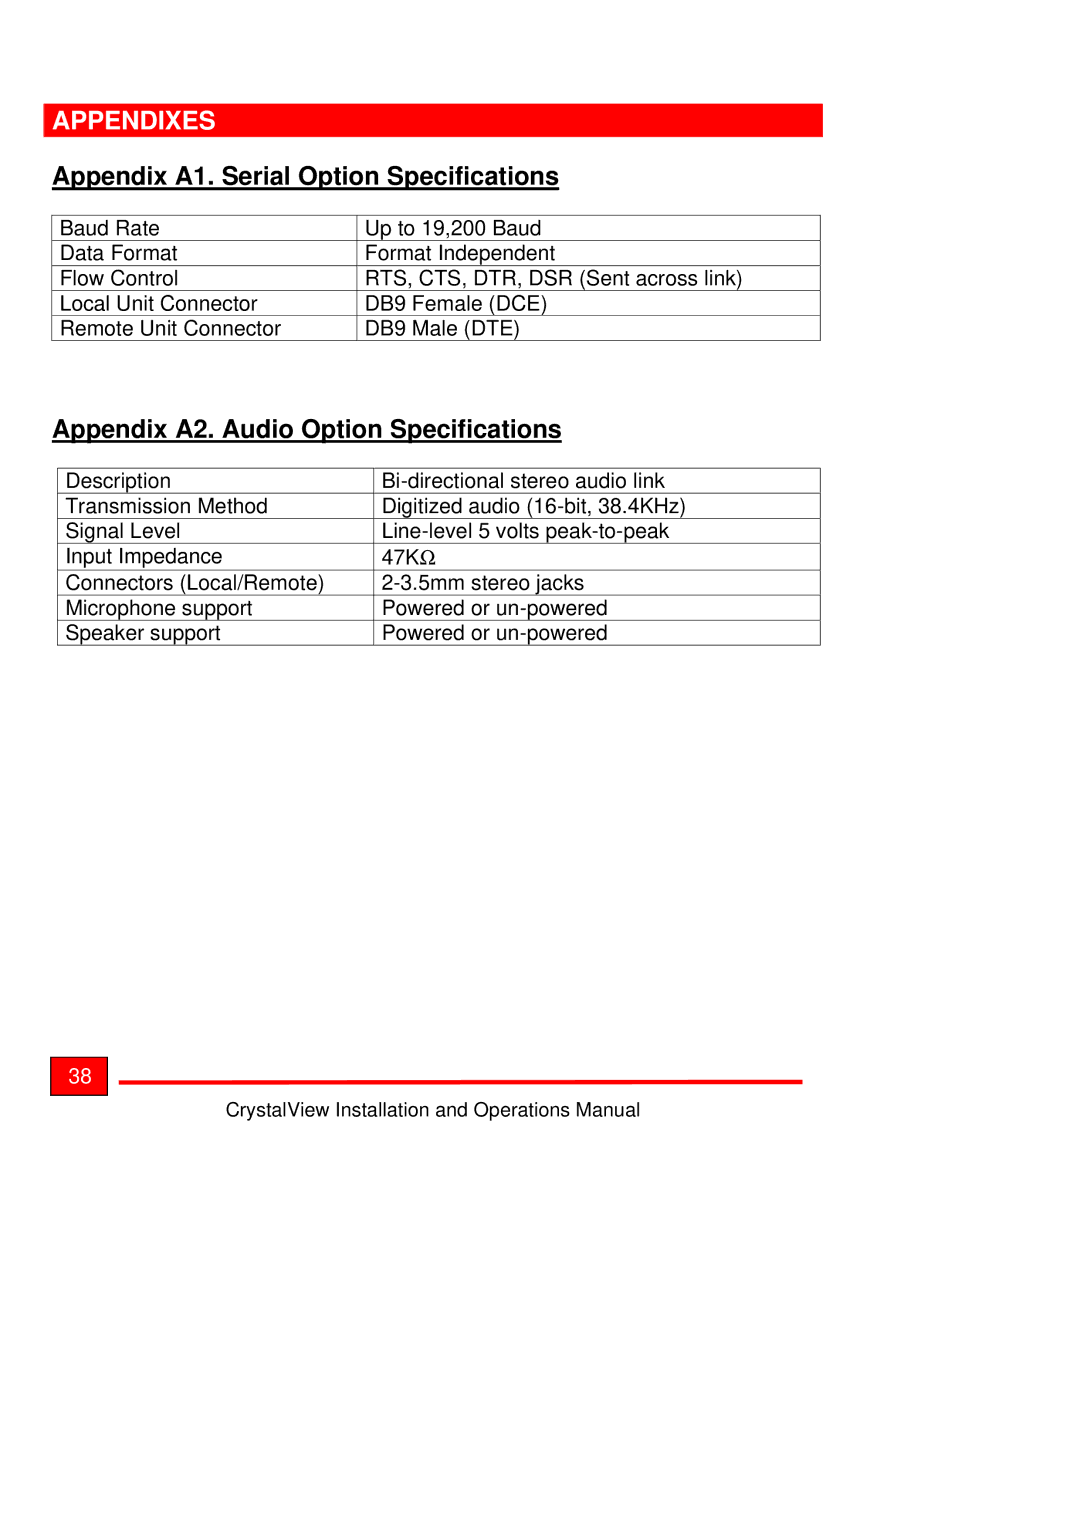
Crystal View specifications
The Rose Electronic Crystal View is an innovative display solution designed for a wide range of applications, including broadcasting, live events, and corporate presentations. Renowned for its high-quality visuals and user-friendly interface, it has become a go-to choice for professionals in various industries.One of the standout features of the Crystal View is its superior image quality. It boasts high-resolution capabilities, often reaching 4K or even 8K, ensuring that every detail is rendered with stunning clarity. This level of resolution is vital for applications that require precise image rendering, such as medical imaging and detailed graphic design.
The Crystal View utilizes advanced display technologies to enhance visual performance. One notable technology employed is OLED (Organic Light Emitting Diode), which offers deeper blacks and vibrant colors compared to traditional LCD displays. This results in a wider color gamut and improved contrast ratios, making visuals more lifelike and engaging. The use of HDR (High Dynamic Range) further enriches the viewing experience, allowing users to see a more dynamic range of shadows and highlights in their content.
Another characteristic that sets the Crystal View apart is its versatility. The display is designed for seamless integration with a variety of systems, making it ideal for both single-user setups and extensive networking solutions. The compatibility with numerous input sources, including HDMI, DisplayPort, and wireless streaming options, provides users with the flexibility to connect devices easily.
The build quality of the Rose Electronic Crystal View is robust, with a sleek design that fits well in any professional setting. Its lightweight structure and durable materials make it suitable for transport, whether it’s for on-location shoots or different event venues. Additionally, the display often features customizable mounting options, allowing users to adjust the settings according to their specific needs.
User-friendliness is another highlight of the Crystal View. Many models come equipped with intuitive touchscreen controls, making navigation simple and quick. This ease of operation is crucial during live events, where quick adjustments are necessary to ensure everything runs smoothly.
In summary, the Rose Electronic Crystal View stands out as a premium display solution offering exceptional image quality, advanced technologies, and a user-friendly experience. Its versatility makes it an ideal choice for various applications, ensuring that professionals can deliver stunning visuals effectively and efficiently. Whether for corporate presentations, broadcast needs, or live events, the Crystal View proves to be a reliable asset in any technological arsenal.