3. Installation
3. Installation
3.1. Rack Mounting
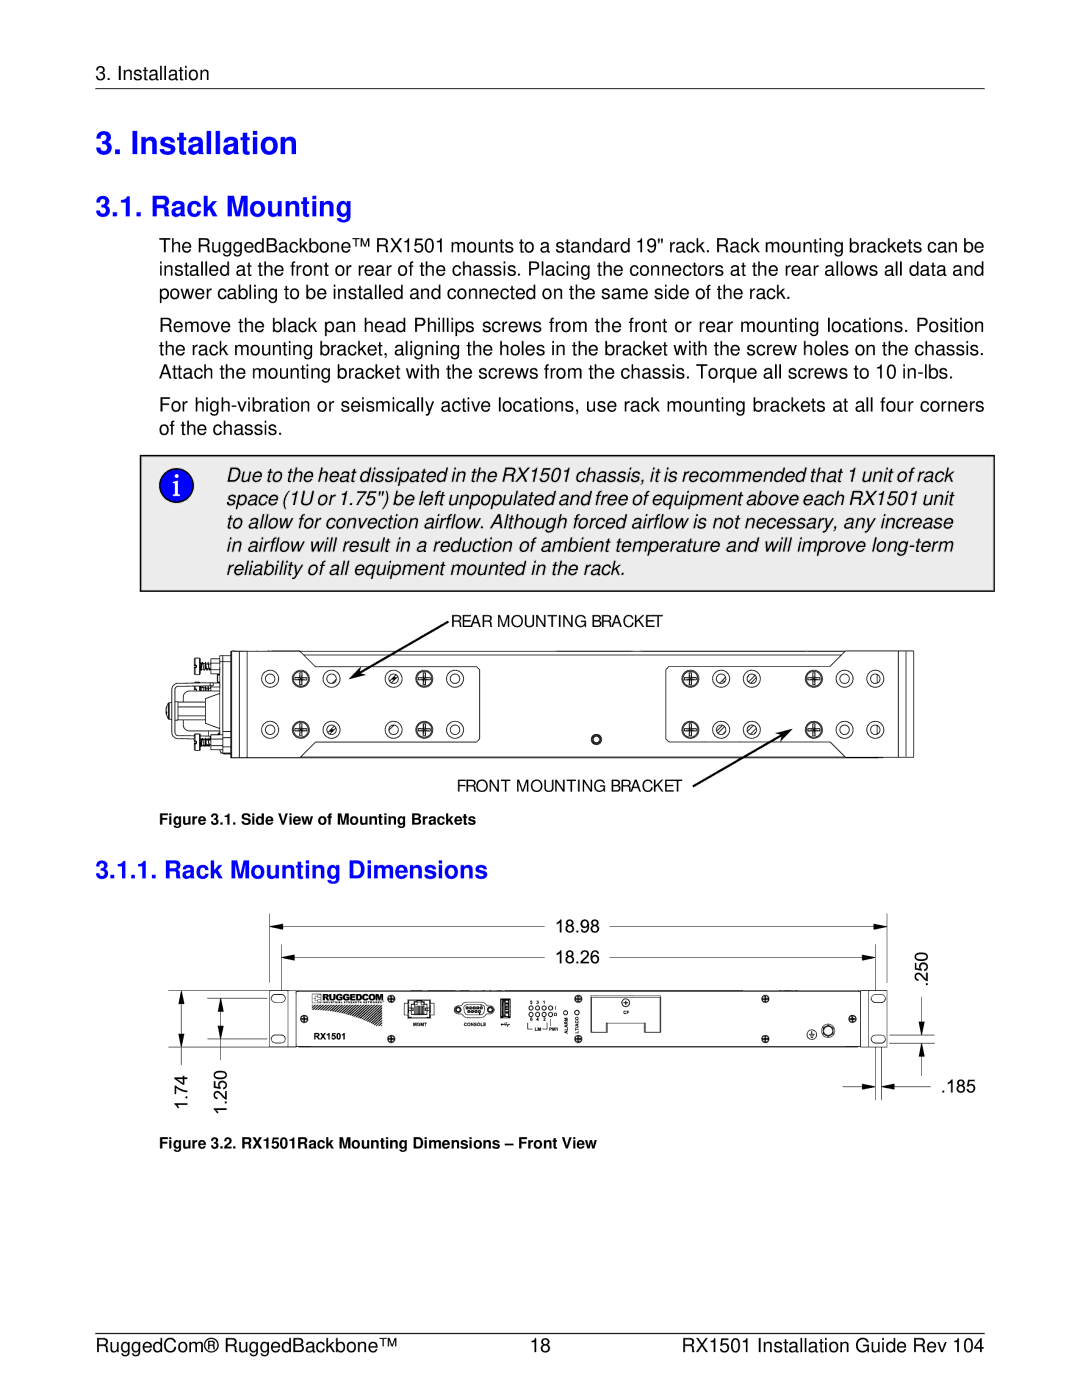
The RuggedBackbone™ RX1501 mounts to a standard 19" rack. Rack mounting brackets can be installed at the front or rear of the chassis. Placing the connectors at the rear allows all data and power cabling to be installed and connected on the same side of the rack.
Remove the black pan head Phillips screws from the front or rear mounting locations. Position the rack mounting bracket, aligning the holes in the bracket with the screw holes on the chassis. Attach the mounting bracket with the screws from the chassis. Torque all screws to 10
For
Due to the heat dissipated in the RX1501 chassis, it is recommended that 1 unit of rack space (1U or 1.75") be left unpopulated and free of equipment above each RX1501 unit to allow for convection airflow. Although forced airflow is not necessary, any increase in airflow will result in a reduction of ambient temperature and will improve
REAR MOUNTING BRACKET
FRONT MOUNTING BRACKET
Figure 3.1. Side View of Mounting Brackets
3.1.1. Rack Mounting Dimensions
Figure 3.2. RX1501Rack Mounting Dimensions – Front View
RuggedCom® RuggedBackbone™ | 18 | RX1501 Installation Guide Rev 104 |