Operation

Table 4-4. Test Patterns and Their Suggested Usage


Pattern

Suggested Usage


Use this pattern when aligning the


output from the projector’s

Primary Alignment


primary or secondary optical


engines (refer to Power-Up

Secondary


Sequence and Optical

Alignment


Alignment Procedure on

Dual Alignment


page 51). Select Dual Alignment


to have both optical engines


output this pattern.


Press MENU to exit test pattern mode.

Input Names: You can give each input a descriptive name. For example, you may want to change the default input name to the type of source component connected to it: “VCR,” “DVD,” “Laptop” et cetera. Input names can be up to 12 characters long.

To edit an input name, select Input Names from the Service menu. Press or to select an input and press ENTER. Use the or buttons to change a character; press

or to select a character to change. When you have finished editing the input name, press ENTER or MENU.

To restore the default input name, press repeatedly to highlight that input name in the “Restore” column. Then, press ENTER.

Display Device - Configure: The options in the Display Device - Configure menu allow you to change the picture orientation, perform lens adjustments or access other, display-device specific functions.

Installation – Orientation: Select Picture Orientation from the Display Device - Configure menu, then select Orientation to change the picture orientation to suit the method of installation (Floor Front, Floor Rear, Ceiling Front or Ceiling Rear). Or, for front-projection installations, use the Auto setting to have the projector automatically determine the orientation (floor or ceiling) using an internal sensor.

Lamp Info.: Select Lamp Info. from the Display Device - Configure menu to see the projector serial number.

Diagnostics: Select Diagnostics from the Display Device - Configure menu, then select Red, Green, Blue, Yellow, Cyan or Magenta to display only that color channel (simulating a filter of that color). This can be useful for calibration or measurement purposes.

To restore the normal picture (all colors), select White.

Altitude: Select Altitude from the Display Device - Configure menu to control the operation of the projector’s cooling fan.

In most cases, the default setting (Auto) will maintain the correct operating temperature. If the display frequently turns off due to overheating, or in certain high-altitude operating environments, you may need to change this setting to High.


Input Names


Restore


C

o

mp o s i

t e

1

Composite 1


C

o mp o s i

t e

2

Composite 2

C

o

mp o s i

t e

3

Composite 3

C

o

mp

o n e n t


Component

H

D

1


HD 1

H

D

2


HD 2

S

C

A

R

T


SCART

H

D

M

I


1


HDMI 1

H

D

M

I


2


HDMI 2

H

D

M

I


3


HDMI 3

H

D

M

I


4


HDMI 4


D-73d Series Installation/Operation Manual

87

Page 103
Image 103
Runco D-73D operation manual Output from the projector’s, Alignment, Input Names

D-73D specifications

The Runco D-73D is a visionary addition to the world of high-definition projection technology. Built with a passion for delivering unparalleled image quality and an immersive viewing experience, this projector is designed for both home theater enthusiasts and professional-grade installations. With its advanced features and innovative technologies, the D-73D stands out in its category.

One of the main characteristics of the Runco D-73D is its impressive resolution. It supports a full 1080p image, ensuring that every detail is rendered with clarity, making it an ideal choice for cinematic experiences at home or in specialized environments. The projector employs three 0.61-inch DLP (Digital Light Processing) chips, which not only enhance color accuracy but also contribute to a sharper overall image compared to traditional projection systems.

The D-73D incorporates Runco's unique Vivix® video processing technology, which is designed to optimize image quality. This technology improves color reproduction, contrast, and detail, ensuring that the contents displayed are not just sharp, but vibrant and lifelike. Coupled with 10-bit processing, the projector delivers over a billion colors, facilitating stunning gradations in both dark and bright scenes.

Another noteworthy feature of the D-73D is its customizable lens options. This flexibility allows users to adjust the projection distance and size based on the specific requirements of their space. Whether it's a large home theater or a dedicated screening room, the D-73D can accommodate various setups, making it versatile for different environments.

Importantly, the projector also supports Runco’s proprietary LightLevel® technology. This innovative feature enables the system to adapt to ambient lighting conditions, ensuring optimal performance regardless of the lighting scenario. Consequently, users can enjoy their favorite films and shows without the interruptions of washed-out colors or poor contrast.

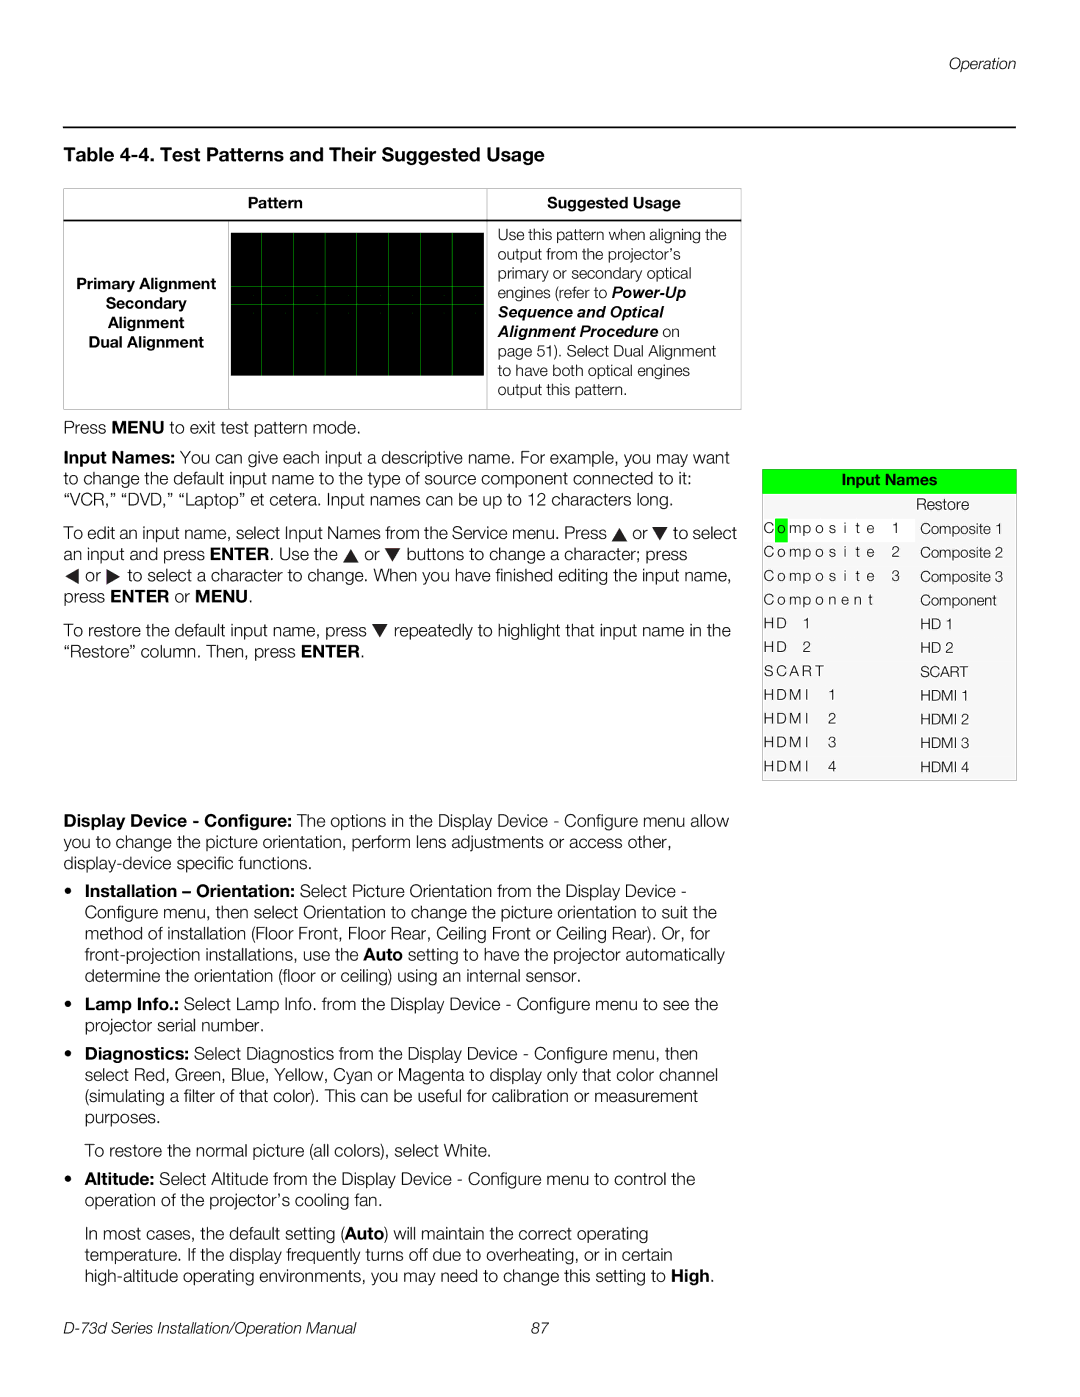
Connectivity is another strong suit of the D-73D, offering multiple inputs, including HDMI, which allows for seamless integration with modern devices. This capability ensures that users can easily connect Blu-ray players, gaming consoles, and more.

In summary, the Runco D-73D is a cutting-edge projector that combines high-resolution performance, advanced video processing, customizable features, and versatile connectivity. Its commitment to delivering exceptional image quality makes it a premier choice for those who demand an extraordinary visual experience. Whether for dedicated home cinemas or commercial use, the D-73D is designed to impress at every viewing.