4. Operation
1.Turn on your source components.
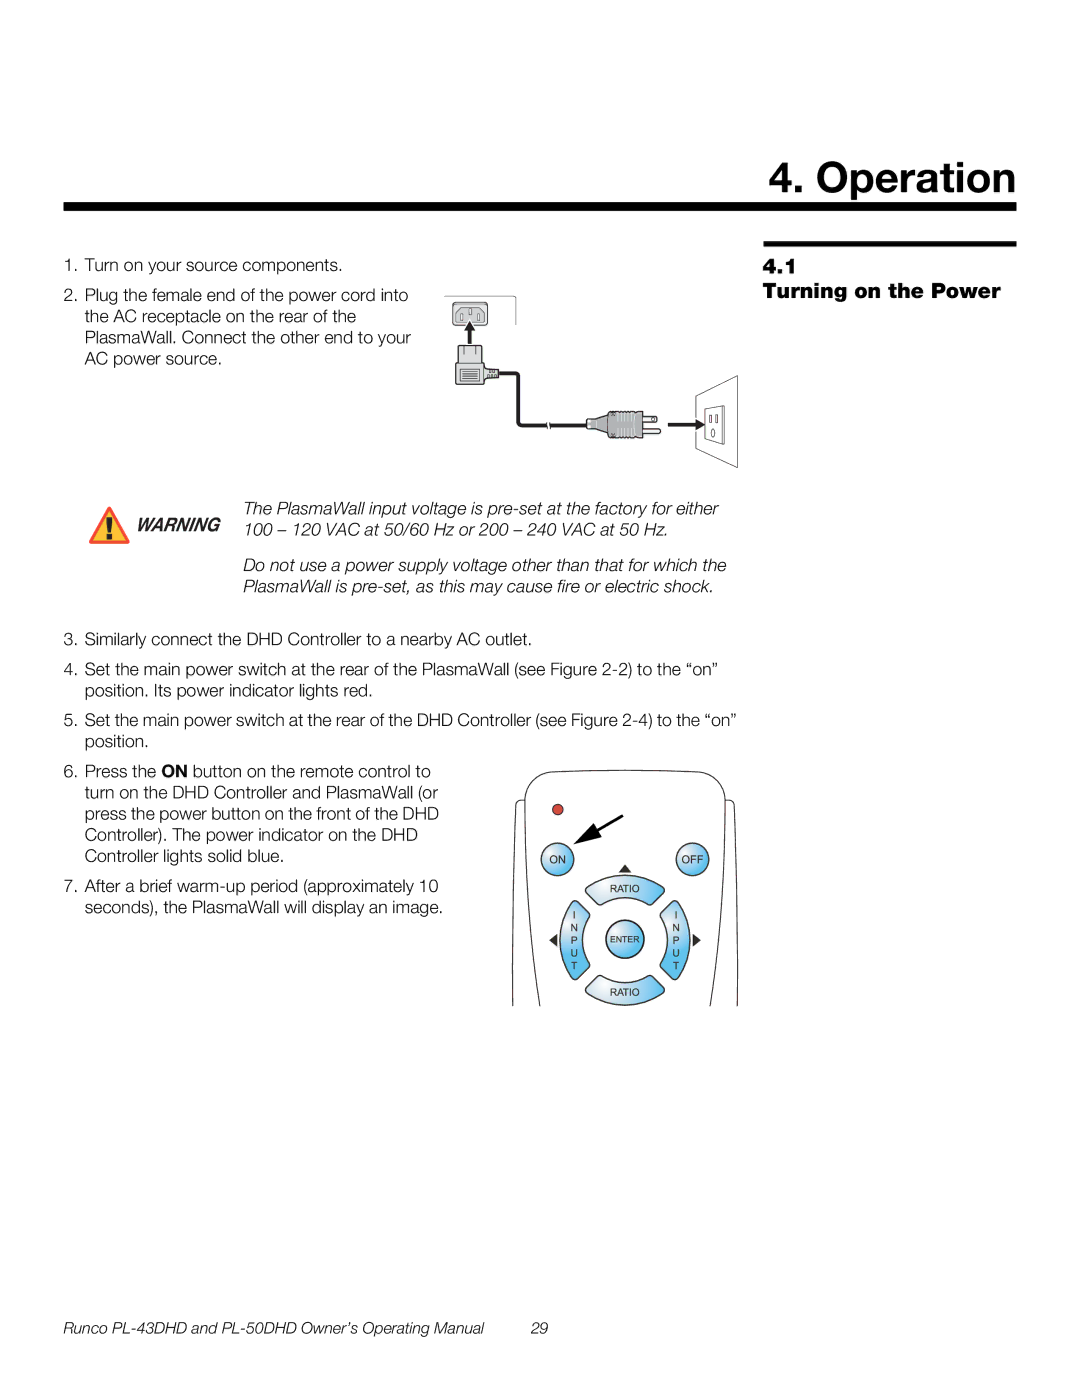
2.Plug the female end of the power cord into the AC receptacle on the rear of the PlasmaWall. Connect the other end to your AC power source.
4.1
Turning on the Power
The PlasmaWall input voltage is
Do not use a power supply voltage other than that for which the
PlasmaWall is
3.Similarly connect the DHD Controller to a nearby AC outlet.
4.Set the main power switch at the rear of the PlasmaWall (see Figure
5.Set the main power switch at the rear of the DHD Controller (see Figure
6.Press the ON button on the remote control to turn on the DHD Controller and PlasmaWall (or
press the power button on the front of the DHD Controller). The power indicator on the DHD Controller lights solid blue.
7. After a brief
Runco | 29 |
