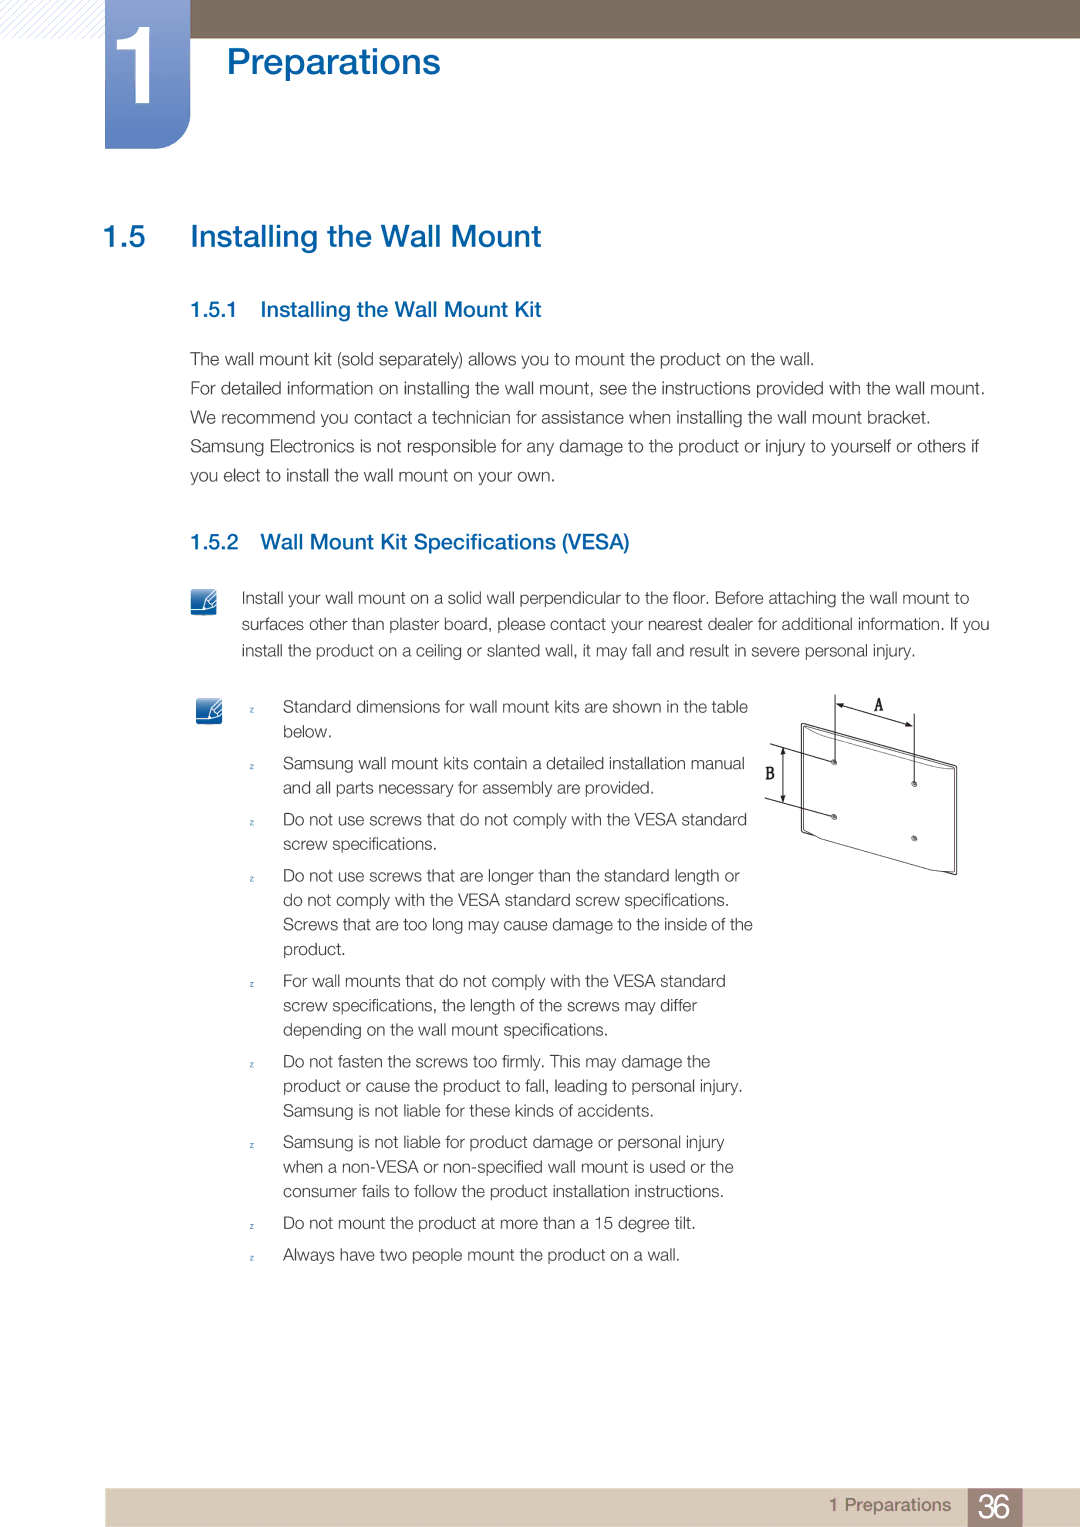
MD46B, MD40B specifications
The Samsung MD40B and MD46B are part of Samsung's versatile line of professional display solutions, designed specifically for commercial applications. Both models are characterized by their sleek, modern aesthetics, enabling seamless integration into a variety of environments such as retail spaces, airport terminals, and corporate offices.One of the hallmark features of the MD40B and MD46B displays is their high-quality visual performance. These models offer Full HD resolution, providing sharp and vibrant images that capture attention. With a brightness rating of up to 450 cd/m², these displays ensure exceptional visibility in both bright and dimly lit settings, making them ideal for advertising and informational purposes.
The MD series is also equipped with advanced technology, including Samsung's proprietary Dynamic Crystal Color technology. This feature enhances color accuracy and depth, delivering a wider color spectrum and more lifelike visuals. The wide viewing angle technology ensures that images remain consistent and true to life, regardless of the viewer's position, making these displays suitable for installations where audiences gather from various angles.
Durability is another significant consideration for the MD40B and MD46B. These models are designed with a robust chassis to withstand the rigors of continuous use in commercial environments. They can operate 24/7, making them reliable options for businesses that require constant engagement with customers.
Both displays also support various connectivity options, including HDMI, DP, and DVI ports, allowing for flexible integration with different devices and systems. Furthermore, the inclusion of a built-in video wall processor means that users can create stunning video wall configurations without the need for external hardware.
For added convenience, Samsung provides a user-friendly management solution, allowing users to easily control and monitor their displays remotely. This feature streamlines operational efficiency and reduces downtime, ensuring that messaging and visuals are up-to-date and effective at all times.
In summary, the Samsung MD40B and MD46B are sophisticated display solutions that combine stunning visuals, durable design, and advanced technology. Their ability to operate continuously, along with flexible connectivity options and remote management capabilities, makes them an excellent choice for a wide array of commercial applications. Whether enhancing customer engagement in a retail setting or conveying important information in a corporate environment, these displays are engineered to meet the demands of modern businesses.

