camera setup
You can configure the camera settings using the Web Viewer.
M For accessing the Web Viewer, refer to "Network Connection and Setup". (page 31)
HOW TO USE THE MENU KEY
Follow the steps below if you run the Web Viewer for setting the menus.
1.Launch the Web Viewer.
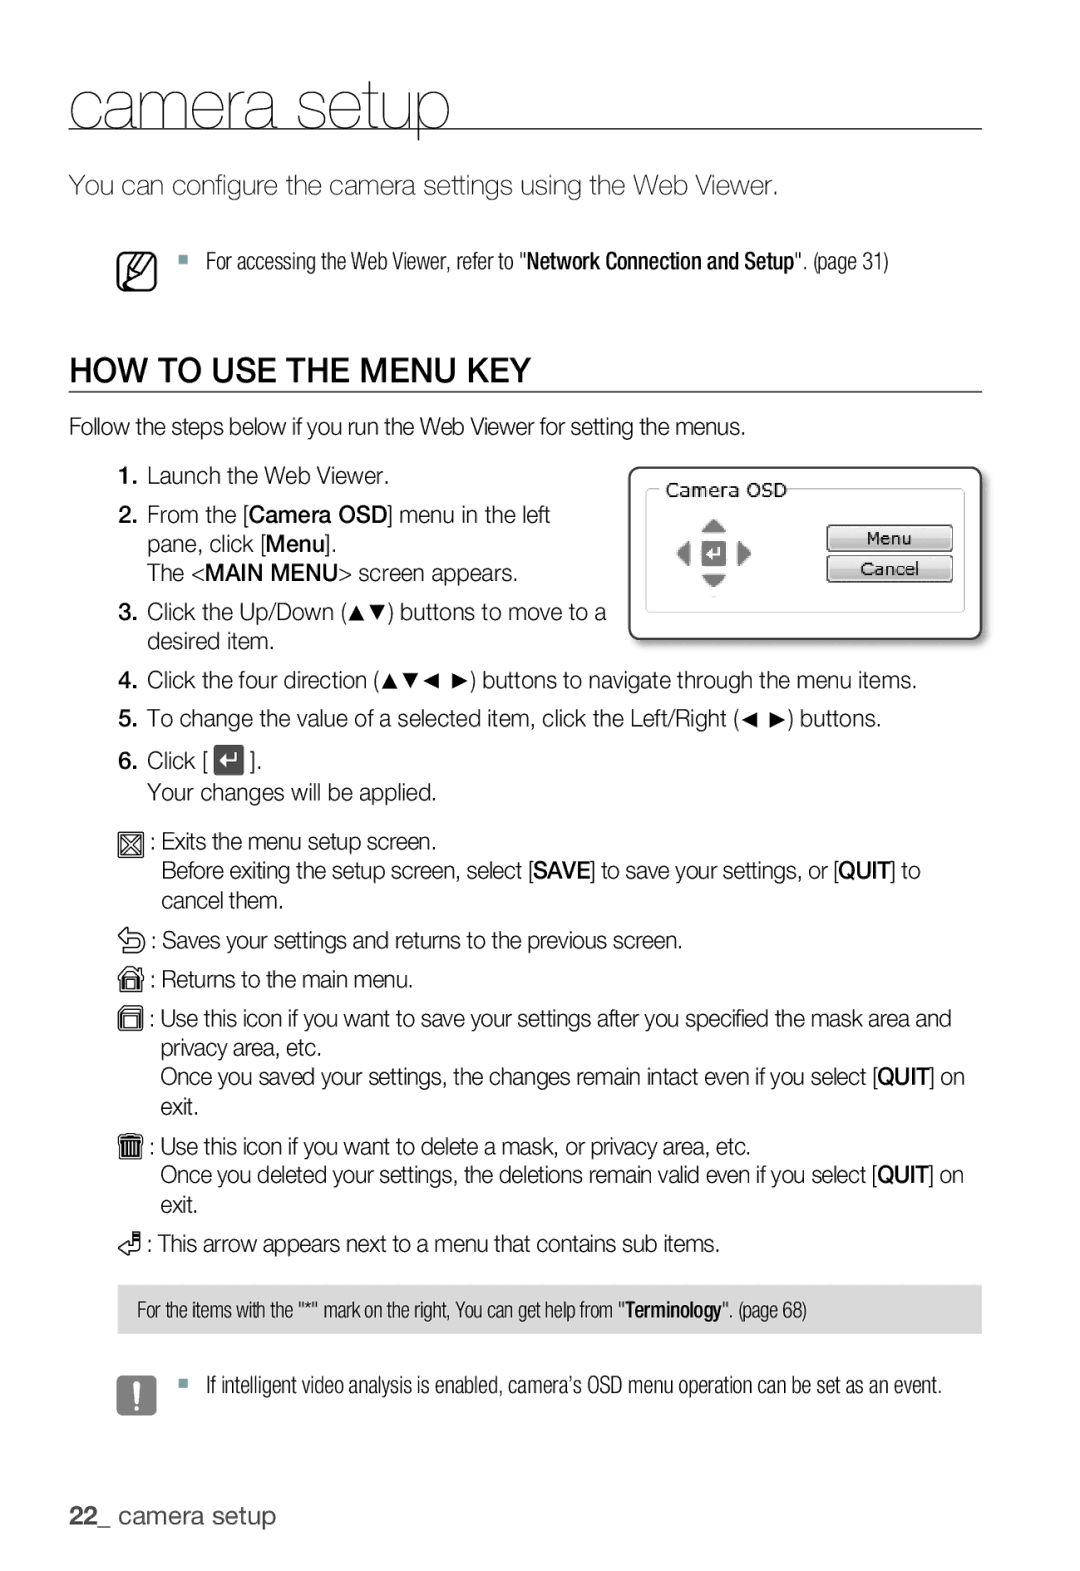
2.From the [Camera OSD] menu in the left pane, click [Menu].
The <MAIN MENU> screen appears.
3.Click the Up/Down (▲▼) buttons to move to a desired item.
4.Click the four direction (▲▼◄ ►) buttons to navigate through the menu items.
5.To change the value of a selected item, click the Left/Right (◄ ►) buttons.
6.Click [ ![]() ].
].
Your changes will be applied.
![]() : Exits the menu setup screen.
: Exits the menu setup screen.
Before exiting the setup screen, select [SAVE] to save your settings, or [QUIT] to cancel them.
![]() : Saves your settings and returns to the previous screen.
: Saves your settings and returns to the previous screen.
![]() : Returns to the main menu.
: Returns to the main menu.
![]() : Use this icon if you want to save your settings after you specified the mask area and privacy area, etc.
: Use this icon if you want to save your settings after you specified the mask area and privacy area, etc.
Once you saved your settings, the changes remain intact even if you select [QUIT] on exit.
![]() : Use this icon if you want to delete a mask, or privacy area, etc.
: Use this icon if you want to delete a mask, or privacy area, etc.
Once you deleted your settings, the deletions remain valid even if you select [QUIT] on exit.
![]() : This arrow appears next to a menu that contains sub items.
: This arrow appears next to a menu that contains sub items.
For the items with the "*" mark on the right, You can get help from "Terminology". (page 68)
J If intelligent video analysis is enabled, camera’s OSD menu operation can be set as an event.
22_ camera setup
